
Your Path to a Perfect, Low-Maintenance Lawn
Artificial grass installation creates a beautiful, low-maintenance green space that stays perfect year-round. Here’s a quick overview:
Key Benefits:
- No mowing, watering, or fertilizing
- Lasts 15-20 years with proper care
- Safe for pets and children (non-toxic and allergen-free)
- Saves money on water and lawn care
- Stays green in all weather
Installation in 7 Steps:
- Excavate existing lawn
- Install a compacted base layer
- Lay and shape the turf
- Seam pieces together
- Secure the perimeter
- Apply infill material
- Groom the fibers
Cost: $5-25 per square foot, installed.
As one expert noted, “Artificial grass can reclaim weekends by eliminating the need for watering, mowing, and fertilizing.” This guide covers everything from planning to final grooming.
I’m Christopher Deanovic, Operations Leader at Task Masters. I’ve overseen numerous artificial grass installation projects in Minnesota, and I know that proper technique is key to long-lasting, beautiful results.

Planning Your Project: What to Know Before You Start
Proper planning is the first step toward a perfect artificial grass installation. Unlike a natural lawn that requires constant mowing, watering, and chemical treatments, artificial grass eliminates weekend chores and stays green year-round.
Cost and ROI: The upfront investment for professionally installed artificial grass is typically $5 to $25 per square foot. For a 500-square-foot yard, this might be around $6,000. However, with a lifespan of 15 to 20 years, the savings on water, fertilizer, and lawn equipment maintenance mean the turf often pays for itself over time.
Environmental Benefits: Artificial grass conserves a significant amount of water. It also eliminates the need for chemical fertilizers and pesticides and reduces emissions from gas-powered lawn equipment.
Safety for Families: Modern turf is non-toxic, lead-free, and allergen-free, making it a safe surface for children and pets. It provides a clean play area without the worry of chemicals or grass pollen. For improved safety, explore options like our Safe Turf for Kids.
Artificial grass provides a consistent green foundation for any Landscaping Design, complementing hardscaping and natural plants in any season.
Choosing the Right Type of Artificial Grass
Selecting the right turf depends on your needs. Here are the key factors to consider:
- Pile Height: The length of the grass blades, typically 25-35mm for residential use. Shorter piles are durable for high-traffic areas, while longer piles offer a more luxurious feel.
- Density: The number of fibers per square meter. Higher density means a more resilient and durable lawn.
- Material: Polyethylene is popular for its soft feel and realistic look. Polypropylene is durable and used for specific applications. Nylon is the strongest and most resilient option, ideal for heavy traffic and extreme temperatures.
- Blade Shape: Different shapes (C, M, W, Omega, Diamond) affect resilience, heat dissipation, and softness. For example, W-shaped blades help keep the turf cooler.
- Backing and Drainage: A quality turf has a permeable backing with drainage holes to prevent puddles and manage moisture.
- Infill: Materials like silica sand are spread between the blades to help them stand upright, add stability, and protect the backing. Specialized infills are available for pet areas or to create the perfect ball roll on a Home Putting Green Turf.
Key Considerations for Your Project
- Square Footage: Measure your area and add 10% extra material for cuts and waste, especially for curved or complex shapes.
- Budget: Factor in materials ($5-$20/sq ft) and professional installation ($3-$5/sq ft). Complex sites may have additional costs.
- Site Access: Consider how materials and equipment will get to the installation area. Tight access can increase labor costs.
- Drainage: The ground must be graded with a slight slope to direct water away from structures and prevent pooling. This is critical for a long-lasting installation.
- Climate: In Minnesota, turf must handle freeze-thaw cycles. On hot days, lighter-colored infill can help reduce heat absorption.
Tools and Materials You’ll Need
- Preparation: Turf cutter, shovels, wheelbarrow, measuring tape, marking paint.
- Base: Vibrating plate compactor, landscape rake, geotextile weed barrier, crushed aggregate, and decomposed granite.
- Turf Installation: Utility knife, seaming tape and adhesive, 5-6 inch galvanized landscape pins.
- Finishing: Infill material (like silica sand), infill spreader, stiff-bristled broom, garden hose.
- Safety: Gloves and safety glasses.
The Ultimate Artificial Grass Installation Guide: A 7-Step Process
This is where your vision becomes a reality. Following these seven steps ensures a professional result. For a quick reference, download this printable Artificial Grass Installation Guide.

Each step builds on the last, so precision is key for a lawn that will look great for decades.
Step 1: Excavation and Ground Preparation
This step creates the foundation for your new lawn. Proper preparation is non-negotiable.
- Remove Existing Sod: Use a turf cutter or shovel to remove all grass, weeds, and roots. For best results, apply a weed killer two weeks prior to excavation.
- Excavate Soil: Dig out 3-4 inches of soil to make room for the new sub-base.
- Grade for Drainage: Create a gentle slope (1-2%) to direct water away from your home or toward a designated drainage area. This is essential in Minnesota to manage rain and snowmelt.
- Clear Debris: Remove any rocks, roots, or other debris to ensure a smooth, level surface.
Step 2: Installing the Sub-Base
The sub-base provides stability and drainage. It’s the unseen hero of your installation.
- Lay Weed Barrier: Place a geotextile weed barrier over the excavated soil, overlapping the seams to prevent weed growth and keep base layers separate from the soil.
- Add Aggregate Layers: Spread a 2-3 inch layer of 3/4″ crushed aggregate (road base), followed by a 1-inch layer of finer decomposed granite (DG) to create a smooth surface.

- Compact the Base: Use a vibrating plate compactor on each layer until the entire area is firm and level. The base is ready when you can walk on it without leaving footprints. The final surface should be about 15-20mm below surrounding edges.
Step 3: Laying and Shaping the Turf
Now the project starts to look like a lawn.
- Unroll the Turf: Lay the artificial grass over the prepared base. Plan your layout to minimize seams and waste.
- Let it Acclimate: Allow the turf to relax for a few hours or overnight. This helps it lie flat and makes it easier to work with.
- Maintain Pile Direction: Ensure the grass fibers on all pieces lean in the same direction, typically facing the main viewing area (e.g., a patio or deck).
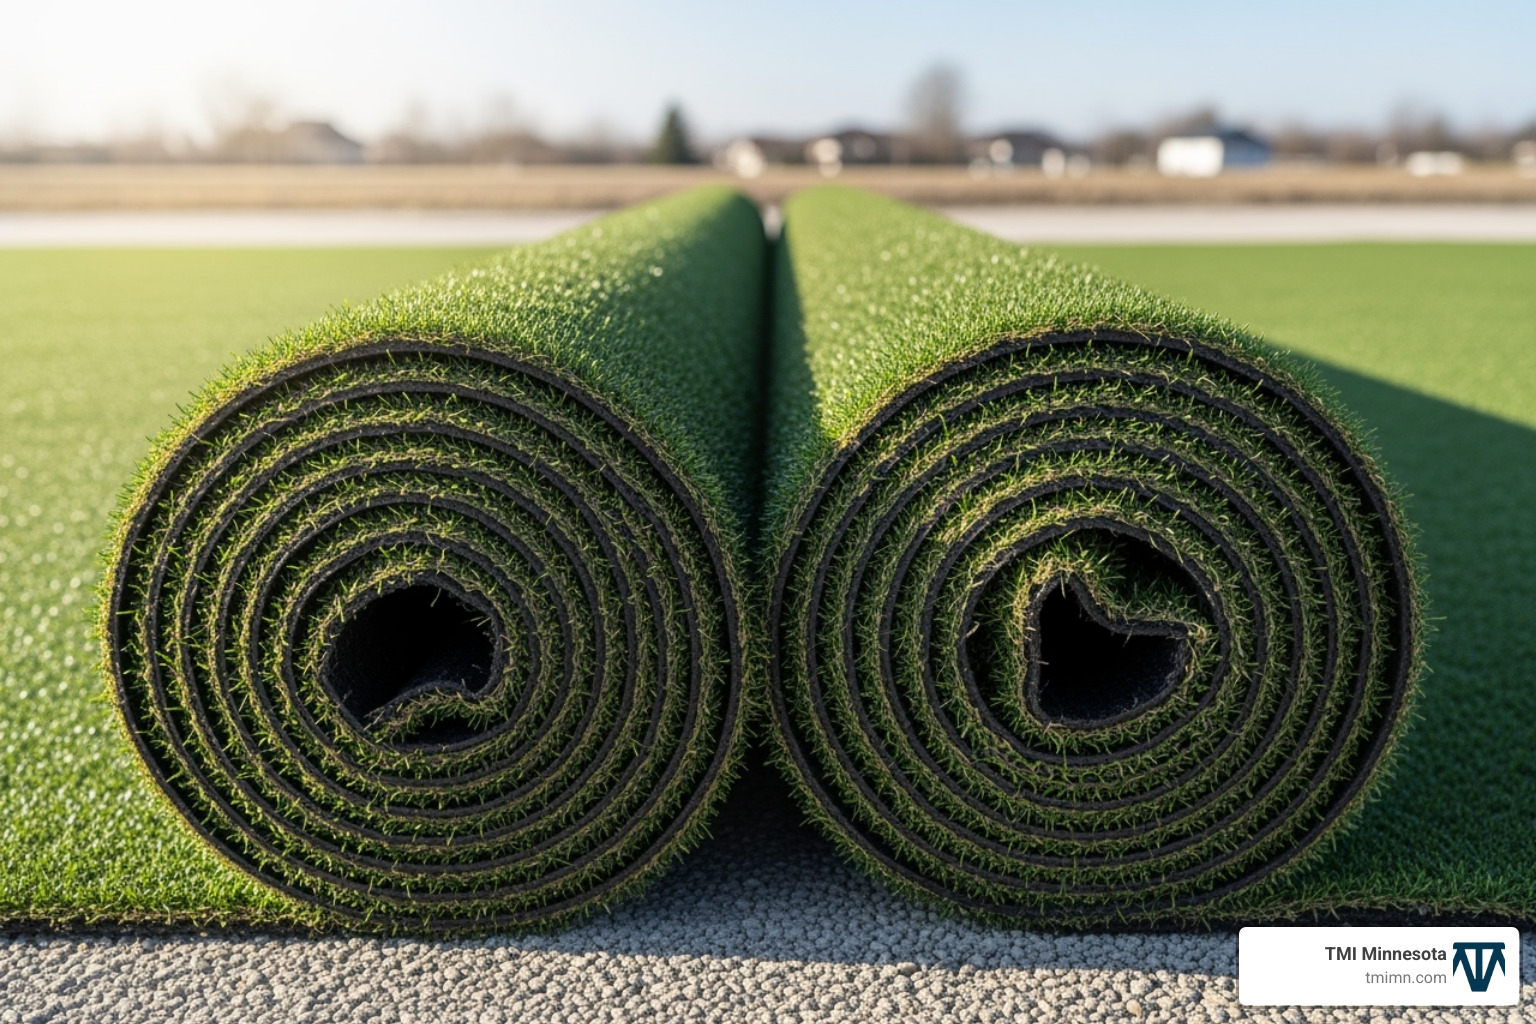
- Trim to Fit: Use a sharp utility knife to cut the turf from the backing side. Make relief cuts and trim carefully around the perimeter, trees, and other features like Artificial Turf with Pavers. Always cut slightly larger at first; you can trim more later.
Step 4: Seaming the Pieces
Properly joined seams are invisible. This step requires patience.
- Align Edges: Line up turf pieces precisely with no gaps or overlaps. For a cleaner seam, trim a few rows of stitches from the factory edges of both pieces.
- Apply Tape and Adhesive: Fold back the turf edges and place seaming tape (white side up) centered underneath the join. Apply a bead of artificial grass adhesive to the tape, avoiding contact with the grass fibers.
- Press Seams Together: Carefully fold the turf edges back onto the adhesive, pressing them tightly together. Walk along the seam to ensure a strong bond. Allow the adhesive to cure completely before proceeding.
Step 5: Securing the Perimeter
This step prevents edges from lifting or shifting over time.
- Use Landscape Staples: Secure the perimeter of the turf using 5-6 inch galvanized landscape staples or nails.
- Space Staples Correctly: Place staples every 6-12 inches around the entire edge to keep it flat and stable against weather changes and foot traffic.
Step 6: Applying the Infill
Infill provides stability, helps the blades stand upright, and protects the backing.
- Spread Infill: Evenly distribute your chosen infill, such as kiln-dried silica sand, across the turf. You’ll need about 11 pounds per square meter. Ensure the infill is completely dry for proper application.
- Work Infill into Fibers: Use a power broom or stiff push broom to work the sand down into the base of the grass fibers. Brush against the grain for best results.
Step 7: Final Grooming
This last step creates a lush, natural appearance.
- Brush the Fibers: Use a stiff broom or power broom to brush the grass fibers against their natural lean. This makes the blades stand up, creating a full, fluffy look.
- Rinse the Lawn: Lightly hose down the entire area to wash away dust and help the infill settle. Step back and enjoy your new, perfect lawn.
DIY vs. Professional Artificial Grass Installation
Deciding between a DIY project and hiring a professional is a major consideration. The right choice depends on your budget, skills, and the complexity of your project.
The Pros and Cons of a DIY Approach
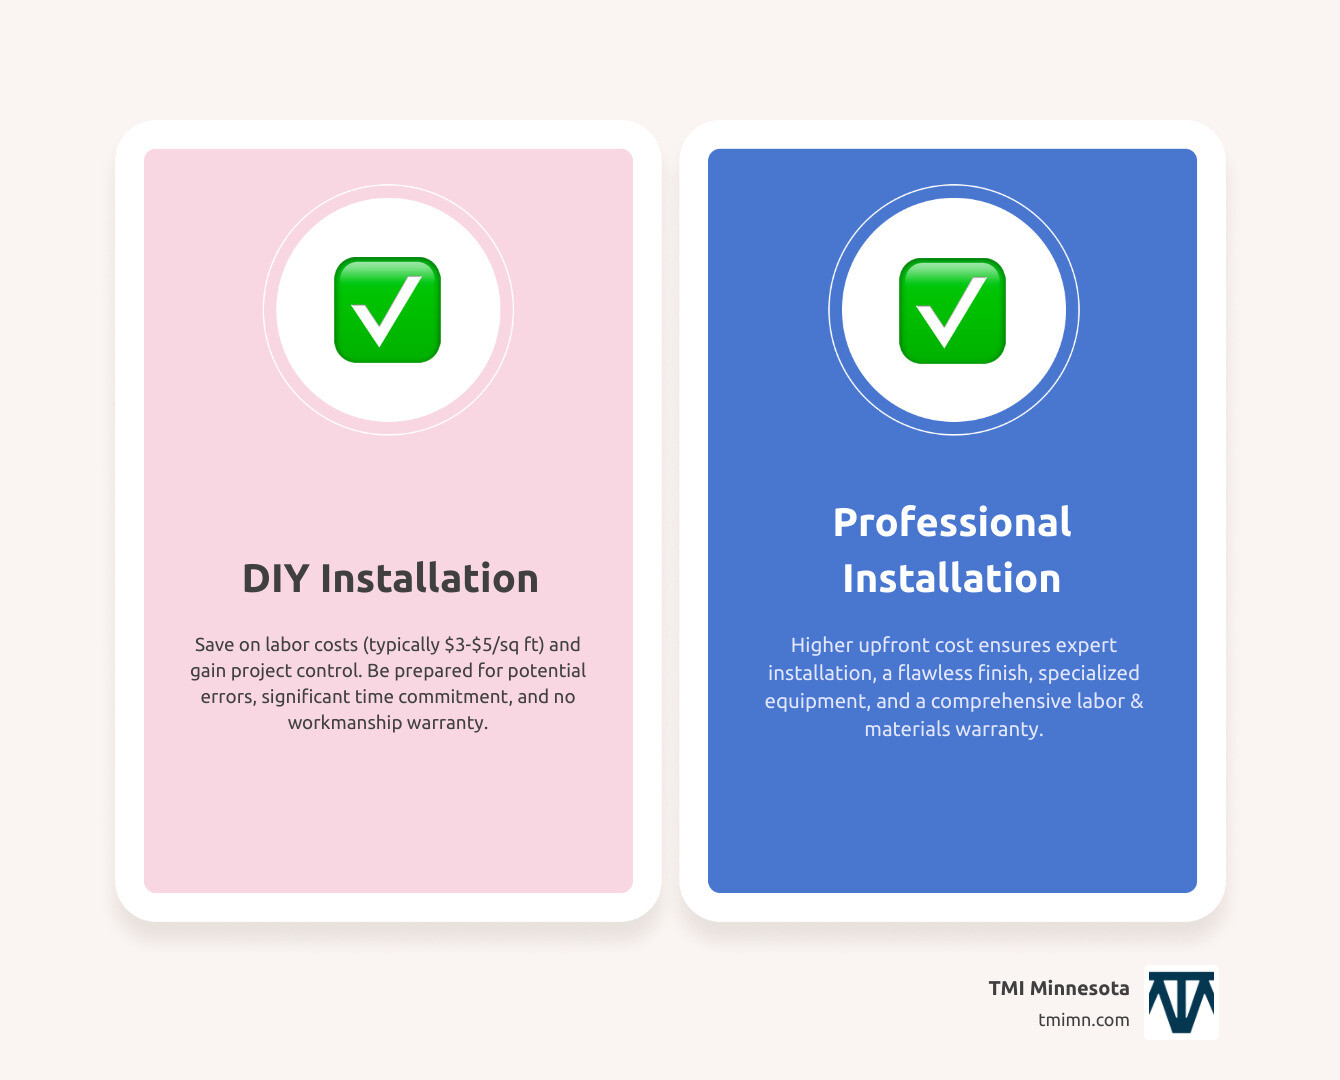
- Pros: The primary benefit is cost savings on labor, which typically runs $3 to $5 per square foot. You also have complete control over the project timeline and the satisfaction of doing it yourself.
- Cons: The risk of costly mistakes is high, especially in base preparation and seaming. It is also a physically demanding and time-consuming process involving heavy excavation and hauling materials. Most importantly, DIY work comes with no workmanship warranty, leaving you responsible for any future repairs.
When to Hire a Professional Installer
Hiring a professional is the smart choice in several scenarios:
- Large or Complex Areas: Professionals have the expertise to handle significant slopes, intricate shapes, and multiple seams flawlessly.
- Limited Time or Physical Ability: The labor involved is substantial. If you prefer to save your weekends and avoid heavy lifting, hiring a crew is the best option.
- Guaranteed Flawless Finish: Professionals have access to specialized equipment and the experience to create invisible seams and ensure perfect drainage.
- Comprehensive Warranty: A professional installation includes a warranty on both materials and workmanship, providing peace of mind and protecting your investment.
Maintenance, Longevity, and Common Issues
One of the best features of an artificial grass installation is its minimal maintenance. With proper installation, your new lawn can last 15-20 years—and in some low-traffic areas, even longer.
Basic upkeep is simple:
- Remove Debris: Use a leaf blower or stiff broom to clear away leaves and twigs.
- Rinse Pet Areas: Hose down areas used by pets a few times a week to keep them clean and odor-free. Enzyme cleaners can be used for stubborn odors.
- Brush High-Traffic Zones: Occasionally brush the fibers against the grain with a stiff broom to fluff them up and prevent matting.
- Check Edges for Weeds: While the weed barrier is effective, it’s wise to occasionally check the perimeter for any stray weeds.
How to Clean and Maintain Your New Lawn
Keeping your turf pristine requires very little effort.
- Regular Rinsing: An occasional spray with a garden hose will wash away dust and pollen.
- Spot Cleaning: For spills, use a mild household detergent mixed with water. Scrub gently and rinse. Avoid harsh chemicals or bleach.
- Pet Care: Solid waste can be removed easily once dry, followed by a quick rinse. For odors, use a bio-friendly cleaner or enzyme solution designed for turf.
- Cross-Brushing: Every few weeks, brush the grass against the grain to keep the fibers upright and maintain a full, lush appearance.
Common Drawbacks and How to Mitigate Them
While artificial grass is a fantastic solution, it’s important to be aware of a few considerations.
- Initial Cost: The upfront investment is higher than natural sod, but it is often recouped within 5-7 years through savings on water, equipment, and lawn care services.
- Heat Absorption: Turf can get warm in direct sun. This is mitigated by using lighter-colored infill, adding shade elements, and avoiding surfaces that reflect and concentrate sunlight onto the lawn.
- Visible Seams: This is purely an installation issue. A professional installer using proper techniques will create seams that are virtually invisible.
- Environmental Concerns: While manufacturing has an impact, the long-term benefits include massive water conservation and the elimination of fertilizers and gas-powered mowing. Many modern products are made with recycled materials and are themselves recyclable.
Frequently Asked Questions about Artificial Grass
Here are answers to the most common questions we receive about artificial grass installation.
How long does artificial grass last?
High-quality, professionally installed artificial grass lasts 15 to 20 years on average. The exact lifespan depends on the product quality, amount of foot traffic, and local climate conditions. In low-traffic areas, it can last even longer. The long-term savings on water and maintenance make it a smart investment.
Is artificial grass safe for pets and children?
Yes. Modern artificial grass is non-toxic, lead-free, and designed for safety. It eliminates the need for harmful pesticides and fertilizers, creating a clean play area. It’s also an excellent solution for those with grass pollen allergies. Products like our ForeverTurf line include superior drainage and antimicrobial properties to effectively manage pet waste and maintain a hygienic surface.
How does artificial grass drain water?
Artificial grass has a permeable backing with drainage holes across its entire surface. Water passes through the turf and into the specially prepared compacted sub-base of crushed aggregate below. This system is designed to percolate water efficiently into the ground, often draining faster and more effectively than a natural lawn, which prevents pooling and sogginess.
Transform Your Yard with a Flawless Installation
Now that you understand the artificial grass installation process, you can see the path to a perfect, hassle-free lawn. Imagine no more mowing, watering, or fertilizing—just a vibrant, green yard year-round.
A professional installation not only improves your home’s curb appeal and value but also creates a safe, chemical-free space for children and pets. It’s an investment in your lifestyle, giving you back your weekends.
At TMI Minnesota, we specialize in changing outdoor spaces with leading-edge products and expert installations. While a DIY approach is possible, professional installation guarantees a flawless result with proper drainage, invisible seams, and a comprehensive warranty that protects your investment.
Ready to enjoy a perfect lawn 365 days a year? Explore our premium ForeverTurf options and let us help you create the outdoor space of your dreams.