
Introduction
Ever watched your kids climb all over your furniture and thought, “If only there was a better place for all that energy”? Well, there is! A backyard climbing wall for kids might be exactly what your family needs to transform restless energy into healthy development and tons of fun.
As a parent, I’ve seen how these simple structures can become the centerpiece of outdoor play. A backyard climbing wall for kids offers that perfect blend of physical challenge and imaginative play that keeps children engaged for hours – no screens required!
| Quick Facts: Backyard Climbing Wall for Kids |
|---|
| Cost Range: $225-$700 for DIY; $6,500+ for commercial installations |
| Time to Build: Approximately 10-16 hours for a basic DIY structure |
| Materials Needed: Pressure-treated lumber, 3/4″ exterior plywood, climbing holds, T-nuts, safety mats |
| Main Benefits: Physical development, confidence building, screen-time alternative |
| Age Range: Can be designed for children 3-12 years old |
The beauty of these structures lies in their versatility. Your climbing wall can be as simple as a weekend DIY project or as elaborate as a permanent backyard centerpiece with varying angles and integrated features. One dad told me after completing his family’s wall, “My five-year-old took immediately to both sides. He found different routes with the climbing holds and loved climbing up the ropes – it’s been the best addition to our yard by far.”
Unlike traditional playground equipment that kids might outgrow quickly, climbing walls can evolve with your children. By simply rearranging holds or adding new challenges, you can keep the wall exciting and age-appropriate for years to come.
I’m Christopher Deanovic, Operations Leader at Task Masters, and I’ve helped dozens of Minnesota families create backyard climbing walls for kids that blend safety with trip while complementing their existing landscape designs.
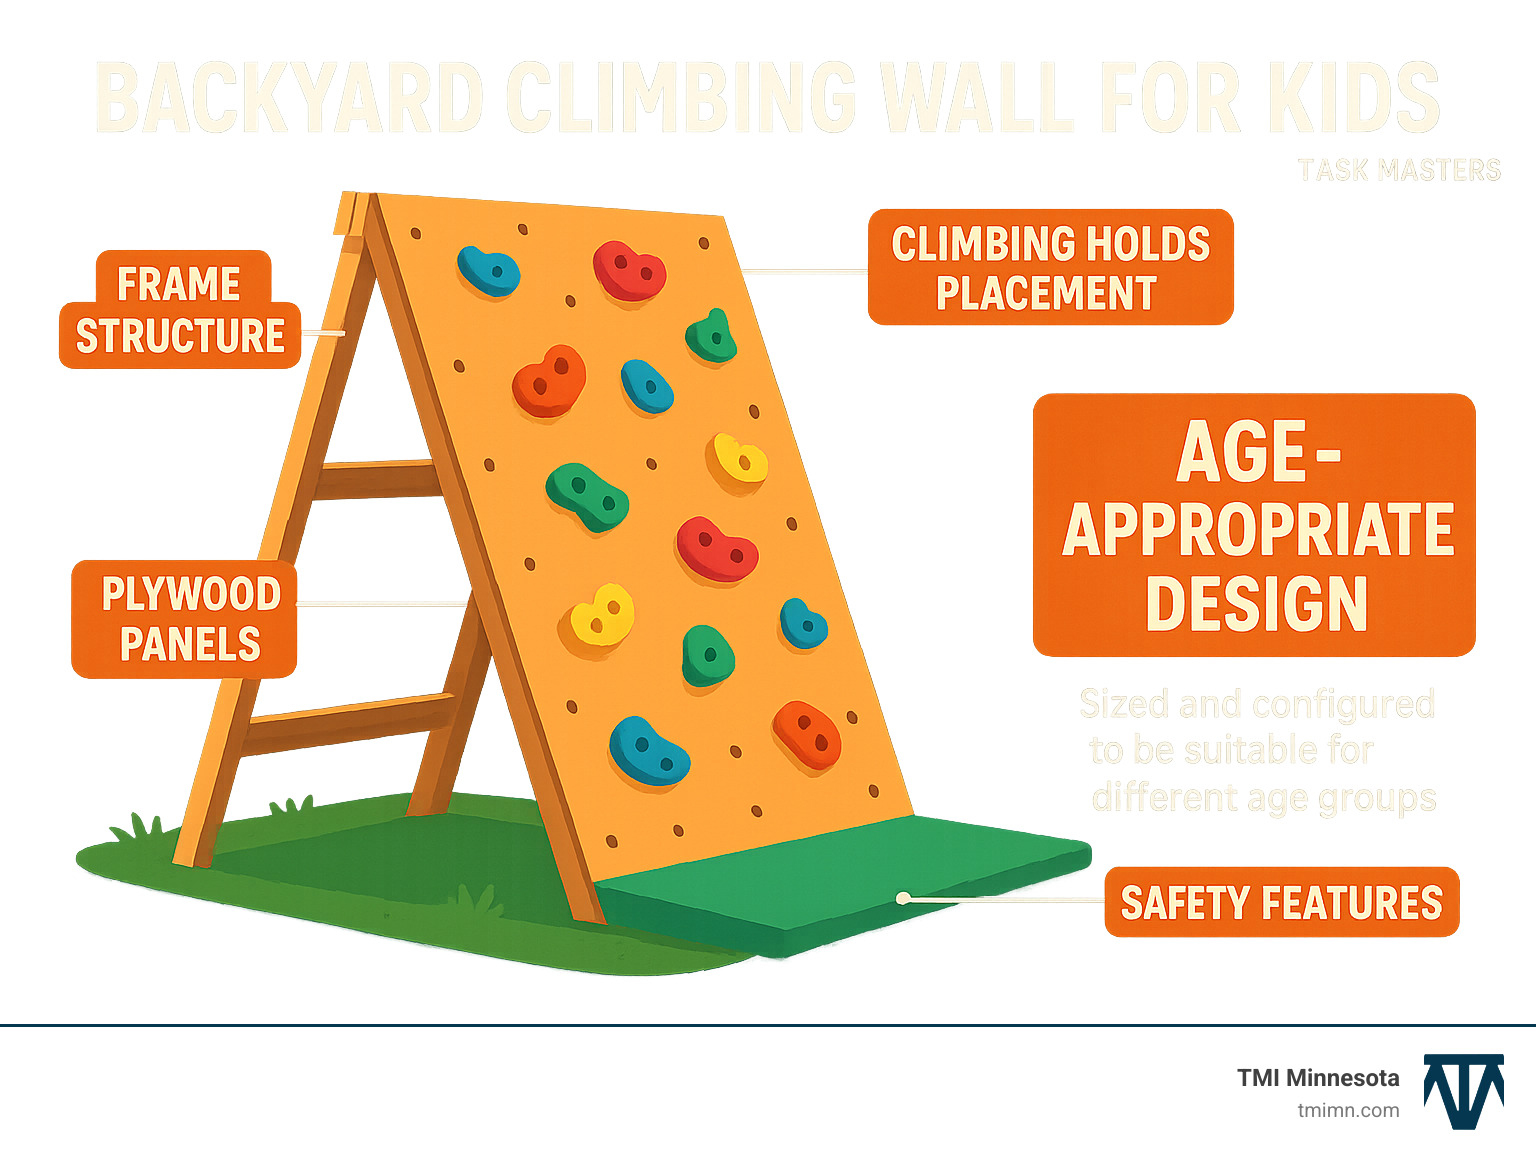
In this guide, I’ll walk you through everything you need to know about creating the perfect backyard climbing wall for kids – from initial planning and budgeting to step-by-step construction and ongoing maintenance. Whether you’re looking to improve your creative outdoor play spaces, make the most of landscape design for small yards, or even incorporate outdoor lighting installations for evening climbing trips, we’ve got you covered with practical advice that puts safety and fun at the forefront.
Why a Backyard Climbing Wall for Kids?
Ever watched your little ones scaling furniture or scrambling up trees? That natural climbing instinct is powerful – and channeling it into a backyard climbing wall for kids might be one of the smartest moves you’ll make as a parent.
Unlike traditional swing sets or slides that focus on just one type of play, climbing walls engage children’s bodies and minds in remarkably complete ways. As climbing activities increasingly appear in school PE programs nationwide, bringing this experience home creates a powerful learning playground right in your yard.
“Climbing is a natural instinct in children,” explains child development expert Dr. Amanda Johnson. “When we provide safe, challenging structures for this instinct, we’re supporting multiple aspects of healthy development simultaneously.”
Developmental & Health Gains
The physical benefits of a backyard climbing wall for kids go far beyond just burning energy. Your child’s body develops in ways that support lifelong health:
Your little climber builds whole-body strength as arms, shoulders, core, and legs all work together – something rarely achieved with traditional playground equipment. Their grip strength and endurance improves dramatically, which directly translates to better handwriting, craft skills, and other fine motor tasks.
The constant body adjustments required to steer a climbing route develop exceptional balance and coordination. Regular climbing sessions provide excellent cardiovascular exercise without feeling like a workout. Perhaps most impressively, planning routes up the wall naturally improves executive function, as children develop problem-solving skills and spatial awareness while having fun.
One Minnesota parent shared, “Since installing our wall last summer, we’ve noticed remarkable improvements in our children’s upper body strength and confidence. They approach physical challenges with so much more determination now.”
Social-Emotional Payoffs
The magic of a backyard climbing wall for kids extends well beyond physical benefits into powerful emotional growth:
Children naturally develop risk assessment skills as they evaluate their abilities and decide which routes to attempt. The process of working toward reaching the top builds goal setting and perseverance – qualities that serve them well throughout life.
When faced with a challenging move, kids learn emotional regulation as they work through frustration to find solutions. Each new achievement builds genuine self-confidence that comes from real accomplishment rather than empty praise. And the wall often becomes a place for cooperative play where children create challenges for each other and offer guidance.
“I built this climbing wall because: 1. It’s Awesome, 2. To encourage the kids to go outside, & 3. I want to connect the Zip Line to it,” explains one enthusiastic DIY parent whose project has become the neighborhood gathering spot.
Research from WebMD’s parenting resources consistently shows children who climb regularly demonstrate improved focus, better decision-making, improved self-confidence, and stronger goal-setting abilities. These skills transfer directly to better academic performance and healthier social interactions.
And let’s not forget perhaps the most immediate benefit for modern parents – a compelling alternative to screen time. When children have an engaging, physically challenging activity waiting just outside the door, the battle against excessive device use becomes remarkably easier to win.
Planning & Cost-Checking Your Backyard Climbing Wall for Kids
Before grabbing your tools and heading to the lumber yard, thoughtful planning will save you time, money, and potential headaches. A well-designed backyard climbing wall for kids requires consideration of several key factors.
Design & Layout Decisions
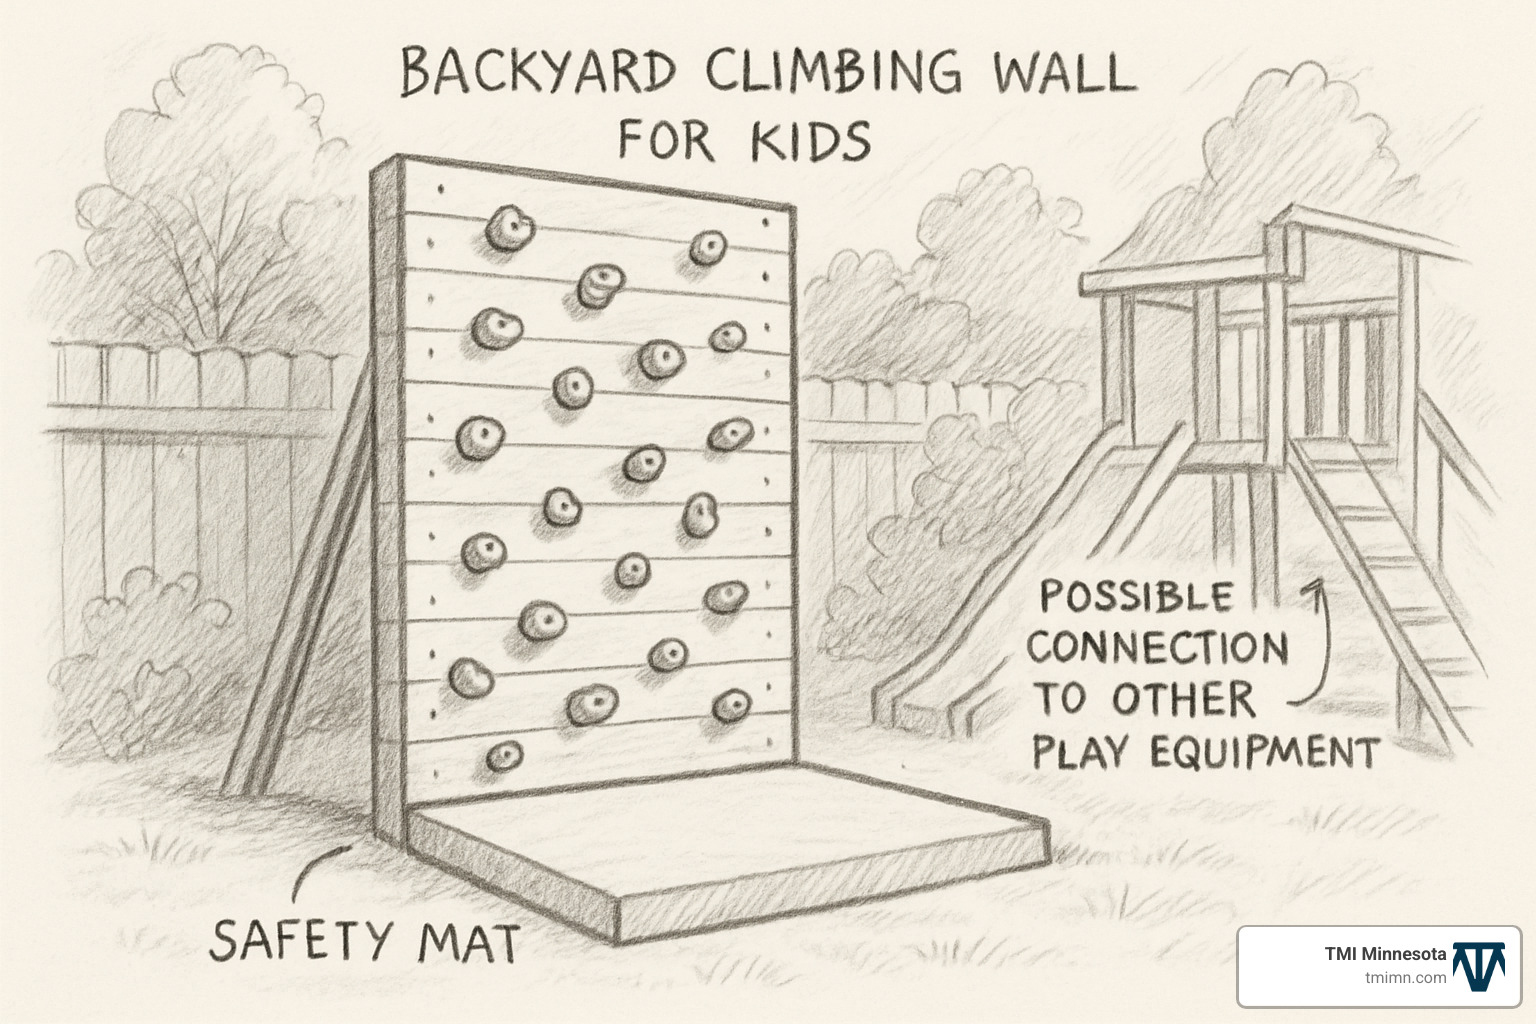
The first step is determining exactly what type of climbing wall will best suit your family’s needs and space. Many parents find themselves drawn to different configurations based on their yard size and kids’ ages.
You might opt for an A-frame design that stands freely and can be moved around the yard—perfect for younger climbers who are just starting out. Or perhaps a leaning wall might work better in your space, angled against an existing structure for added stability without permanent installation.
For families with a sturdy fence, garage wall, or playhouse, a vertical wall mounted directly to the structure offers excellent stability with minimal footprint. More adventurous families with older kids might consider an overhang wall with sections that angle outward for increased challenge. And if you have multiple children who’ll want to climb simultaneously, a climbing dome creates a 3D structure everyone can enjoy at once.
One Minnesota dad shared his experience: “I love the ladder side of this climbing ramp. It makes getting to the top super easy for grown-ups, and the climbing side keeps the kids challenged without being too intimidating.”
When designing your wall, think about where the sun hits your yard throughout the day. Wall orientation matters—south-facing walls receive more direct sunlight, which can make summer climbing uncomfortable and affects your material choices. For younger children, height limitations of 6-8 feet typically provide plenty of challenge while remaining manageable, while older kids might enjoy walls reaching 8-12 feet.
Don’t forget to consider angle variations in your design. A slight incline of 10-15 degrees makes climbing easier for beginners, while steeper sections can challenge more experienced climbers. Planning for route diversity from the beginning ensures your wall grows with your children’s abilities.
Many families find that incorporating creative additions like a slide for quick descents, a cargo net for alternative climbing, or monkey bars extending from the top adds tremendous play value. As one experienced builder told me, “More holds = more fun. And having irregular faces on your wall makes it more interesting than a single flat surface.”
For Twin Cities homeowners working with limited yard space, check out our landscape design for small yards resource. We’ve helped dozens of families maximize their available area while incorporating trip-ready climbing features.
Budget Breakdown & Timeline
Building a backyard climbing wall for kids doesn’t have to break the bank, but costs do vary significantly based on size, materials, and complexity. Let’s break down what you might expect to spend:
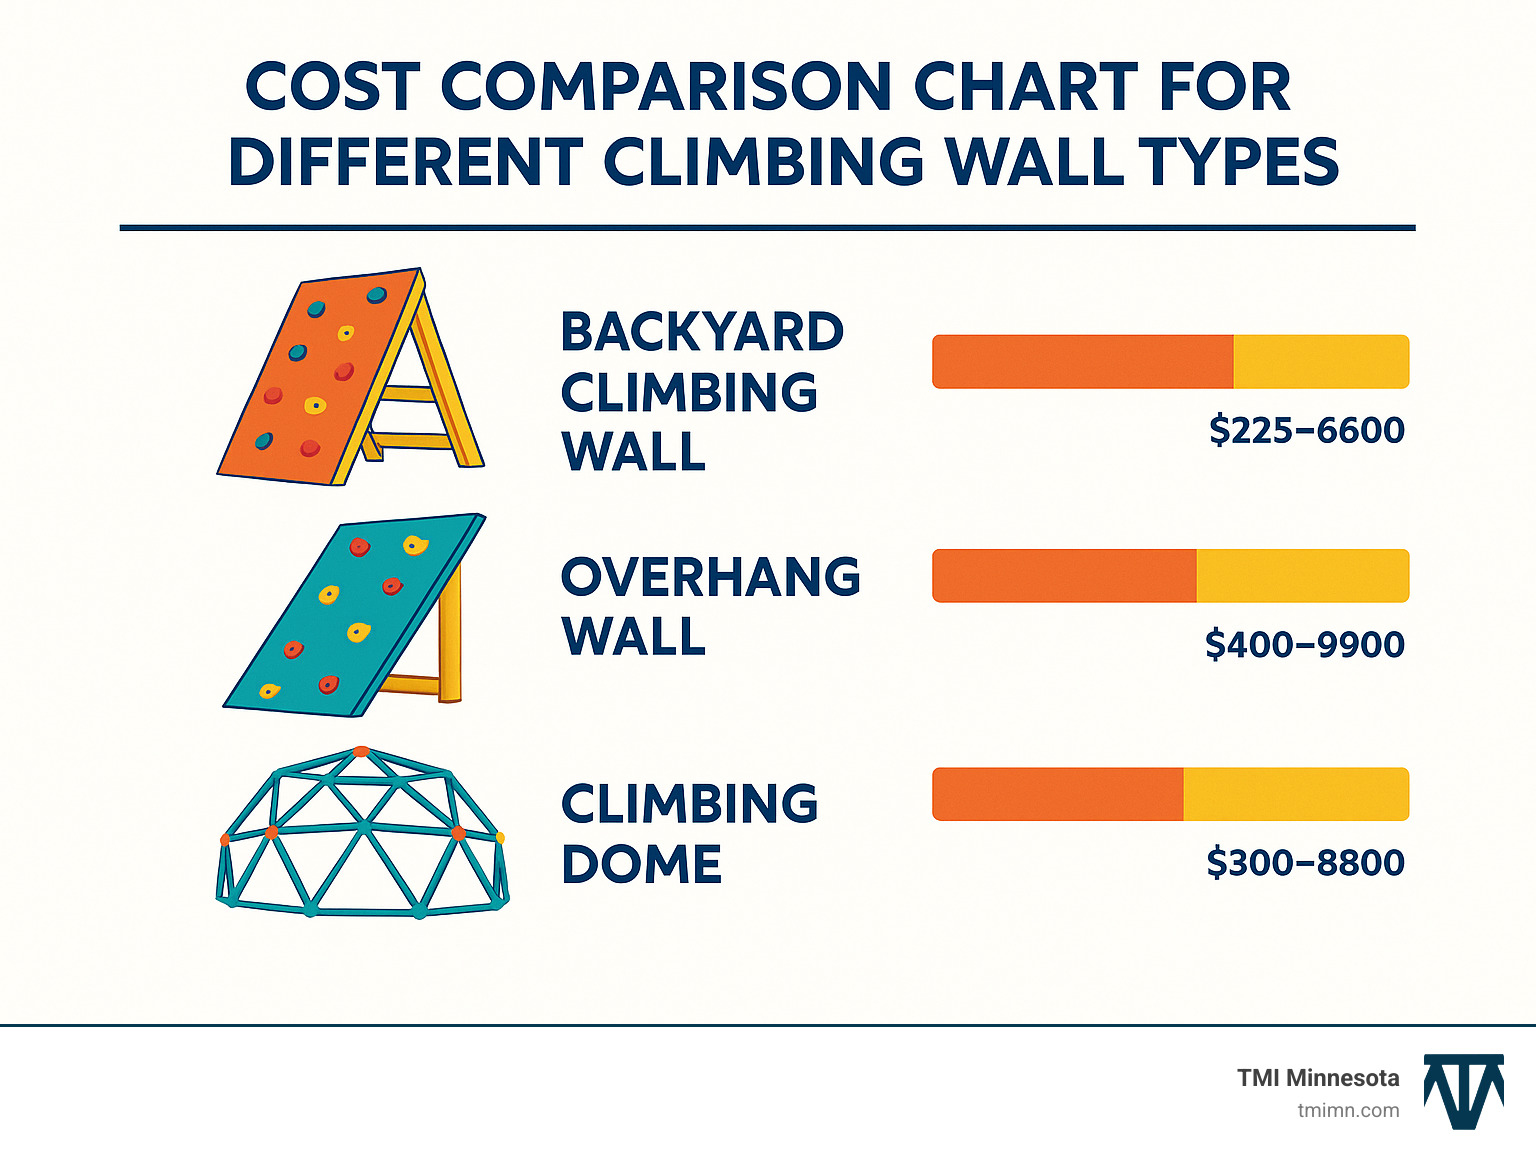
A basic A-frame design typically runs $225-$350 (excluding climbing holds), making it an affordable weekend project. If you’re looking for something more substantial, a mid-range wall with varied angles might cost $400-$600, while an elaborate setup with multiple features could reach $600-$900.
For those preferring ready-made options, pre-made climbing panels start around $449 and can go up to $1,200 depending on size and features. Professional installation is another route, with costs ranging from $6,558-$11,683 for a standard 12’x6′ wall.
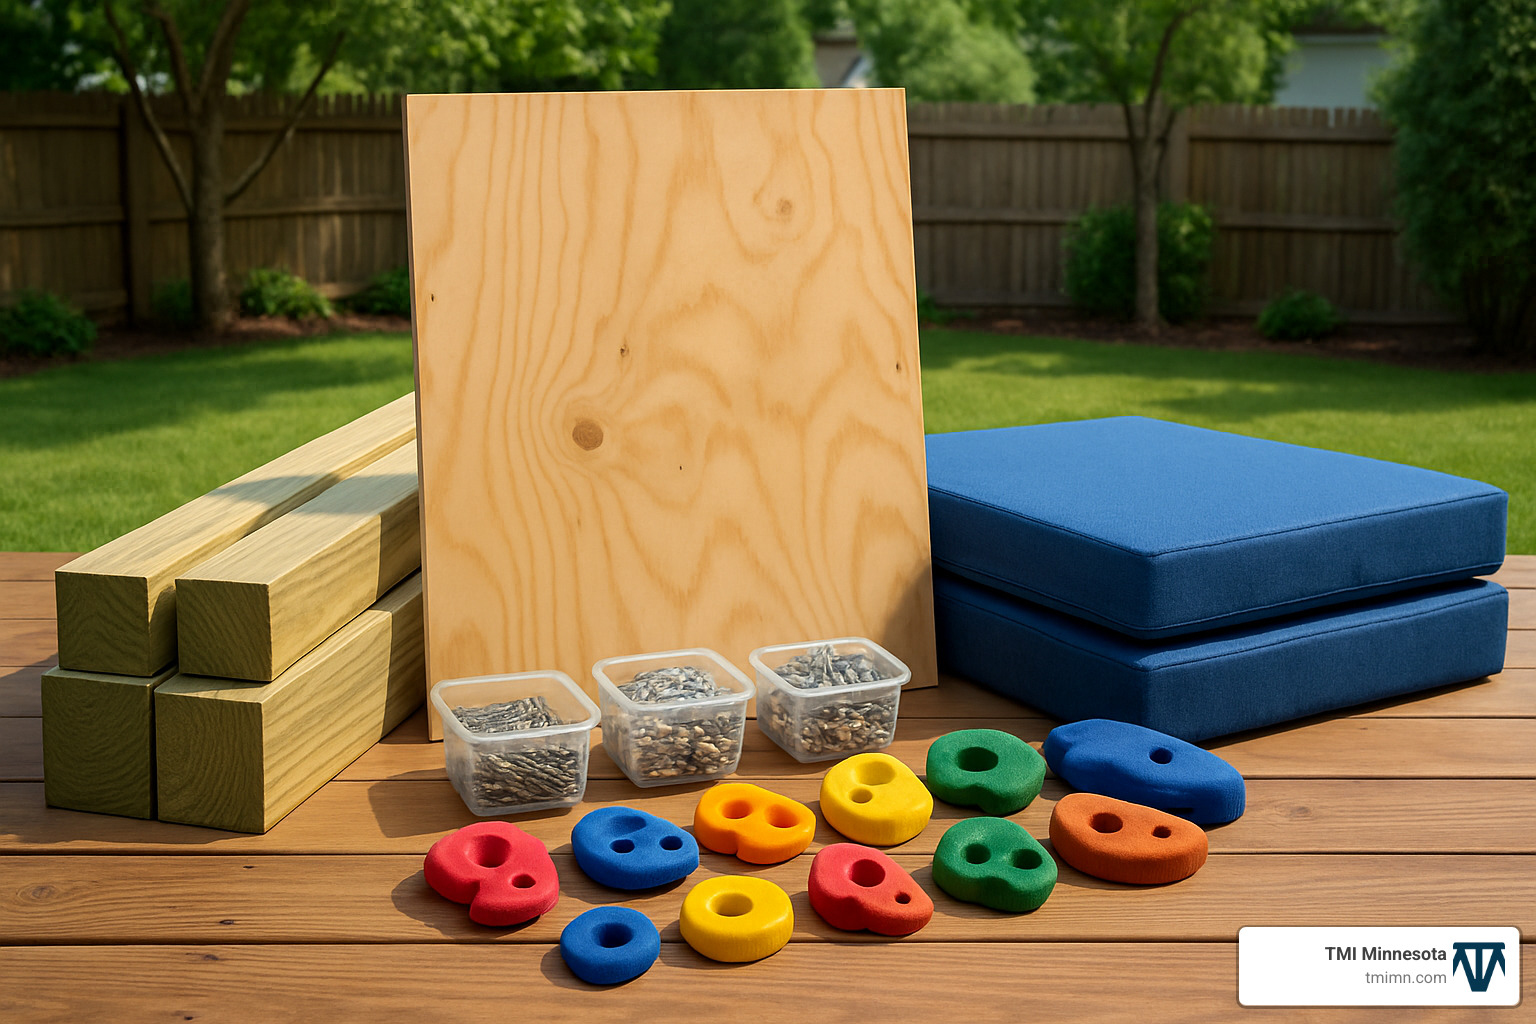
The biggest expenses typically come from materials. You’ll need lumber (pressure-treated 2x4s, 2x6s, and 4x4s) for the frame, 3/4″ exterior grade plywood (ACX) for the climbing surface, and climbing holds that run $1-$10 each depending on quality. Don’t forget hardware like T-nuts, bolts, screws, and structural connectors, plus safety materials for landing zones such as crash pads or rubber mulch.
One experienced Minnesota builder warned me, “I built six climbing structures previously and always needed more holds than I anticipated.” This is excellent advice—most 8’x8′ walls require 50-80 holds for adequate route options, so budget accordingly.
Time-wise, you’re looking at 1-2 weeks for planning and gathering materials, 10-16 hours of actual construction time (usually spread over 2-3 weekends for DIY builders), and a final 2-4 hours for finishing touches and safety testing.
Before you start digging post holes or mounting brackets, check your local building codes and homeowners association rules. Many Twin Cities communities require permits for structures over a certain height or square footage. A quick call to your local building department can save headaches down the road.
Proper planning now means years of active, healthy play later. At TMI Minnesota, we’ve helped countless families integrate climbing features into their overall landscape design, creating cohesive outdoor spaces that balance trip with aesthetics.
Materials, Tools & Safety Must-Haves
Building a safe, durable backyard climbing wall for kids requires quality materials that can withstand Minnesota’s challenging weather conditions.
Essential Tool List
Having the right tools on hand makes construction much more efficient:
- Circular saw: For cutting lumber and plywood
- Drill/driver: With bits for pilot holes and driving screws
- Impact driver: For lag bolts and structural connections
- Jigsaw: For cutting curves and openings
- Level and square: To ensure proper alignment
- Tape measure: For accurate dimensions
- Spade bit or forstner bit: For drilling clean T-nut holes
- Digital angle gauge: For precise angle cuts on leaning walls
- Wrench set: For tightening bolts on climbing holds
“A forstner bit produces the sharpest, cleanest holes with minimal tear-out,” advises one DIY enthusiast who built an indoor climbing wall.
Materials Selection
Quality materials ensure safety and longevity:
Structural Components:
– Frame lumber: Pressure-treated 2x4s, 2x6s, and 4x4s for ground contact
– Climbing surface: 3/4″ exterior-grade plywood (ACX preferred)
– Fasteners: Stainless steel or hot-dipped galvanized screws and bolts
– Anchoring: Concrete footings or ground stakes for freestanding structures
Climbing Components:
– T-nuts: 3/8″ screw-in T-nuts are more reliable than prong versions
– Climbing holds: 25-30 holds per 4’x8′ sheet for young children
– Safety mats: Minimum 2″ thick foam padding for the landing zone
“Use kiln-dried (not green) wood to prevent mold and warping,” recommends a builder who completed a backyard climbing wall. “And seal pressure-treated wood to lock in chemicals before children use it.”
Safety First Checklist
Safety considerations should be your top priority:
- Fall zone preparation: Install impact-absorbing material extending at least 6 feet from the climbing surface
- Edge treatment: Sand and round over all wood edges to prevent splinters
- Hardware safety: Countersink all screws and ensure no sharp edges are exposed
- Structural integrity: Design for 250+ pounds of weight capacity per section
- Weather protection: Apply exterior-grade sealant to all wood surfaces
- Regular inspection: Check for loose hardware, wood damage, or wear monthly
- Child-lock system: Consider a removable bottom hold section or cover for when supervision isn’t available
“I created a child-proofing mechanism by hooking mats over the wall when unsupervised,” shares one parent who built an indoor climbing wall. “Simple S-hooks and screw eyes let me lock off the wall easily.”
For additional safety around your climbing wall, consider our softscaping and hardscaping services to create appropriate ground surfaces and complementary landscaping.
DIY Build & Upgrade Roadmap
Now that you’ve planned and gathered materials, it’s time to roll up your sleeves and build your backyard climbing wall for kids. I’ll walk you through each step of the process, from breaking ground to the first triumphant climb.
Step-by-Step Snapshot
1. Site Prep & Mark Utilities
Before your shovel hits the dirt, call Gopher State One Call (811) to mark underground utilities. Trust me, this simple step can save you from a world of trouble! Choose a level spot with good drainage, and clear away any rocks, roots, or debris that might interfere with your construction.
“I learned the hard way to check local regulations first,” laughs Mike, a Minneapolis dad who built a climbing wall last summer. “Had to shift my entire design when I finded where our gas line ran.”
2. Set Posts with Concrete or Foam
For a sturdy, permanent structure, you’ll need to anchor your posts properly:
– Dig holes 18-24 inches deep for your 4×4 posts (in Minnesota, consider going deeper due to our impressive frost line)
– Place your posts, checking carefully with a level to ensure they’re perfectly plumb
– Fill with concrete or, as many DIYers now prefer, expanding foam designed for structural use
“This cool foam rapidly fills the holes and cures super solid, it’s pretty cool,” shares one builder who skipped the concrete mixer altogether. “Plus, I could continue building the same day rather than waiting for concrete to set.”
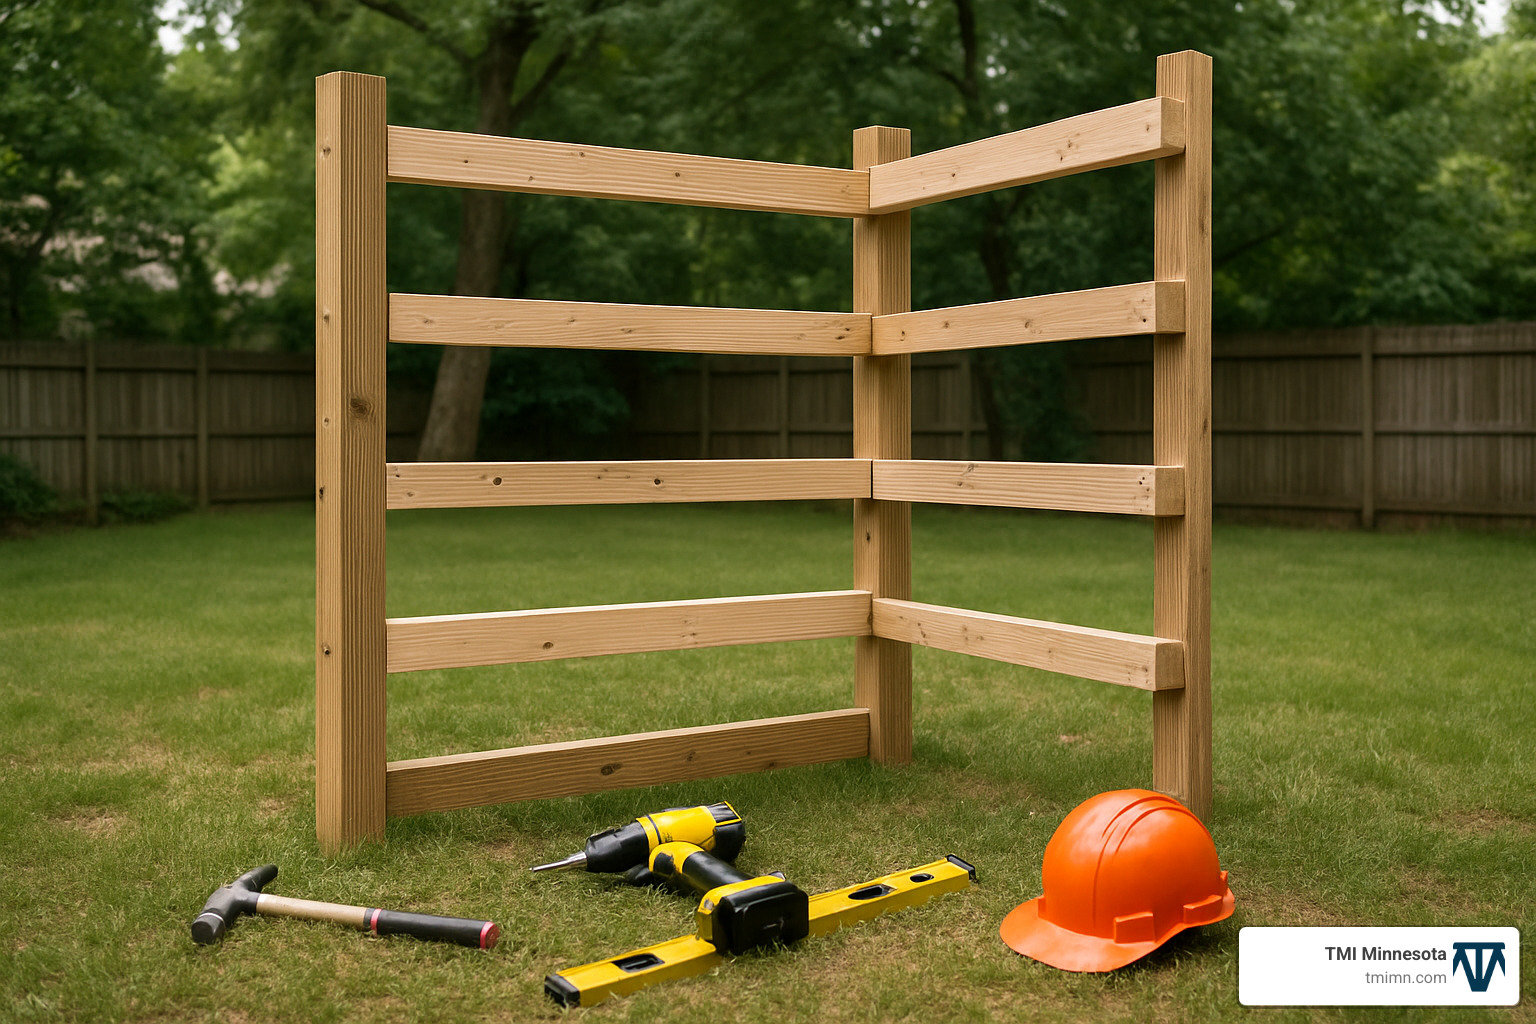
3. Frame the Structure
The frame is your wall’s backbone, so take your time getting it right:
– For vertical walls: Attach horizontal 2x4s to your posts at 16-24″ intervals
– For angled walls: Your digital angle gauge will be your best friend for those precise cuts
– For A-frames: Create identical frames that you’ll connect with sturdy hinges or bolts
One clever parent advised, “Use a spirit level to mark exact board angles without complicated calculations. Saved me hours of head-scratching!”
4. Cut & Mount Plywood
Now for the climbing surface itself:
– Measure and cut your 3/4″ plywood sheets to fit your frame perfectly
– Take time to bevel those edges – your children’s hands will thank you
– Pre-drill holes before adding mounting screws to prevent splitting
– Secure the plywood with 2″ deck screws every 12″ along your supports
“Before you start drilling for climbing holds,” recommends Sarah, whose backyard climbing wall for kids has become neighborhood-famous, “mark all your brace locations on the plywood. Nothing worse than drilling a perfect pattern only to hit a support beam!”
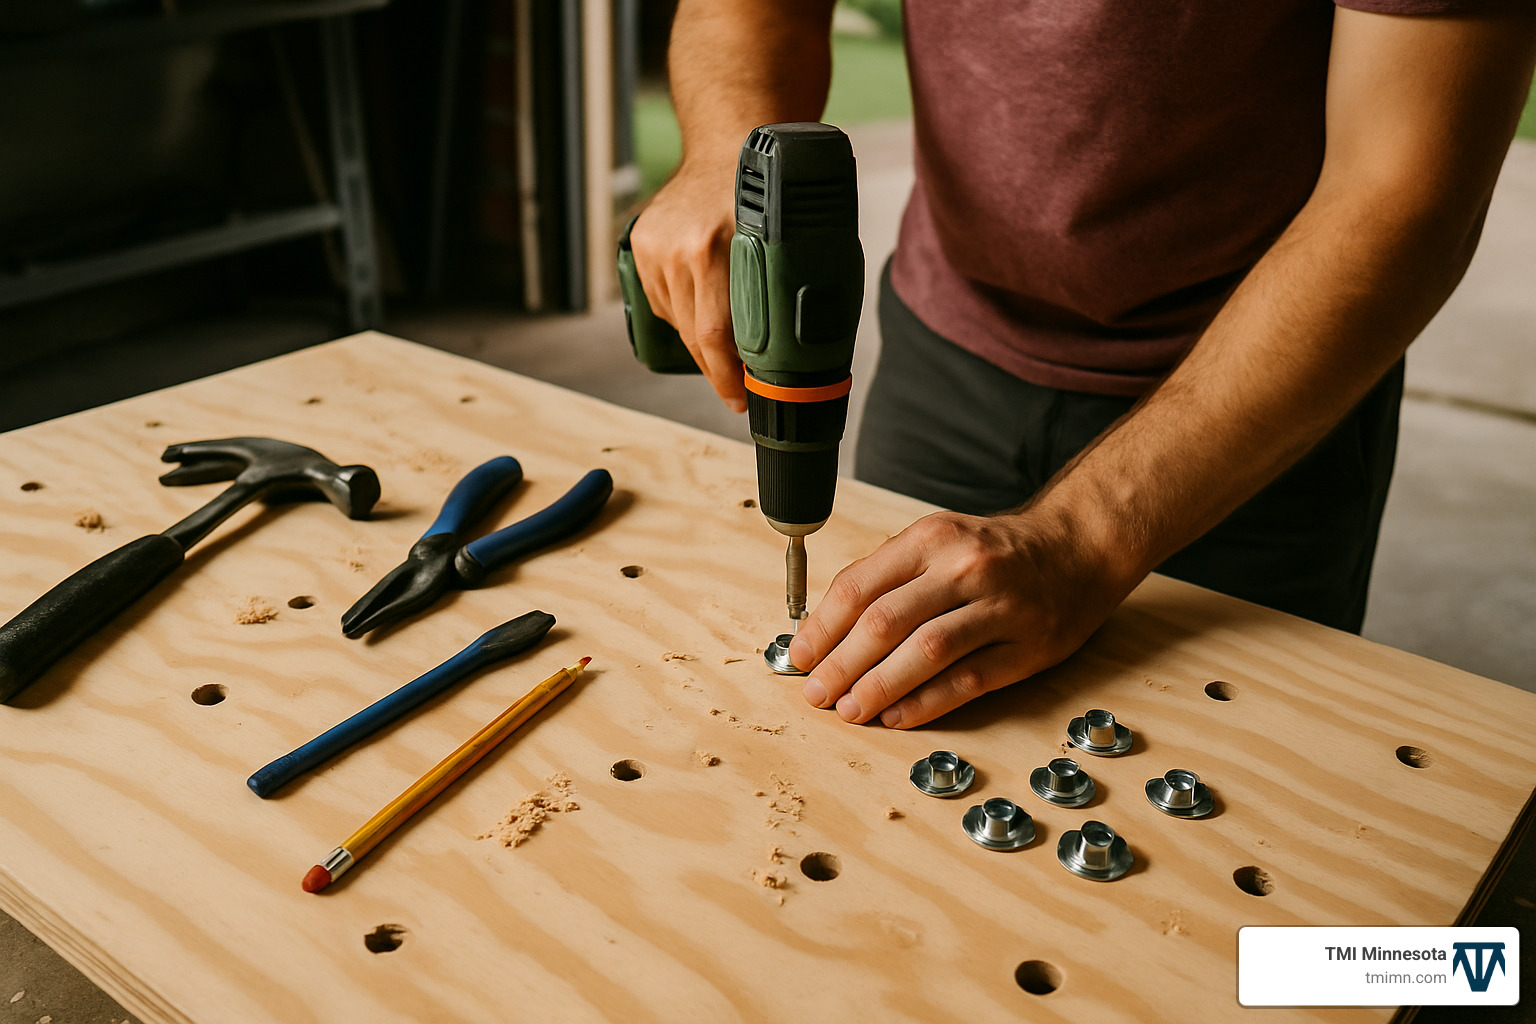
5. Drill Holes & Install T-nuts
This step requires patience but sets you up for years of flexible climbing routes:
– Create a grid pattern for your holds, typically with 8″ spacing and some random offsets to keep things interesting
– Drill clean 3/8″ holes for your T-nuts
– Flip the plywood and hammer in T-nuts from the back
– A tiny drop of super glue helps secure screw-in T-nuts for the long haul
“My secret for perfect holes?” shares Tom, who built an indoor wall before tackling his backyard version. “Drill small pilot holes from the back, then use a spade bit from the front. Eliminates tear-out completely.”
6. Prime, Paint & Texture
Now the fun part – making your wall beautiful and functional:
– Apply quality exterior primer to all surfaces
– Mix a small amount of sand into your exterior paint for just the right amount of grip
– Apply 2-3 coats for durability in our Minnesota weather
– Finish with clear polyurethane for that extra layer of protection
Jenny, whose backyard climbing wall for kids has weathered three harsh winters, suggests, “A small spoon of sand per gallon of exterior paint gives the perfect climbing texture – grippy but not skin-scraping.”
7. Install Climbing Holds
This is where your wall truly comes to life:
– Bolt your climbing holds into the T-nuts using an allen wrench
– Create beginner-friendly routes with larger holds placed closer together
– Design more challenging paths with smaller holds spaced further apart
– Consider using different colored holds to mark routes of varying difficulty
“For my preschoolers,” advises Amy, “I started the first row about 8 inches above the mat and spaced holds 12-14 inches apart. As they’ve grown, we’ve gradually created more challenging routes.”
8. Install Safety Features & Test
Safety first, always:
– Place appropriate crash pads or rubber mulch in the landing zone
– Test each hold by pulling firmly in all directions
– Have an adult be the brave first climber to verify everything’s solid
– Supervise those exciting initial climbing sessions closely
One experienced builder notes, “Always pre-drill and countersink your screw holes. Not only does it prevent splitting, but it also eliminates snags and splinters – crucial for little hands.”
Ongoing Care & Expansion
Your backyard climbing wall for kids isn’t a “build it and forget it” project. With proper maintenance, it will provide years of enjoyment:
Keep your wall in top shape with regular checks:
– Monthly: Tighten any loose hardware – kids are surprisingly good at wiggling things loose
– Seasonally: Carefully inspect the wood for any damage, splitting, or early signs of rot
– Annually: Apply fresh sealant or paint to protect against our Minnesota elements
– Bi-annually: Replace any damaged holds or T-nuts that have seen better days
As your kids grow and master the wall, consider these popular expansions:
– Add new, more challenging holds to keep the excitement fresh
– Install a cargo net alongside for alternative climbing options
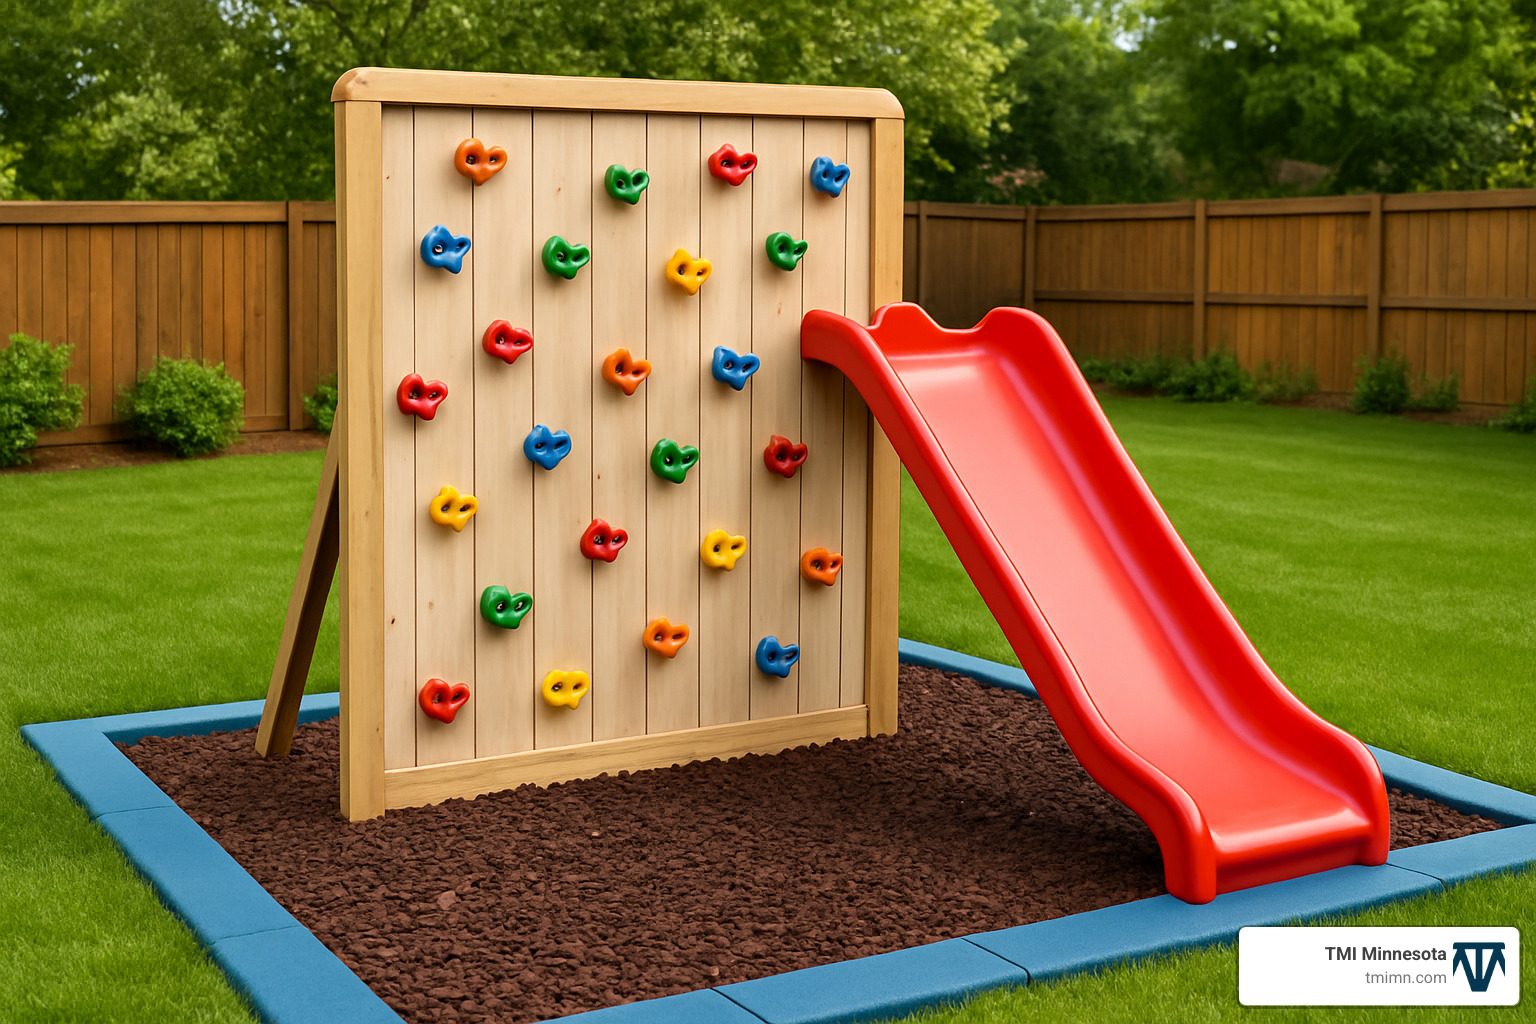
– Attach a slide for quick, fun descents
– Incorporate monkey bars for traversing trips
– Build a small platform at the top to give climbers that sense of achievement
“Once kids start climbing,” laughs Dave, whose backyard climbing wall for kids has become the neighborhood hotspot, “getting them to come inside for dinner becomes the real challenge!”
For families looking to integrate a climbing wall into a complete backyard change, our backyard change services can help create a cohesive outdoor living space where your climbing wall becomes part of a larger outdoor trip zone.
Quick-Answer FAQ
How many holds per 4’×8′ sheet?
For young children (ages 3-8), I recommend 25-30 holds per sheet. This gives enough options to create fun routes without overwhelming beginners. As your kids grow or if you’re building for older children, bump that up to 35-40 holds per sheet for more challenging climbing experiences.
“Buy more holds than you think you’ll need,” advises Maria, who’s on her second backyard climbing wall for kids. “It’s always better to have options for creating different routes, and they’re much easier to store than to reorder later.”
Do I need a permit?
In most Twin Cities communities, structures over 8′ tall or permanently set in the ground require building permits. Freestanding structures under 8′ typically don’t need permits, but it’s always smart to check with your local building department before starting. And don’t forget about possible HOA restrictions – better to know before you build!
Best way to weatherproof?
Minnesota’s climate demands serious weatherproofing for any outdoor structure:
- Start with pressure-treated lumber for your frame
- Apply quality exterior primer to all wood surfaces
- Use marine-grade paint specifically designed for outdoor exposure
- Top with annual applications of clear UV-resistant sealer
- Consider a removable tarp cover for the harshest winter months
“Don’t forget to paint the cut edges of your panels before installation,” recommends Chris, whose first backyard climbing wall for kids taught him valuable lessons about Minnesota weather. “Those unsealed edges are the first place water damage will start.”
Conclusion
Building a backyard climbing wall for kids is more than just a weekend project—it’s an investment in your children’s physical development, problem-solving skills, and outdoor enjoyment. From sketching the initial design to watching your child conquer their first route, this family endeavor creates memories while building muscles and confidence.
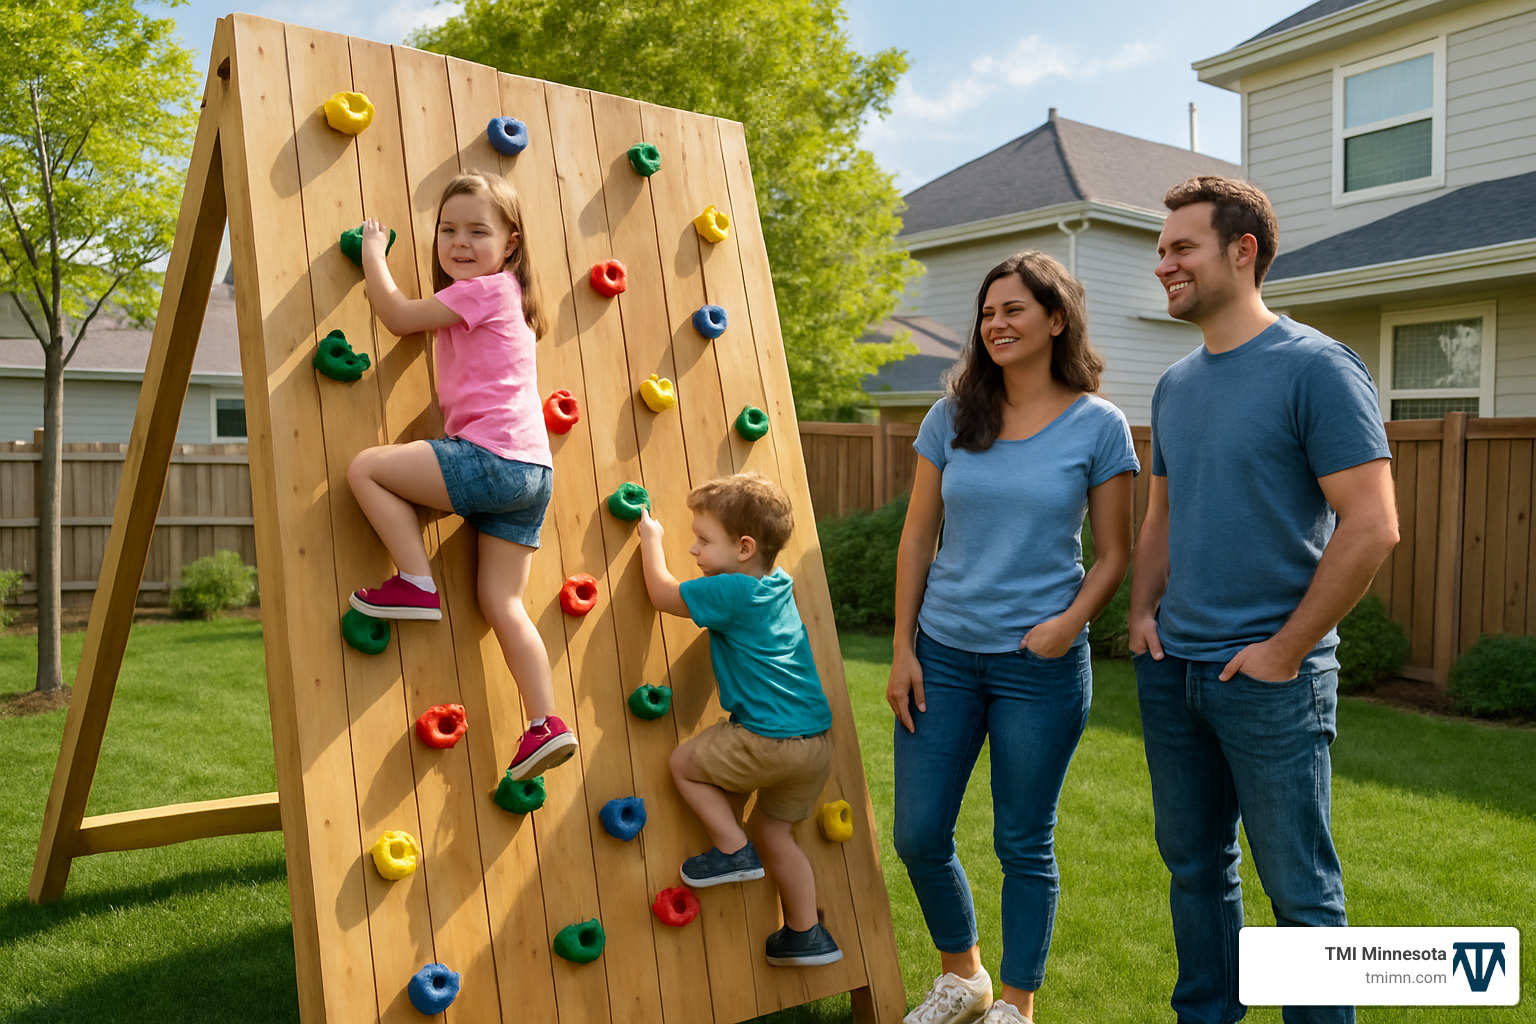
I’ve seen the pride in parents’ eyes when their children master a challenging route they couldn’t complete just weeks before. As one Minnesota dad told me after completing their DIY climbing wall: “This project was a huge labor of love, but hearing our son call it ‘the best present ever!’ made every hour of work worthwhile.”
The beauty of a backyard climbing wall for kids lies in its versatility. Your creation can evolve as your children grow—starting with larger, closely-spaced holds for little ones and gradually introducing more challenging routes as their skills develop. Unlike video games that are quickly outgrown, a well-designed climbing wall continues to challenge and engage children through their developmental stages.
Safety remains the cornerstone of any successful climbing installation. With proper construction techniques, regular maintenance checks, and appropriate supervision, your backyard trip zone will provide years of safe exploration. The most meaningful safety feature isn’t the crash mat (though that’s essential!)—it’s the watchful eye and encouraging voice of a parent nearby.
For Twin Cities families looking to create a comprehensive outdoor play space that includes a climbing wall, our team at TMI Minnesota can help design and implement a solution that complements your existing landscape. We understand Minnesota’s unique climate challenges and can recommend materials and techniques to ensure your wall withstands our harsh winters and hot summers. Our expertise in creative outdoor play spaces ensures that your climbing wall will blend beautifully with your overall landscape design.
Want to take your climbing wall to the next level? Consider pairing it with ForeverTurf play-safe surfacing for added protection and year-round usability. This premium surfacing material provides excellent fall protection while eliminating mud, grass stains, and maintenance headaches.
As your children reach for new heights on their backyard climbing wall, they’re also reaching for important life skills—perseverance, risk assessment, and self-confidence. That’s an investment that pays dividends far beyond the backyard.
Ready to help your family accept the climbing trip? Contact us to discuss how we can transform your outdoor space into a natural playground that encourages healthy, active play for years to come.