
Why Backyard Putting Greens Are Changing Home Golf Practice
Backyard putting green installations have become one of the most popular ways for golf enthusiasts to improve their short game while adding serious value to their property. Instead of driving to the course every time you want to practice, you can step outside and work on your putting stroke whenever inspiration strikes.
Quick Comparison of Backyard Putting Green Options:
- Synthetic Turf Greens: Low maintenance, consistent ball roll, weather-resistant, $5-20 per sq ft
- Natural Grass Greens: Authentic feel, high maintenance required, $18-20 per sq ft plus ongoing costs
- Portable Mats: Easy storage, limited realism, under $500 for quality options
- DIY Kits: Pre-cut materials, weekend installation, $1,800-5,000 for medium-sized greens
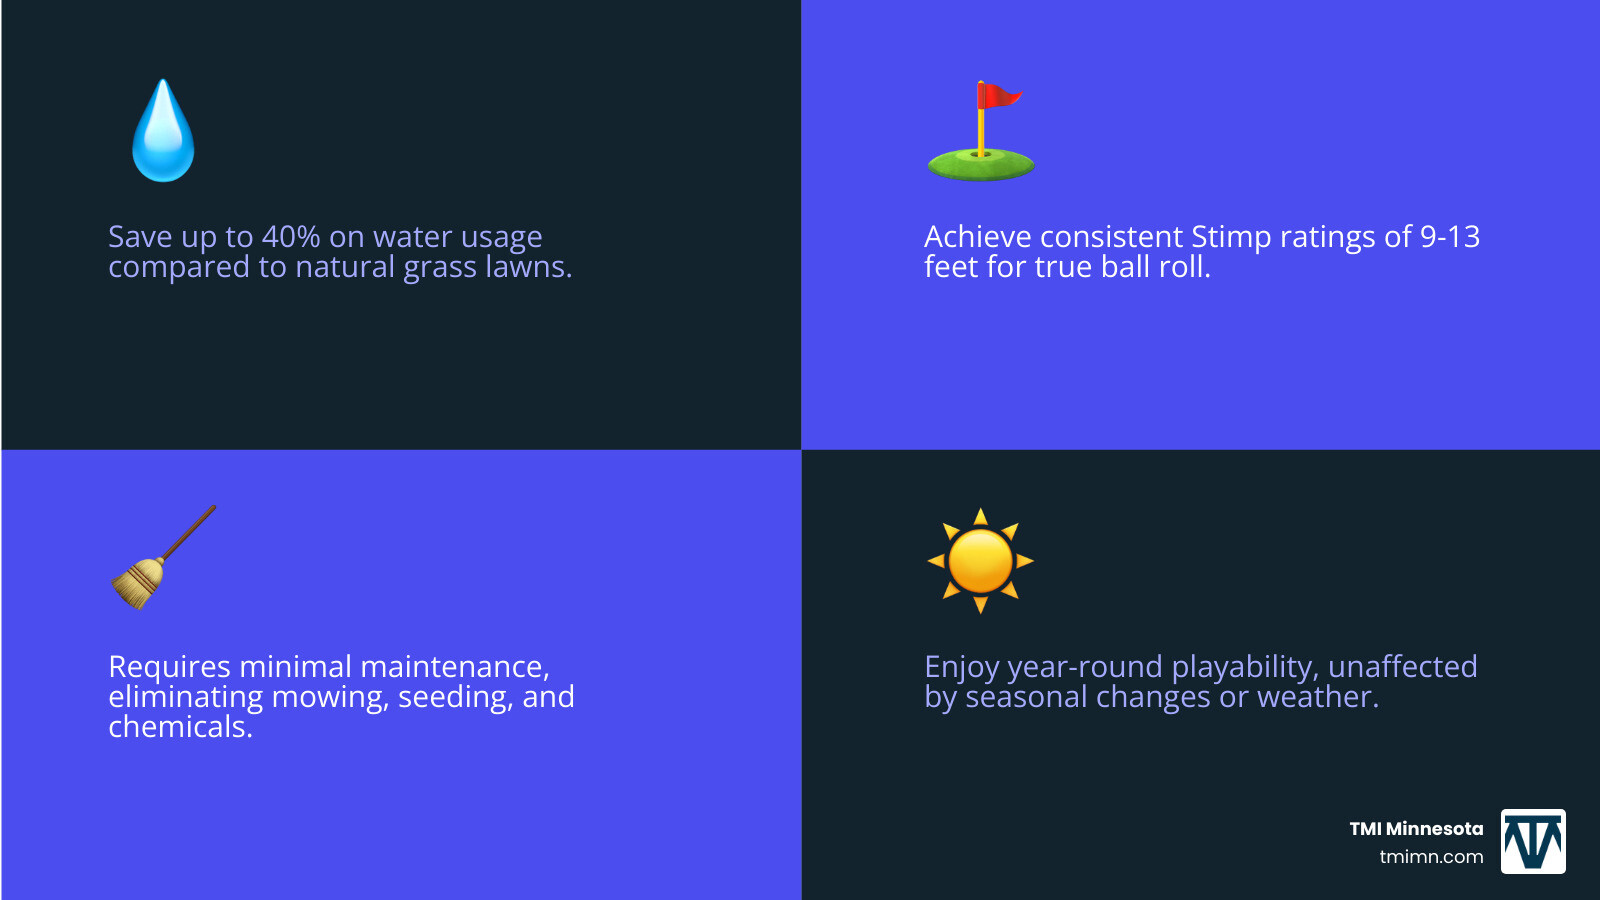
The benefits go far beyond golf practice. A well-designed putting green creates an entertainment focal point for family gatherings, requires virtually no watering or mowing, and can boost your home’s value significantly. According to industry data, synthetic turf systems eliminate the need for special mowers, seeding, or ongoing chemical treatments that natural grass demands.
The key factors when choosing your putting green include location (flat, well-drained areas work best), size (even 300 square feet can work), surface type (synthetic offers the best balance of performance and maintenance), and whether you want to tackle installation yourself or hire professionals.
As Christopher Deanovic, Operations Leader at Task Masters here in Minnesota, I’ve helped dozens of homeowners create stunning backyard putting green installations that seamlessly blend with their overall landscape design. My experience in hardscaping and outdoor living projects has shown me that the most successful putting greens are those that consider both golf performance and how the space integrates with your family’s lifestyle.
Planning Your Perfect Green: Location, Design, and Materials
Creating your dream backyard putting green starts with smart planning. Think of it like designing any room in your home – you want it to look great, function perfectly, and last for years to come. The difference? This room happens to be outside and designed to improve your golf game.
The exciting part is that you’re not just adding a feature to your yard. You’re creating a space where you’ll spend countless hours perfecting your putting stroke, entertaining friends, and maybe even teaching your kids the fundamentals of golf. For broader inspiration on how this fits into your overall outdoor vision, check out our landscaping design ideas.
Choosing the Right Location and Design
Finding the perfect spot for your backyard putting green is like finding the right location for a house – it’s all about the fundamentals. You’ll want to look for an area that’s naturally flat and drains well after rain. A flat area saves you from major excavation work, and good drainage prevents water from pooling and potentially damaging your investment.
Stay away from spots directly under large trees. While a little shade can be nice during hot summer practice sessions, too much shade can create problems with moss or algae growth. You also want enough clear space around your green so you can move freely without bumping into obstacles during your putting practice.
Size matters, but bigger isn’t always better. A compact 300 square feet can work great for basic putting practice, but if you have the space, aim for around 1,000 square feet. This gives you room for longer putts and more varied practice scenarios that mirror real course conditions.
Now comes the fun part – designing your green’s layout. Grab a piece of paper and start sketching. Think about where you want to place your holes and what kind of challenges you want to create. Gentle slopes and subtle breaks make practice more interesting and help you develop better green-reading skills. This is your personal practice facility, so design it to address the parts of your putting game that need the most work.
For creative design inspiration that integrates beautifully with your overall landscape, explore our backyard putting green design ideas.
Selecting the Best Synthetic Turf and Materials
When it comes to materials, synthetic turf is hands-down the best choice for your backyard putting green. It gives you consistent ball roll in all weather conditions and requires virtually no maintenance compared to natural grass. No more worrying about brown spots, watering schedules, or weekend mowing sessions.
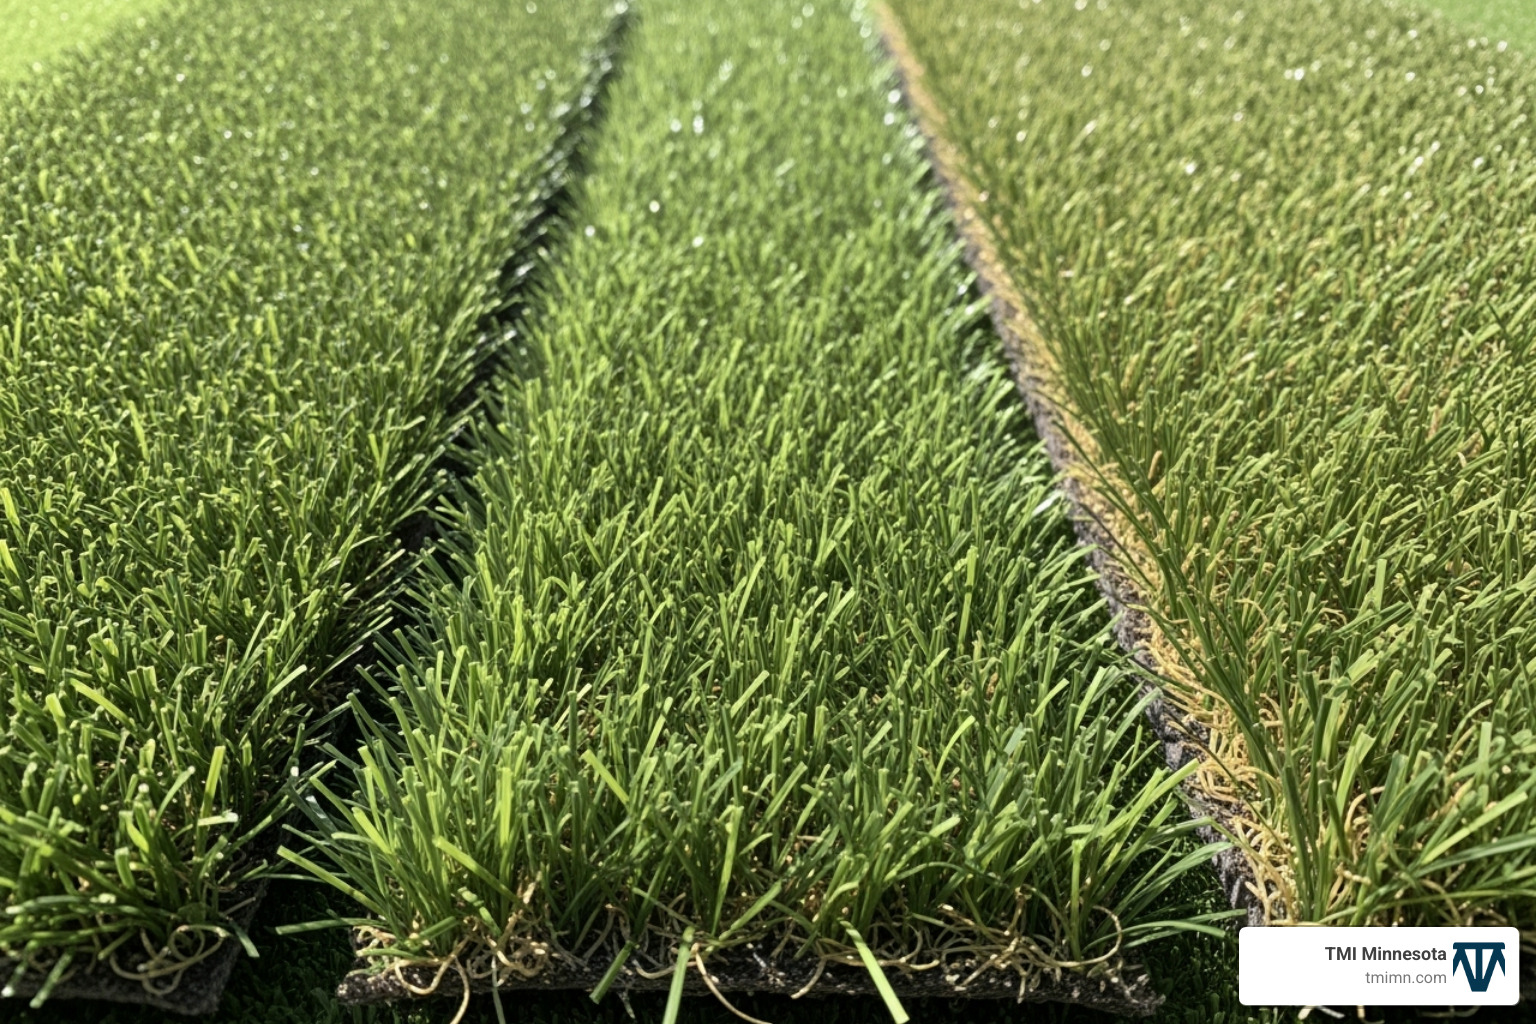
The key to realistic putting lies in the details. Look for turf with a lower pile height – shorter fibers create that true, fast roll you experience on professional greens. You’ll want to target a Stimp rating between 9 and 13 feet, which measures how fast the ball rolls across the surface. This range gives you that authentic course feel without being impossibly fast.
Sand infill is absolutely crucial for performance. It helps the turf fibers stand upright, provides stability underfoot, and contributes significantly to realistic ball roll. Unlike other artificial grass applications that might use rubber granules, putting greens need fine sand infill to perform properly.
Essential Tools and Materials for Your Project:
- Excavation tools: Sod cutter, shovel, and wheelbarrow for site preparation
- Compaction equipment: Hand tamper or plate compactor for base stability
- Measuring and marking supplies: Tape measure and marking paint for precision
- Base materials: Landscape fabric, crushed gravel, and fine crushed stone
- Turf installation supplies: Utility knife, seam tape, adhesive, and landscape spikes
- Golf components: Putting cups, pins, flags, and sand infill
- Finishing materials: Additional sand for final infill application
The beauty of a well-planned backyard putting green is that once it’s installed, you’ll wonder how you ever practiced without it. Every material choice you make now directly impacts how much you’ll enjoy your green for years to come.
Building Your DIY Backyard Putting Green: A Step-by-Step Guide
Now comes the exciting part – actually building your backyard putting green! This is where your careful planning transforms into something real you can walk on and putt on. Most homeowners can complete this project over a weekend with some help from family or friends. Don’t worry if you’ve never tackled something like this before; we’ll walk you through every step to ensure you get professional-looking results. For additional technical guidance, you can find More info about Foreverturf Installation.
The key to success lies in taking your time with each step, especially the base preparation. I’ve seen too many DIY projects fail because someone rushed through the foundation work. Trust me, a few extra hours spent on proper preparation will save you headaches later and give you a backyard putting green that performs beautifully for years.
Step 1: Site Preparation and Excavation
Think of this step as creating a blank canvas for your masterpiece. Start by outlining your green’s exact shape using marking paint or even a garden hose laid on the ground. This helps you visualize the final result and ensures you’re happy with the size and positioning before you start digging.
Removing the existing sod and vegetation is your next task. A sod cutter makes quick work of larger areas, but a sharp shovel works fine for smaller greens. Clear out everything – grass, weeds, roots, and any debris. You want a completely clean slate.
Now for the excavation work. Dig down about 4 to 5 inches deep across your entire outlined area. This depth provides enough space for your base materials while keeping the project manageable. Some commercial installations go deeper, but for most residential backyard putting green projects, this depth works perfectly.
Here’s a pro tip from my years in landscaping: establish a very gentle grade during excavation. You’re not building a ski slope, but a subtle “turtle-back” shape that encourages water to flow away from the center prevents puddles and keeps your green playing consistently.
Step 2: Constructing a Solid Base
This step separates the pros from the amateurs. A rock-solid base is absolutely critical for long-term performance, so don’t cut corners here.
Laying your weed barrier fabric comes first. Roll it out across the entire excavated area, overlapping seams by at least 6 inches. This fabric acts as your first line of defense against weeds trying to push through your beautiful new green.
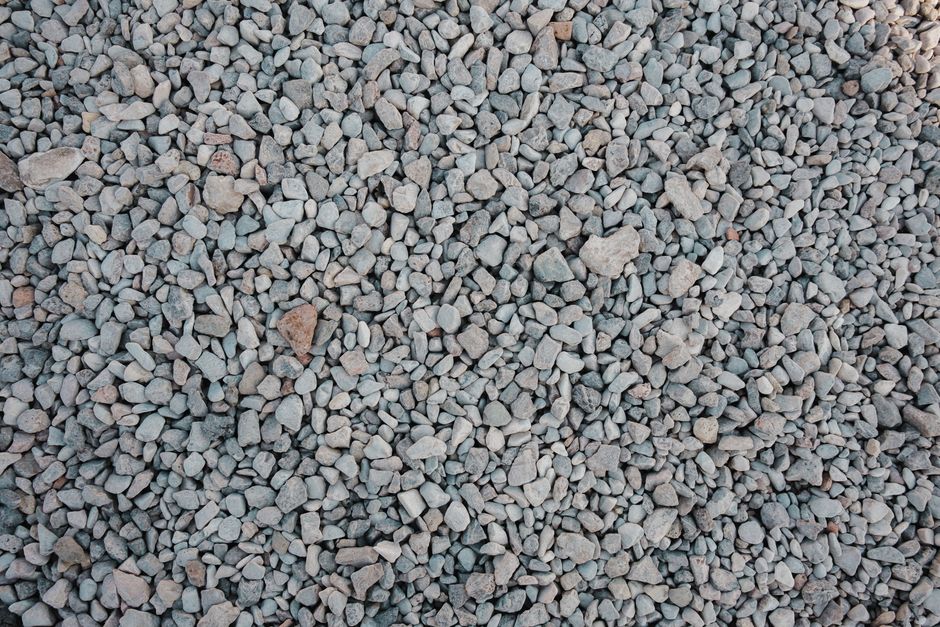
Adding your crushed stone base requires some strategy. Start with about 3 to 4 inches of coarse crushed stone, then add a 1-inch layer of finer material like decomposed granite on top. This two-layer approach gives you stability below and a smooth surface above.
The compacting process is where many DIY projects go wrong. Lightly mist the stone layers with water – just enough to control dust, not enough to create mud. Then use a hand tamper or rent a plate compactor for larger areas. Compact in multiple passes, working systematically across the entire area. The base should feel rock-solid with no soft spots when you’re finished.
As you work on that final fine layer, you can create the contours and breaks that will make your green challenging and fun. Use a long straight edge to ensure smooth transitions between different elevations.
Step 3: Installing the Cups and Laying the Turf
This is when your project starts looking like an actual putting green! Digging holes for your cups requires precision. Make each hole slightly larger than the cup and ensure the rim will sit flush with your finished turf surface.
Setting the cups properly means they need to be rock-solid and perfectly level. Pack fine gravel around them and double-check that they won’t move when you step nearby. Some cups install from underneath the turf, so check your specific product instructions.
Rolling out your synthetic turf is a two-person job for anything larger than a small green. Handle it carefully and make sure the grain runs in the same direction if you’re using multiple pieces. The grain affects how the ball rolls, so consistency matters.
Let your turf relax in the sun for several hours or even overnight. This acclimation time allows the material to expand and settle, eliminating wrinkles and making it much easier to work with.
For greens with significant contours, you’ll need relief cuts on the turf’s underside. These strategic cuts help the material conform to your base’s shape without bunching or lifting.
Seaming multiple pieces requires patience and precision. Use proper seam tape and adhesive, ensuring the edges align perfectly. A visible seam will affect ball roll and look unprofessional.
For a visual walkthrough of these techniques, Watch a step-by-step video tutorial that demonstrates proper installation methods.
Step 4: Finishing Your Green
You’re in the home stretch! These final touches transform your project from “almost done” to “absolutely amazing.”
Trimming the turf to its final shape requires a sharp utility knife and steady hands. Take your time cutting clean, precise edges that follow your original outline. Ragged edges will haunt you every time you look at your green.
Cutting out the cup holes needs surgical precision. Locate each buried cup and carefully cut a clean circle in the turf directly above it. The hole should be just large enough for golf balls to drop through easily.
Securing the perimeter with landscape spikes or U-nails every 6 to 12 inches prevents edge lifting and keeps everything looking neat. Drive them flush with the turf surface so they don’t interfere with play.
Spreading your sand infill evenly across the surface is crucial for proper ball roll. Don’t dump it all in one spot – broadcast it like you’re seeding a lawn for even coverage.
Brushing the infill into the fibers is the final step that makes everything come together. Use a stiff-bristled broom to work the sand down into the turf. This process helps the fibers stand upright, protects the backing, and creates that realistic feel you’re after. Keep brushing until the sand disappears into the turf and you can’t see it on the surface.
Congratulations! Your backyard putting green is now ready for its first round of practice. Time to grab your putter and see how your hard work pays off on the scorecard.
Beyond the Build: Maintenance and Improvements
Congratulations! Your backyard putting green is complete, but the journey doesn’t end here. The beauty of synthetic turf is that it practically takes care of itself, leaving you more time to actually enjoy your new golf paradise. Plus, there are some fantastic ways to take your putting area from great to absolutely spectacular. For ideas that go beyond your green, check out our More info about Outdoor Living Upgrades.
Maintaining Your Synthetic Backyard Putting Green
Here’s the best part about your new backyard putting green: you’ll spend more time putting than maintaining it. No weekend mornings spent mowing, no expensive fertilizers, and no worrying about brown patches ruining your practice session.
Keeping debris at bay is your main task. A quick sweep with a leaf blower or stiff broom every week or two will remove leaves, twigs, and any other nature’s calling cards. Think of it as your warm-up routine before practicing your putting stroke.
Your turf fibers need occasional encouragement to stand tall and proud. Every month or so, grab that stiff-bristled broom and brush against the grain of the turf. This simple step keeps your green looking fresh and ensures consistent ball roll. It’s like fluffing a pillow, but for your putting surface.
A gentle rinse works wonders when dust or dirt accumulates on your green. Your garden hose is all you need for this spa treatment. If you have furry friends who use the yard, a monthly rinse will keep everything fresh and odor-free.
Watch your sand infill levels especially in areas where you practice most often. Over time, the sand can settle or shift around. If you notice the turf feeling softer or the ball rolling differently, simply add a bit more sand infill and brush it in. Your green will thank you with perfect putts.
One thing to keep in mind: synthetic turf can get quite hot under intense sun, especially if you have reflective surfaces nearby like certain windows. If this becomes an issue, consider a shade cover during peak hours or schedule your practice for cooler parts of the day.
Accessorizing Your Putting Paradise
Your backyard putting green is already amazing, but why stop there? The right accessories can transform your practice area into a complete golf experience that rivals any country club.
Chipping pads nearby let you work on your short game without damaging your pristine putting surface. Custom flags add personality – whether it’s your family name, favorite course logo, or something uniquely yours. A classic ball washer brings that authentic clubhouse feel right to your backyard.
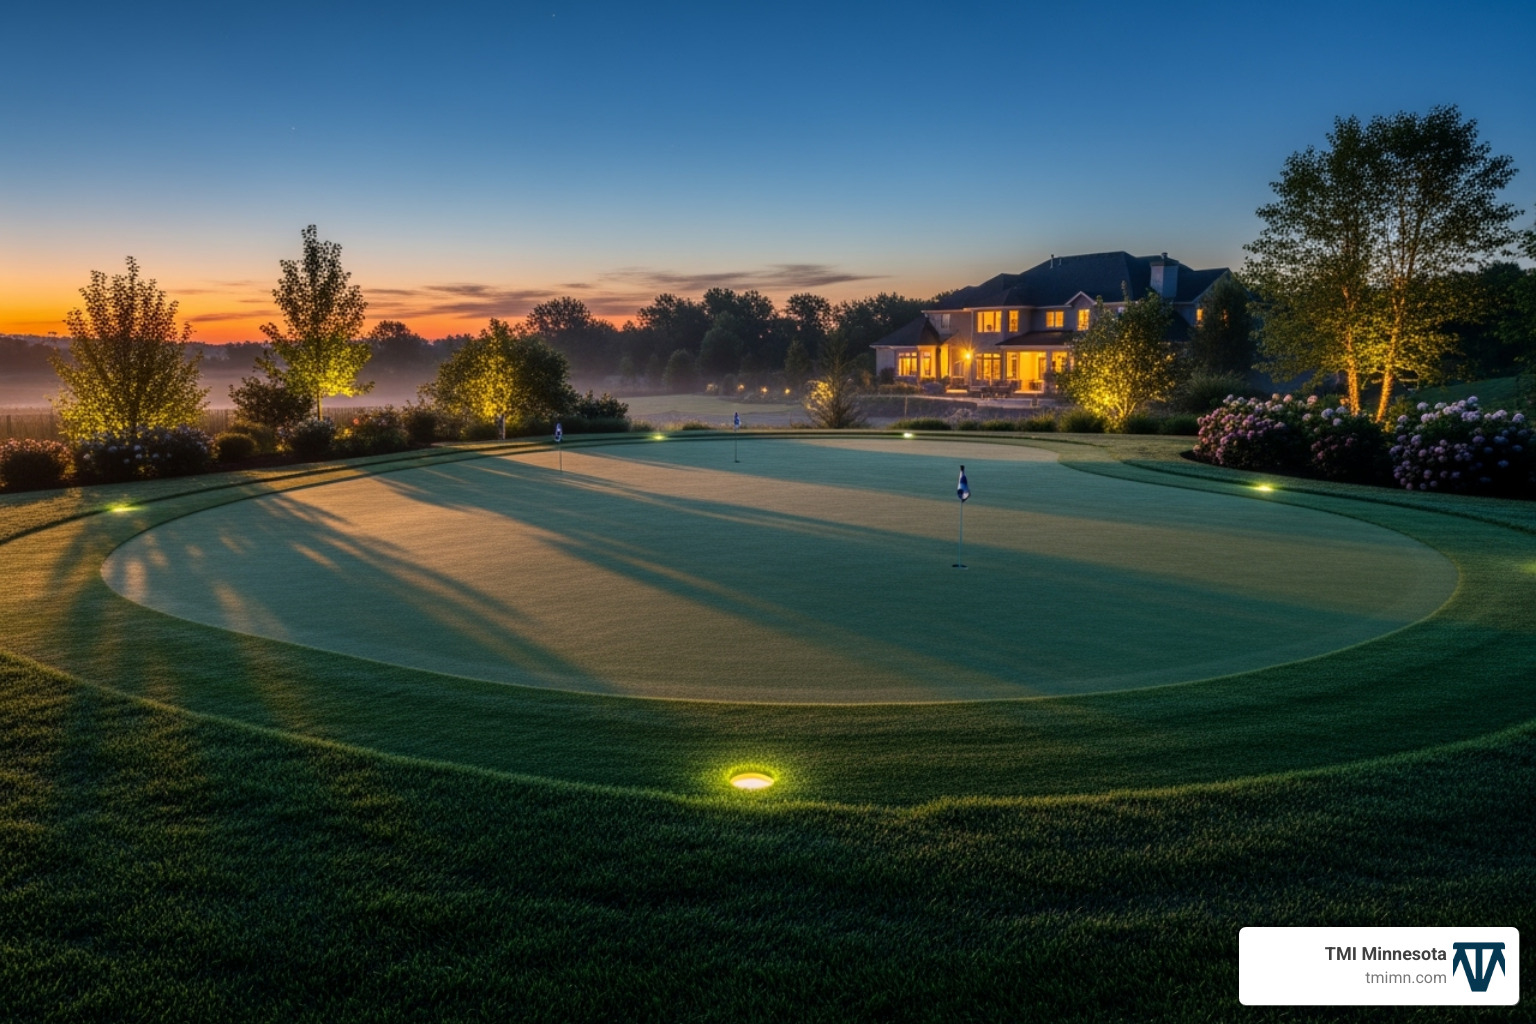
Landscape lighting changes everything about your putting experience. Imagine practicing your stroke under soft, warm lights as the sun sets, or hosting evening putting competitions with friends. Strategic lighting around your green creates an enchanting atmosphere that extends your enjoyment well into the night. Explore our collection of Backyard Garden Lighting Ideas to see what’s possible.
Integrating hardscaping elements takes your putting green from a standalone feature to part of a complete outdoor living space. Paver walkways leading to your green, a small patio area for spectators, or decorative borders all help blend your golf area seamlessly with your landscape. Learn more about combining Artificial Turf with Pavers for walkways and patios that complement your putting paradise.
Frequently Asked Questions about Backyard Putting Greens
Let’s be honest – after reading all about backyard putting green installations, you probably have some lingering questions. That’s completely normal! Over the years, I’ve helped countless homeowners steer these same concerns. Here are the answers to the questions that come up most often in my conversations with clients.
How much does a backyard putting green cost?
This is always the first question, and I get it – you want to know what you’re getting into financially. The truth is, backyard putting green costs vary quite a bit based on what you’re looking for.
Size makes the biggest difference in your total investment. A cozy 300-square-foot practice area will obviously cost less than a sprawling 1,000-square-foot masterpiece. Material quality is your next major cost factor. While you might find some off-cut turf for around $1.49 per square foot, quality putting green turf typically runs $5 to $20 per square foot. Trust me, this isn’t where you want to cut corners.
The DIY versus professional installation decision significantly impacts your budget. Taking the DIY route means your main expense is materials – expect to spend $1,800 to $5,000 for a medium-sized green kit. Going with professional installation gives you expertise and peace of mind, typically ranging from $25 to $30+ per square foot. For an 800 square foot area with a 500 square foot putting green, professional quotes often fall between $5,000 to $15,000.
Don’t forget about base material costs – crushed stone, weed barrier, and other foundation materials add up quickly. However, here’s something many homeowners overlook: the long-term value versus initial investment. While synthetic turf requires a bigger upfront investment, it can save you money for years to come. Natural grass greens might cost $18-$20 per square foot initially, but they’ll hit you with $750-$1,000 annually for water, fertilizer, chemicals, and specialized equipment.
What are common mistakes to avoid?
I’ve seen plenty of well-intentioned DIY projects go sideways, and most problems stem from the same handful of mistakes. Let me save you some heartache.
Poor site preparation is the number one culprit. Rushing through vegetation removal or not properly leveling your area creates problems that haunt you later. Uneven surfaces mean inconsistent ball roll and potential drainage nightmares.
Inadequate base depth and drainage is another big one. I can’t stress this enough – don’t skimp on your crushed stone base depth or forget about proper drainage. Soft spots, puddles, and even washouts are the inevitable result. Your base is literally the foundation of everything else.
Choosing low-quality turf might save you money upfront, but it’s a false economy. Cheap synthetic turf won’t give you that realistic ball roll you’re after, won’t last nearly as long, and honestly looks pretty awful. Always invest in turf designed specifically for putting greens.
Improper seaming techniques create obvious, unsightly joints that can even become tripping hazards. When your green needs multiple turf pieces, take your time with the right adhesive and tape. The seam should be nearly invisible when done correctly.
Not compacting the base sufficiently might be the costliest mistake of all. If your base isn’t compacted firmly and evenly, you’ll develop soft spots that affect ball roll and create depressions over time. Rent a plate compactor if you don’t own one – it’s worth every penny.
Why choose a synthetic putting green?
The synthetic versus natural grass debate really comes down to realism versus practicality. For most homeowners, synthetic turf wins this battle decisively.
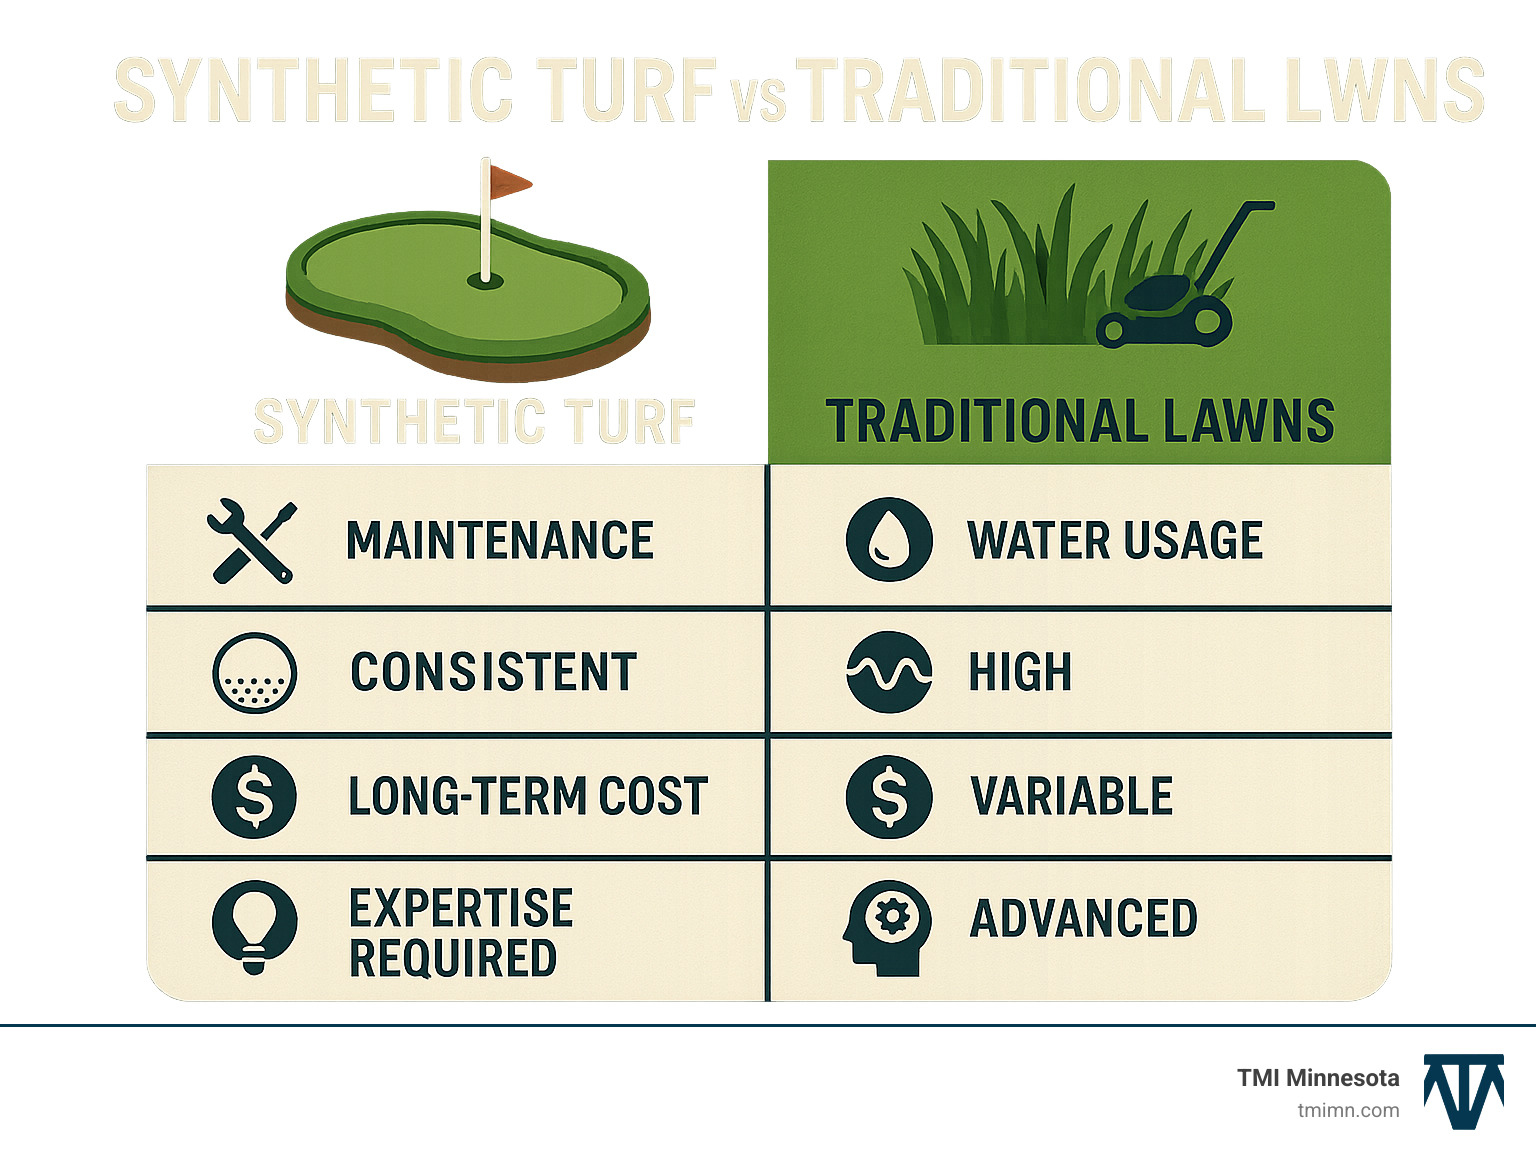
Maintenance is synthetic turf’s biggest selling point. No mowing, no watering, no fertilizing, no pesticides – it’s genuinely a set-it-and-forget-it solution. Natural grass demands daily attention, specialized equipment costing thousands of dollars, and precise chemical treatments that would make a chemistry professor nervous.
Water usage with synthetic turf is minimal, potentially saving you up to 40% on your water bill if you typically irrigate. This becomes especially valuable in drought-prone areas where water restrictions are common.
Playability stays consistent year-round with synthetic turf, regardless of weather conditions. You won’t deal with patchy spots, disease, or varying speeds due to inconsistent moisture. Natural grass can be variable and unpredictable.
Long-term cost heavily favors synthetic options. Well-installed synthetic putting greens last 10 years or more with minimal ongoing expenses. Natural grass hits your wallet repeatedly with water, chemicals, and specialized maintenance equipment.
The expertise required for synthetic installation is basic compared to natural grass maintenance. While the initial installation takes some work, maintaining natural grass requires advanced knowledge of turf management, irrigation systems, and plant pathology.
Game improvement happens naturally when you have a high-quality, always-ready green steps from your back door. The convenience factor alone leads to more frequent practice sessions and noticeable improvements in your putting and short game.
Beyond the practical benefits, a backyard putting green becomes an entertainment focal point that provides hours of fun for friends and family. The design flexibility with synthetic turf also allows for more creative shapes and seamless integration with other landscape features since you don’t need to worry about mower access or sprinkler coverage patterns.
Conclusion
Building a backyard putting green represents one of the smartest investments you can make in your home and golf game. Think about it – instead of driving to the course every time you want to work on your short game, you’ll have a professional-quality practice area just steps from your back door. The convenience alone is game-changing, but the benefits extend far beyond golf improvement.
Your new putting green becomes an instant entertainment centerpiece for family gatherings and friendly competitions. Kids love it, adults get competitive over it, and everyone enjoys the unique charm it brings to outdoor celebrations. Plus, with synthetic turf requiring virtually no maintenance compared to natural grass, you’re investing in years of enjoyment without the ongoing headaches of mowing, watering, or chemical treatments.
The process we’ve outlined – from careful site selection and base preparation to turf installation and finishing touches – might seem involved, but it’s absolutely achievable for most homeowners. With the right materials and attention to detail, you can create a green that rivals what you’d find at your local country club. The key is taking your time with each step, especially that crucial base preparation that determines how well your green performs for years to come.
This isn’t just about creating a practice space. You’re adding a distinctive feature that can genuinely boost your property value while changing how you use your outdoor space. Whether you’re perfecting your putting stroke for weekend rounds or hosting backyard tournaments with friends, your backyard putting green becomes part of your home’s story.
For homeowners looking to integrate their putting green into a broader outdoor living change, the experts at TMI Minnesota specialize in creating cohesive designs that blend seamlessly with your existing landscape. Our team understands how to balance functionality with aesthetics, ensuring your putting green complements rather than dominates your outdoor space.
Ready to transform your yard into a golfer’s paradise? Explore how to improve your project with artificial turf with pavers to create walkways and seating areas that complete your outdoor golf experience.