
Why Automate Your Garden Watering?
Installing a garden irrigation system installation involves several key steps. For a quick overview, here’s what you need to know:
- Plan Your System: Map out your garden and choose the right irrigation type (drip or sprinkler).
- Gather Materials: Collect all necessary pipes, emitters, and tools.
- Connect to Water: Securely link your system to your home’s water supply.
- Lay Out Lines: Install pipes or tubing in planned areas.
- Attach Devices: Connect sprinkler heads or drip emitters.
- Test and Adjust: Check for leaks and ensure proper water coverage.
- Program Timer: Set up an automatic watering schedule.
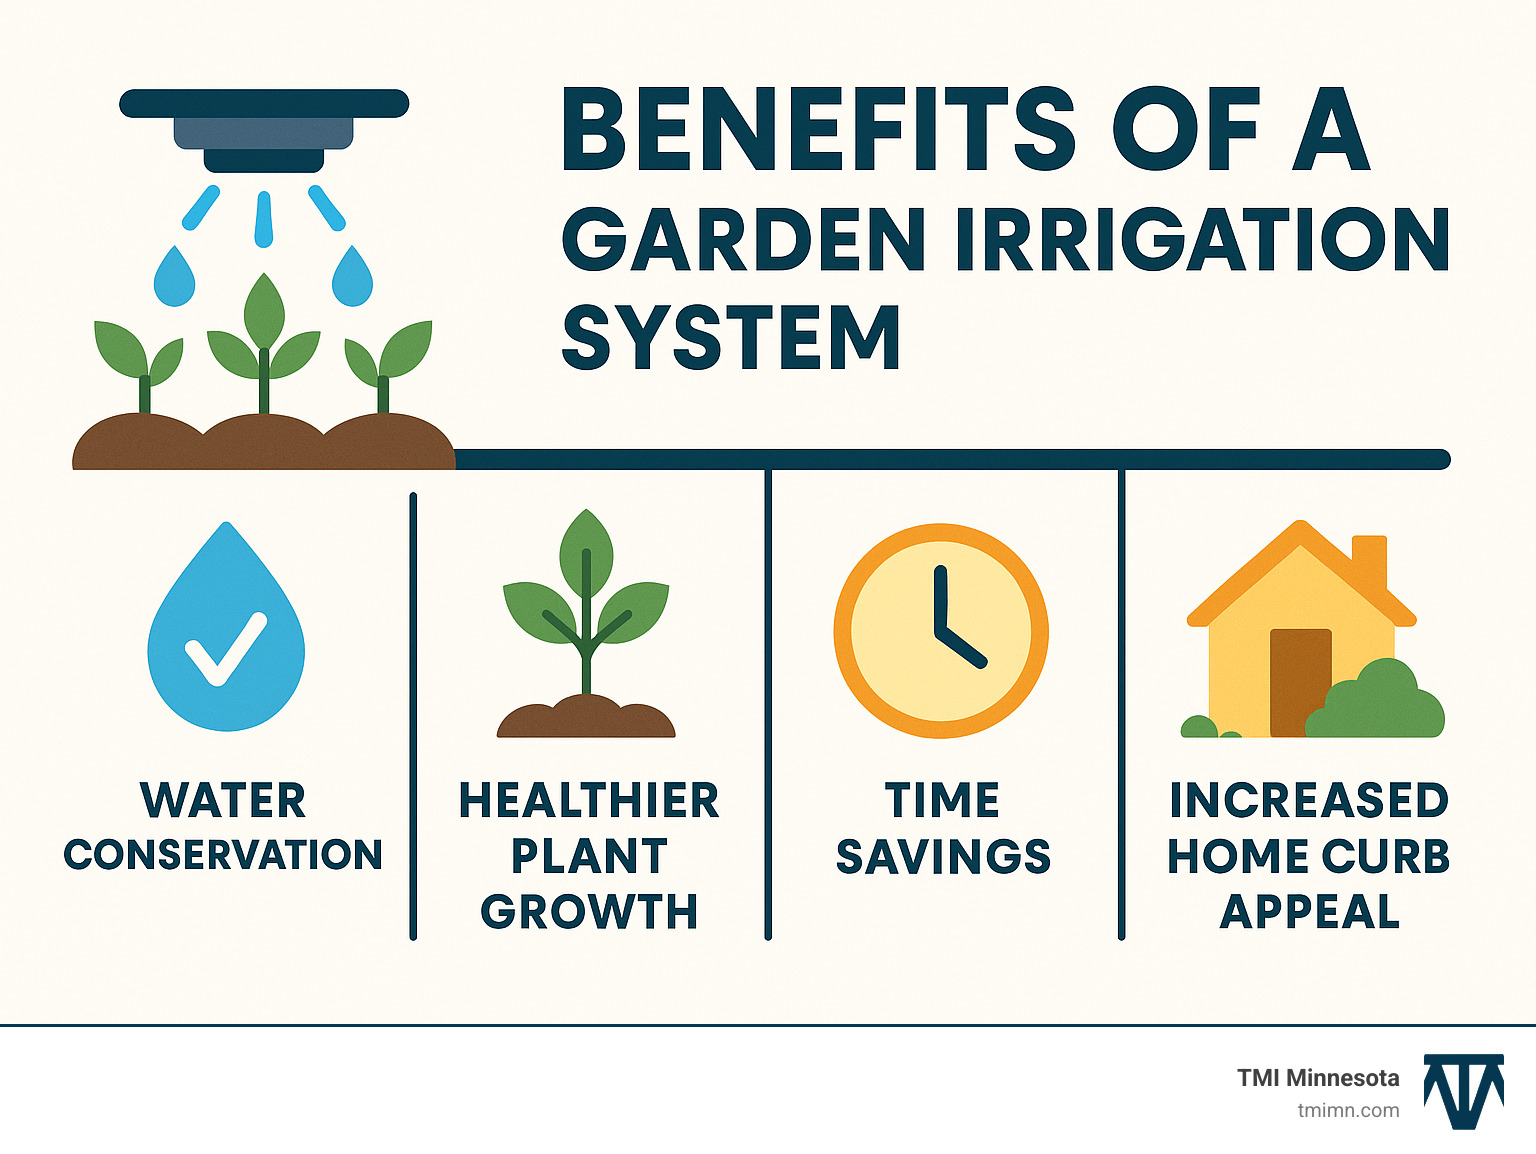
A well-designed system saves time, conserves water, and promotes healthier plants by delivering water directly to the roots. Drip irrigation, for instance, can use 30-50% less water than traditional methods, which also helps boost your home’s curb appeal.
For more ideas on elevating your outdoor space, explore these topics:
Step 1: Planning Your Perfect Irrigation System
Successful garden irrigation system installation starts with a solid plan. A good plan saves water, prevents future headaches, and ensures every plant gets the right amount of hydration.
First, assess your garden’s size, shape, and existing plants’ watering needs. Identify sun and shade zones. Know your water source—be it municipal, a well, or a rain barrel—and its capacity. Finally, check local Twin Cities regulations for any specific requirements, like backflow prevention.
Choosing Your System: Drip vs. Sprinkler
When it comes to garden irrigation system installation, we generally choose between three main types: drip, sprinkler, and soaker hose systems. Each has its strengths and ideal applications.
| System Type | Efficiency | Cost (DIY) | Best Use Cases | Installation Difficulty |
|---|---|---|---|---|
| Drip Irrigation | High (90%+) | Low-Medium | Vegetable gardens, flower beds, individual plants, raised beds | Easy |
| Sprinkler System | Medium-High (70-80%) | Medium-High | Lawns, large uniform areas | Medium-Hard |
| Soaker Hose | High (80%+) | Low | Rows of plants, hedges, new plantings | Easy |
- Drip Irrigation: Drip irrigation is highly efficient, applying water slowly and directly to the soil. This minimizes evaporation and promotes deep root growth, making it ideal for vegetable gardens and flower beds.
- Sprinkler Systems: Underground sprinkler systems provide wide, consistent coverage for lawns and can significantly increase curb appeal, though they require a more involved installation.
- Soaker Hoses: Soaker hoses are porous and “sweat” water along their length. They are simple to install and great for watering rows of plants or hedges.
Designing Your Layout
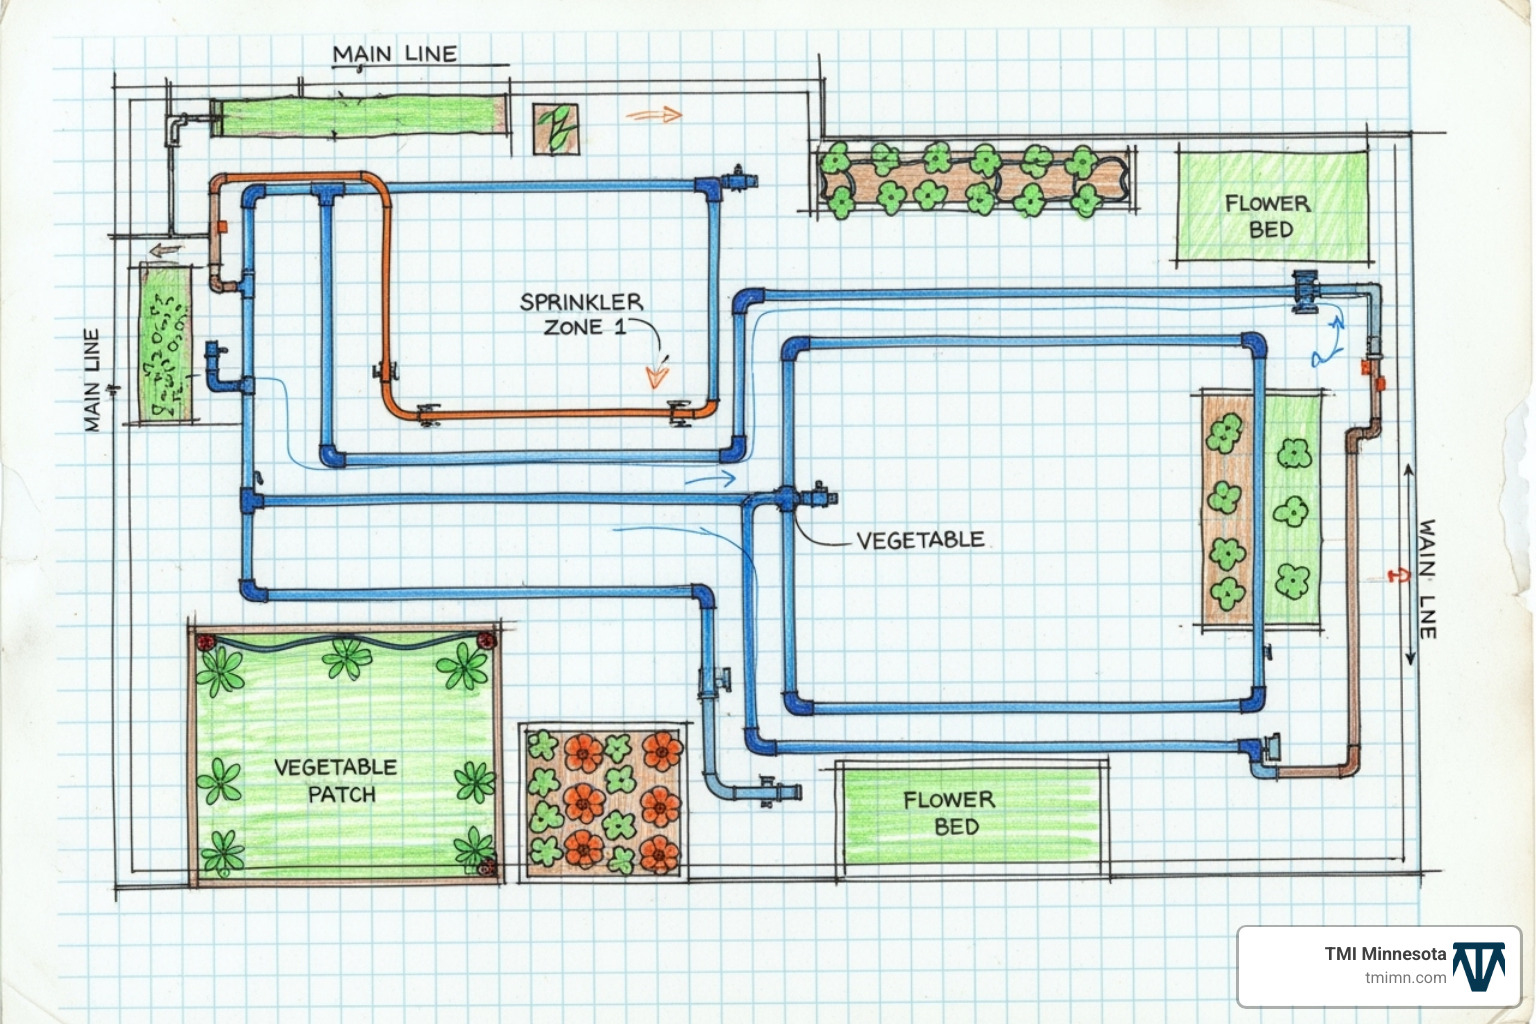
Sketch your garden on grid paper, marking the house, paths, trees, and garden beds. This visual plan is key.
Group plants with similar watering needs to create zones. This prevents over- or under-watering. Consider soil type and sun exposure, as sandy soils and sunny spots need more frequent watering. For example, sandy soil needs emitters every 12 inches, loamy soil every 18 inches, and clay soil every 24 inches.
Plan the layout of your irrigation lines. For drip systems, map out the main tubing and where emitters will branch off. For sprinklers, place heads to ensure “head-to-head” coverage, where the spray from one head reaches the next. Aim for a layout with minimal turns to maintain water pressure. For help integrating new garden beds, see our Softscape Services.
Calculating Water Pressure and Flow Rate
Knowing your water pressure (PSI) and flow rate (GPM) is crucial. Most systems need 30-35 PSI and 10-13 GPM to work efficiently.
- Bucket Test for GPM: To find your GPM, time how long it takes to fill a 5-gallon bucket from your outdoor faucet. The formula is (5 / Time in Seconds) * 60 = GPM. Leave a 25% buffer for other household water use.
- Pressure Gauge for PSI: Use a pressure gauge on your outdoor faucet to measure your static water pressure (PSI).
These numbers determine how many emitters or sprinkler heads can run on a single zone. If your plan exceeds your flow rate, you’ll need to create multiple zones that run at different times.
Step 2: Gathering Your Tools and Materials
With a solid plan, it’s time to gather your tools and materials. Being prepared makes the garden irrigation system installation process much smoother.

Essential System Components
Here’s a shopping list for your garden irrigation system installation:
- Automatic Timer: The controller is the brain of the system, letting you schedule watering. Smart, Wi-Fi-enabled models can adjust based on weather.
- Backflow Preventer: This essential safety device prevents contaminated irrigation water from flowing back into your home’s drinking water. Most local codes require one.
- Pressure Regulator: Protects your system from high water pressure, preventing burst pipes and leaks.
- Tubing or Pipes: Use rigid PVC Pipe for underground sprinklers and flexible Polyethylene (Poly) Tubing for drip systems.
- Emitters or Sprinkler Heads: Choose Drip Emitters for individual plants, Sprinkler Heads for lawns, Soaker Hoses for rows, or Sprayers/Bubblers for shrubs.
- Fittings: You’ll need various fittings like elbows, tees, and couplings to connect pipes. Use PVC cement for PVC and barbed connectors for poly tubing.
- Valve Box: Protects underground valves.
- Filters: Prevent clogs, especially with well water.
- Stakes or Clamps: Secure drip tubing.
Tools for the Job
For the installation, you’ll need:
- Shovel or Trenching Spade. For large jobs, consider renting a power Trencher.
- A Pipe Cutter ensures clean cuts, preventing clogs.
- A Hole Punch Tool is essential for making holes in drip tubing for emitters.
- Wrenches for tightening connections.
- Safety Glasses to protect your eyes.
- Measuring Tape for accurate lengths.
- Utility Markers or Flags to mark your layout.
Step 3: The Ultimate Guide to Garden Irrigation System Installation
With the planning done, it’s time to install your garden irrigation system installation. A crucial first step: Always call 811 before you dig to have underground utility lines marked. This is free and required by law.
Connecting to Your Water Source
First, turn off your main water supply to prevent flooding. For drip systems, connect to an outdoor spigot. Attach the backflow preventer, then the pressure regulator (if needed), filter, and finally the main irrigation line.
Underground systems often require tapping into the main water line. This involves cutting the pipe and adding a tee fitting. If you’re not comfortable with this, consider hiring a professional. Remember to Call 811 before you dig!
How to Install a Drip Irrigation System
Drip irrigation is a flexible and forgiving system to install.
- Lay the main line: Lay out the 1/2-inch poly tubing according to your plan, using elbows and tees for turns and branches. Let the tubing sit in the sun to make it more flexible.
- Connect feeder tubes: Use a hole punch tool to make clean holes in the main line, then insert barbed connectors to attach 1/4-inch feeder lines that run to individual plants.
- Attach emitters: Attach emitters directly to the main line or at the end of feeder lines. Use soaker hoses for row crops.
- Secure the tubing: Use landscape stakes to hold the tubing in place.
- Flush the system: Before capping the ends, flush the system by running water through it for a few minutes to clear out any debris.
- Cap the ends: Once flushed, close the ends of the lines with end caps or clamps.
- Test and adjust: Turn the water on and check every connection for leaks. Ensure all emitters are dripping correctly and adjust as needed.
How to Install an Underground Sprinkler System
An underground garden irrigation system installation is a larger project with spectacular results.
- Dig trenches: Dig trenches 6 to 12 inches deep, following your layout. Deeper is better in Minnesota’s climate to protect from frost. A rented trencher can save significant time and effort.
- Assemble the valve manifold: Assemble the valve manifold, which connects your zone valves to the main water supply. This is your system’s control center.
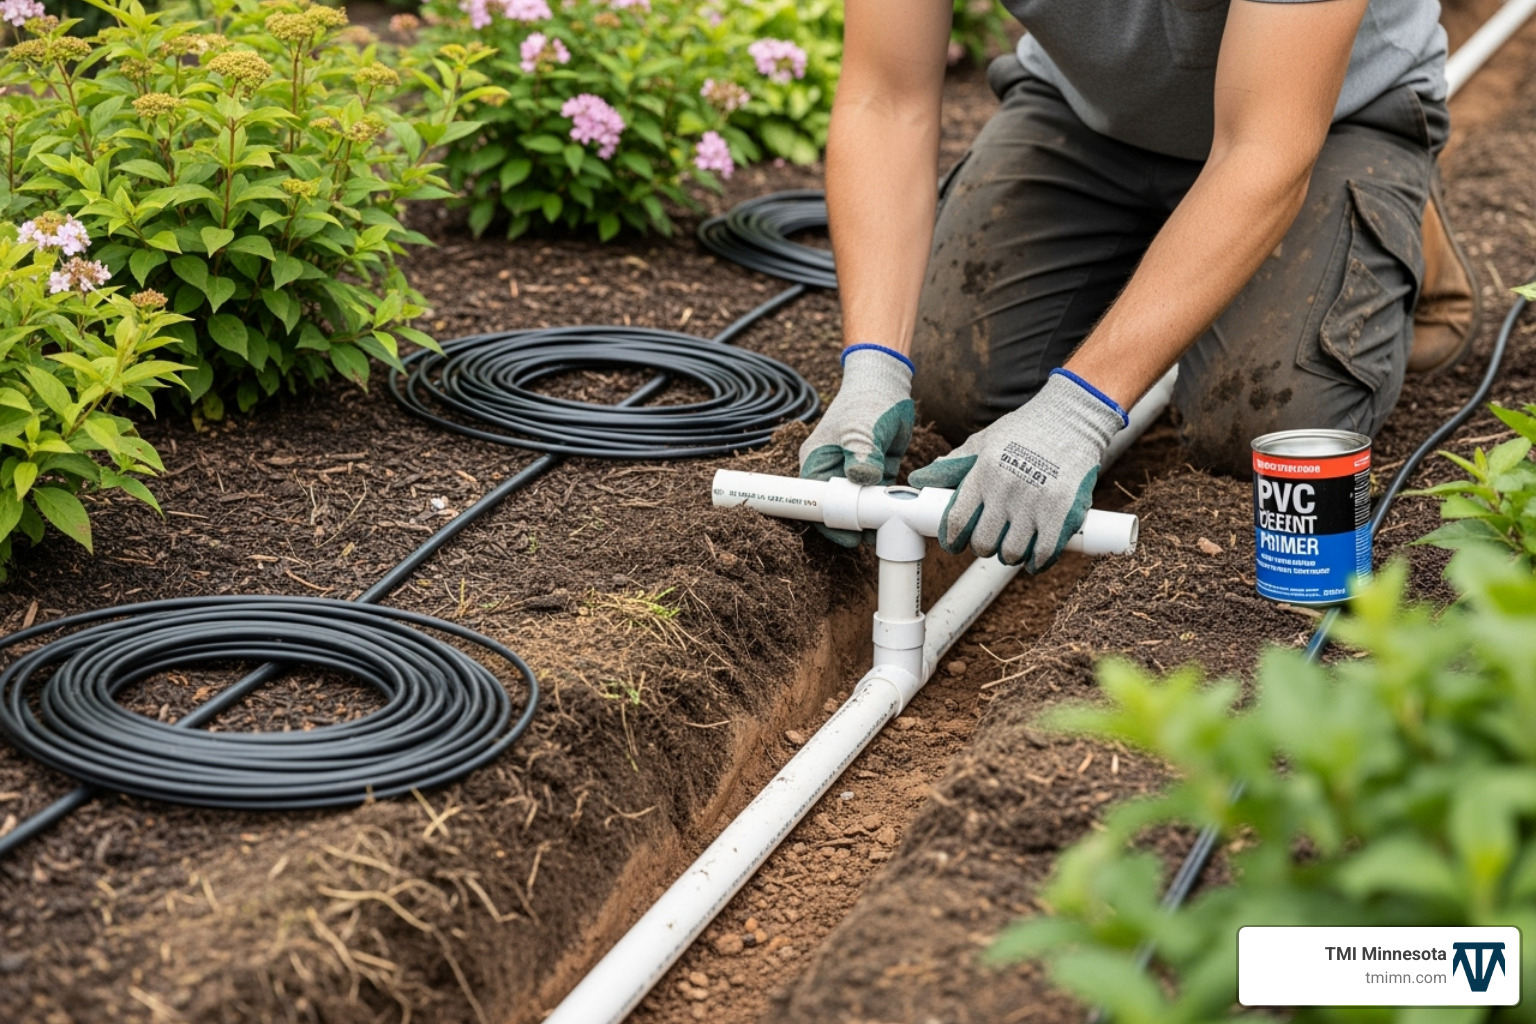
- Lay pipes: For PVC pipe, use primer and cement for watertight connections. For more flexible Polyethylene pipe, use barbed fittings and clamps. Keep dirt out of pipes during installation.
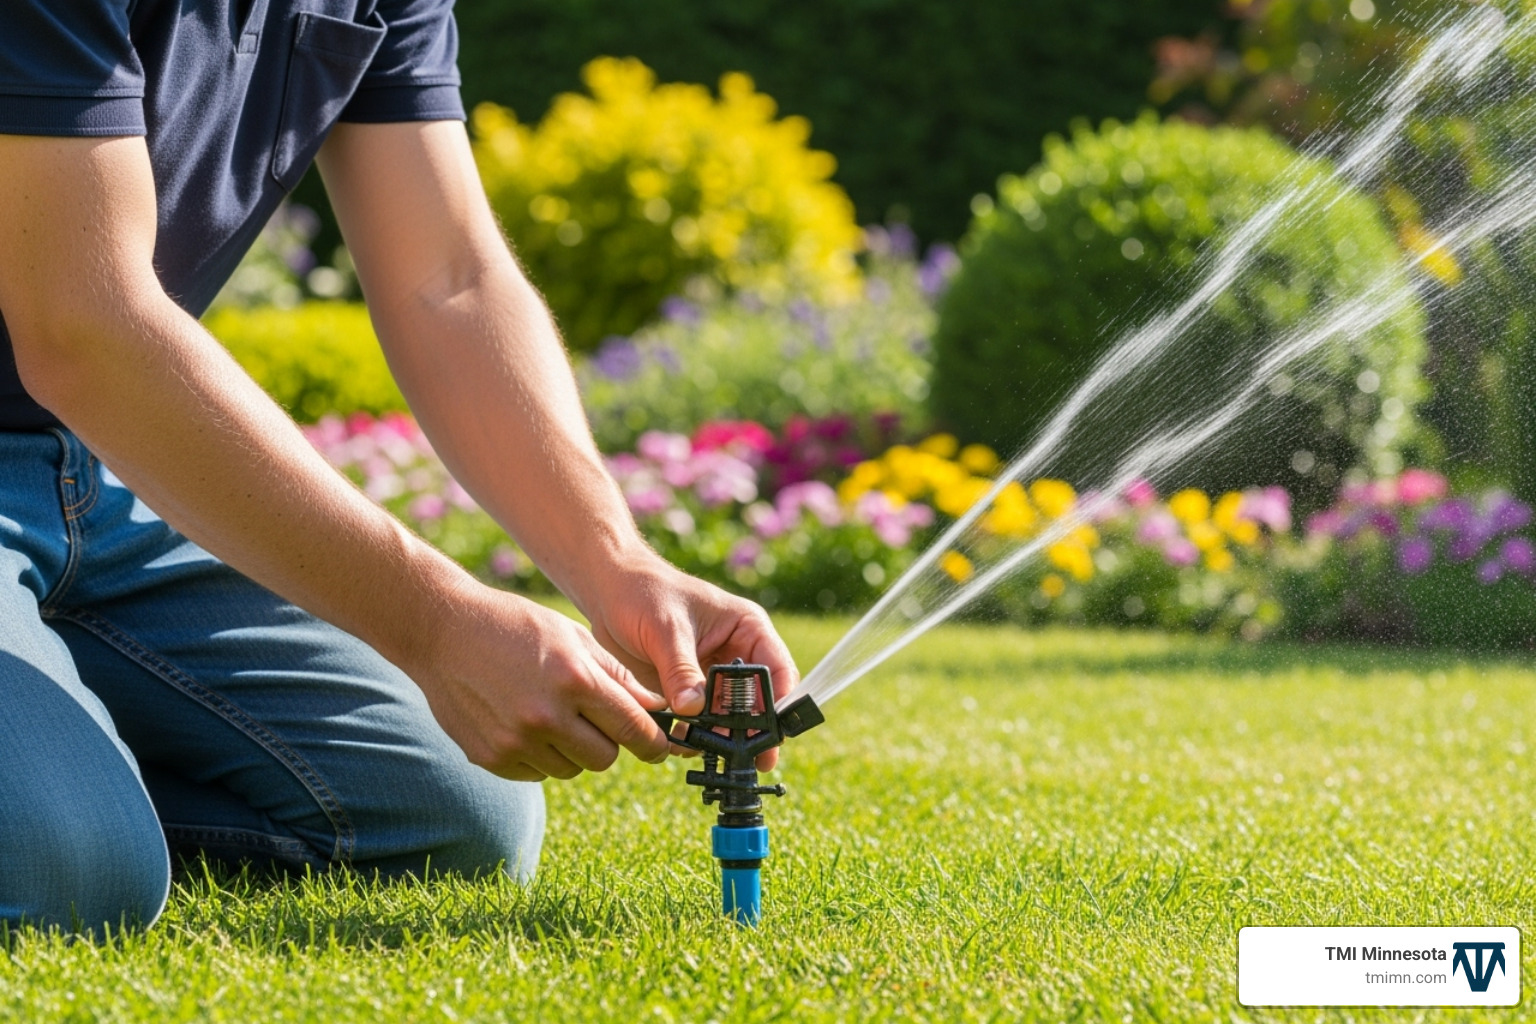
- Connect sprinkler heads: Use tee fittings to branch off to sprinkler heads. Flexible “swing pipe” makes positioning heads easier and protects them from damage. Install pop-up heads level with the ground.
- Flush the system: Before installing nozzles, flush the lines by running water through each zone to clear out debris.
- Wire valves to the timer: Wire the zone valves to the automatic timer, carefully labeling which wire controls which zone.
- Test and adjust: Test each zone. Check for leaks and adjust sprinkler heads to ensure even, “head-to-head” coverage.
- Bury the pipes: Once everything works perfectly, carefully backfill the trenches.
Step 4: Programming, Maintenance, and Troubleshooting
With your garden irrigation system installation complete, the final steps are programming and regular maintenance. Proper care ensures your system runs efficiently for years.
Setting Up Your Automatic Timer
- Program Zones: Assign each watering area to a zone on your timer. It’s helpful to label which station controls which zone.
- Set Watering Duration: Most gardens need about 1 inch of water per week. Drip systems require longer, less frequent watering to encourage deep roots. Sprinklers work best in shorter bursts to prevent runoff.
- Choose Watering Time: Water in the early morning (around 4-5 a.m.) when it’s cooler to reduce evaporation and prevent fungal diseases. Water pressure is also typically highest at this time.
- Determine Watering Frequency: Adjust frequency based on the season and weather. Smart controllers that automatically adjust to local weather are a great investment.
Essential Maintenance and Winterization
A little regular maintenance goes a long way.
- Monthly Leak Checks: Walk your system to check for leaks, soggy spots, or malfunctioning heads.
- Clean Clogs: Flush the entire system every few months. Clean individual drip emitters with a toothpick or replace them.
- Clean the Filter: Regularly clean the main filter to maintain good water flow.
- Adjust as Plants Grow: Adjust emitter or sprinkler head placement as your garden matures.
- Winterize Your System: Winterizing is critical in Minnesota to prevent frozen, burst pipes. You must remove all water from the system before the first freeze. Most systems must be “blown out” with an air compressor. Always wear safety glasses. If you’re unsure, hiring a professional for winterization is a wise investment. For more seasonal care ideas, check out our Sustainable Landscaping Techniques.
Solving Common Installation Problems
Don’t panic if you run into issues; most have simple fixes.
- Leaks at Fittings: For PVC, ensure cement was properly applied. For poly tubing, check that clamps are tight. You may need to cut out and replace a faulty fitting.
- Low Pressure: This can be caused by a partially closed valve, a kinked tube, or a clogged filter. Also, ensure you aren’t trying to run too many heads on one zone for your available water flow.
- Clogged Emitters/Heads: Usually caused by debris. Clean or replace the clogged part and flush your system regularly.
- Sprinkler Head Issues: Heads that don’t pop up may have low pressure or be clogged. Uneven spray patterns often just need a nozzle adjustment.
Frequently Asked Questions about Garden Irrigation System Installation
Here are answers to common questions about garden irrigation system installation.
How much does a DIY garden irrigation system installation cost?
A DIY garden irrigation system installation is significantly more affordable than a professional one. A basic drip system for a garden bed may cost $500 to $1,500 in materials. Renting a trencher for a larger sprinkler project adds about $100-$200.
The main savings is on labor. Professional installation can range from $6,900 to $25,000, depending on the property size and complexity. DIY is a trade-off of money for your time and effort. Cost depends on system size and type. Drip systems are generally more budget-friendly than underground sprinklers.
How deep should I bury irrigation pipes?
In Minnesota, we recommend burying pipes 8 to 12 inches deep. The goal is to protect pipes from surface damage and our harsh winters. The frost line can be deep, so burying pipes helps prevent damage from ground heave.
While 6 inches protects from mowers, 8-12 inches is safer for our freeze-thaw cycles. Even at this depth, you must winterize your system by blowing out all the water each fall to prevent pipes from bursting.
When should I hire a professional for my garden irrigation system installation?
While DIY is rewarding, sometimes hiring a professional is the best choice.
- Complex Layouts: Hire a pro for complex layouts with significant slopes or multiple, varied watering zones to avoid design flaws and pressure issues.
- Large Properties: For large properties, a professional crew has the equipment and manpower to complete the job efficiently.
- Main Water Line Connection: Connecting to the main water line requires plumbing skills and adherence to local codes. A mistake here can be costly.
- Time and Energy: Finally, consider your own time and energy. If you’d rather enjoy your weekends, hiring a pro is a great option.
For comprehensive projects that integrate irrigation with overall landscape design, consider our Professional Landscape Design services.
Conclusion: Enjoy Your Thriving, Water-Wise Garden
Installing an irrigation system is a rewarding project. The benefits are huge: water efficiency, healthier plants with deep roots, and significant time savings.
You’ll gain control over your garden’s health, leading to a beautiful outdoor space and increased curb appeal.
At TMI Minnesota, we’re passionate about helping you create outdoor spaces you love. Whether you DIY or need professional help with your garden irrigation system installation, we’re here to help bring your vision to life.
Enjoy your beautiful, water-wise garden!
And for a truly low-maintenance, lush look year-round, don’t forget to explore how you can Lift your yard with ForeverLawn artificial turf.