
Why Garden Irrigation Systems Transform Your Outdoor Space
Garden irrigation systems are automated watering solutions that deliver water directly to your plants through a network of tubing, emitters, and timers. These systems eliminate the daily chore of hand watering while ensuring your plants receive consistent, precise hydration.
Key Types of Garden Irrigation Systems:
- Drip irrigation – Delivers water directly to plant roots with 90% efficiency
- Sprinkler systems – Covers large areas like lawns with spray patterns
- Soaker hoses – Weeps water slowly through porous tubing
- Micro-sprayers – Provides gentle misting for delicate plants
Benefits:
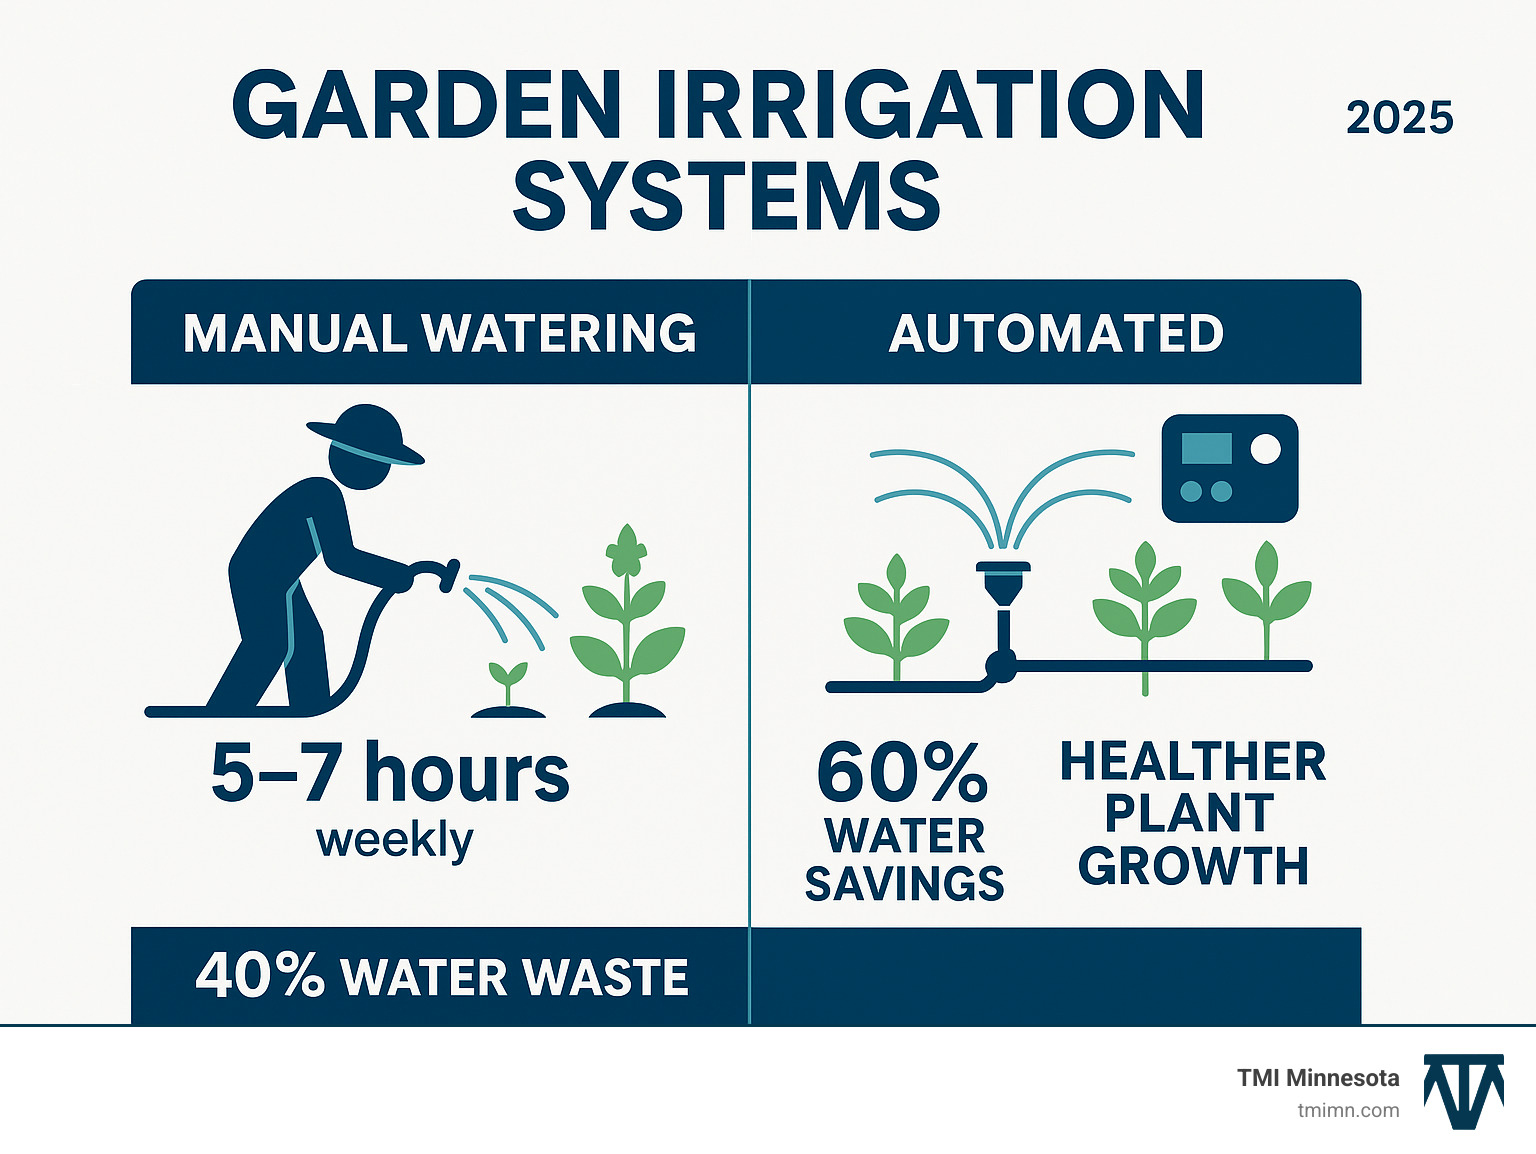
- Reduce water consumption by up to 60% compared to manual watering
- Save hours of weekly watering time
- Improve plant health with consistent moisture
- Prevent overwatering and plant disease
- Maintain your garden automatically during vacations
Dragging and untangling hoses can turn gardening into a chore. Modern irrigation technology solves these frustrations, creating healthier, more vibrant landscapes.
Water conservation is a compelling reason to upgrade. Research from MIT shows drip irrigation can reduce water use by up to 60% compared to traditional sprinklers and produce up to 90% better crop yields.
I’m Christopher Deanovic, Operations Leader at TMI Minnesota. I’ve helped countless homeowners design and install efficient garden irrigation systems that save time and water, changing plant health and homeowner satisfaction.
Handy Garden irrigation systems terms:
Understanding the Different Types of Garden Irrigation Systems
Imagine your garden irrigation systems quietly nurturing your plants while you relax, knowing your garden is getting exactly what it needs without the hassle of dragging hoses.
Choosing the right system is key, as different gardens have different needs. Let’s review the main types to find your perfect match.
Drip Irrigation: The Precision Method
This system delivers water directly to the root zone of each plant, drop by drop. Its high efficiency can reduce water use by up to 60% compared to traditional sprinklers, saving money and conserving a vital resource.
Drip systems also reduce weed growth by targeting water only to your plants. By keeping foliage dry, they prevent fungal diseases, which is crucial for plants like tomatoes and roses.
Drip irrigation is ideal for garden beds with mixed plantings or rows of plants like vegetables. The consistent moisture can lead to up to 90% better crop yields.
Sprinkler Systems: For Broad Coverage
Sprinkler systems are designed to water large areas efficiently, making them the go-to choice for lush lawns and expansive ground cover. They are good for lawns and ground cover as they mimic natural rainfall and can wash leaves.
The trade-off is that sprinklers are less water-efficient due to evaporation and wind. They also wet foliage, which can increase disease risk in humid climates. However, modern sprinklers with smart, weather-based timers are far more efficient than older models.
Soaker Hoses: Simple and Effective
Soaker hoses are a simple, reliable option. These porous hoses weep water slowly along their entire length, delivering moisture directly to the soil. Operating at low pressure, they are gentle on plants and easy to install; simply lay them out and connect to a garden hose.
They are good for raised beds and straight lines of plants. While less precise than drip systems, they balance efficiency and simplicity. Soaker hoses are versatile, perfect for new planting beds or for seasonal use.
For more ideas on creating water-wise landscapes, check out our guide to Sustainable Landscaping Techniques.
| Feature | Drip Irrigation | Sprinkler Systems | Soaker Hoses |
|---|---|---|---|
| Water Delivery | Direct to root zone, slow and steady | Overhead spray, covers wide area | Weeps water slowly along entire length |
| Efficiency | Very High (up to 60% water savings) | Moderate (prone to evaporation/runoff) | High (less evaporation than sprinklers) |
| Best Use | Garden beds, rows, individual plants, potted plants | Lawns, large ground cover areas | Straight rows, new plantings, raised beds |
| Weed Control | Excellent (minimizes water to weeds) | Poor (waters weeds as well) | Good (waters soil, not broad areas) |
| Disease Prev. | Excellent (keeps foliage dry) | Poor (wets foliage, increases disease risk) | Excellent (keeps foliage dry) |
| Installation | Moderate (more components, planning) | Complex (often underground, professional install) | Very Easy (simple layout) |
| Cost | Moderate (DIY kits available) | High (for comprehensive systems) | Low |
| Yield Impact | Up to 90% better crop yield for edibles | No direct impact on crop yield, focused on turf health | Improved plant health and growth |
The right system depends on your garden’s personality. Mixed flower beds with perennials and shrubs? Drip irrigation is your friend. Expansive lawn that’s the neighborhood’s weekend gathering spot? Sprinklers make sense. Simple vegetable garden or raised beds? Soaker hoses might be perfect.
Planning Your Garden Irrigation System Installation
Installing a new garden irrigation system without a plan can lead to a frustrating tangle of tubing and mismatched parts. A little upfront planning, like following a recipe, ensures a smooth, satisfying project.
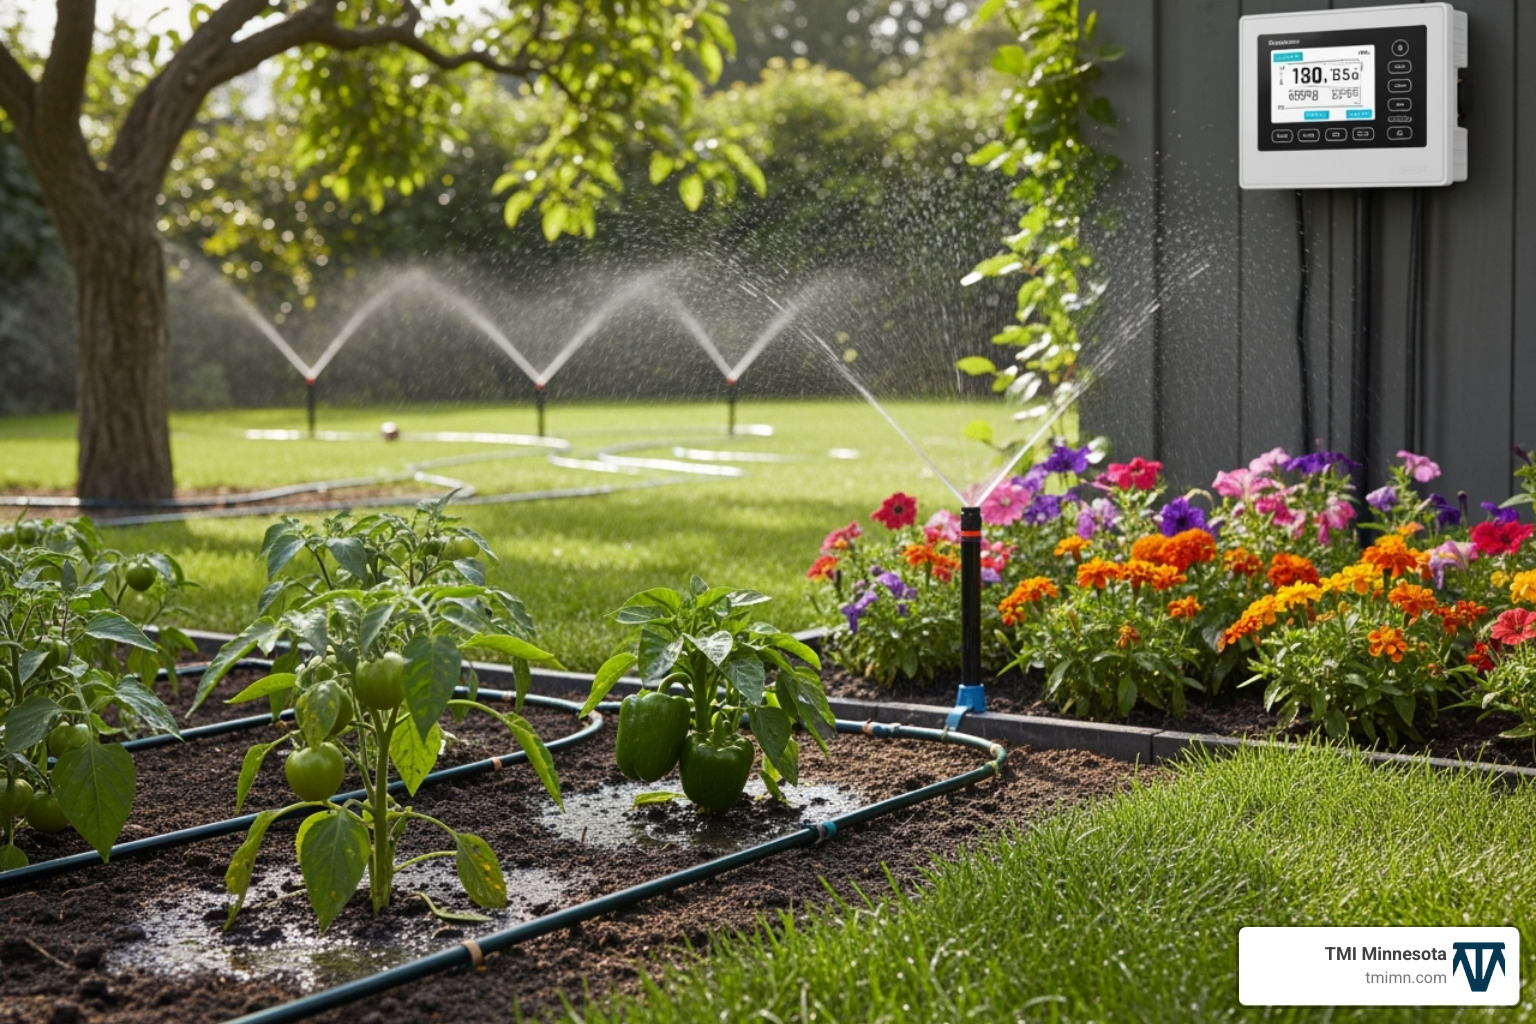
Measuring Your Garden and Water Flow
First, understand your garden’s unique needs and your water source’s capabilities.
Begin by assessing your garden needs. Note your plant types, from thirsty tomatoes to drought-tolerant lavender. Also, check your soil type. Sandy soil requires frequent, light watering, while clay soil prefers deeper, less frequent applications. Consider sun exposure, as sunny areas dry out faster than shaded ones. This will guide emitter placement and timer settings.
Next, measure the distances from your spigot to each garden bed, along with the dimensions of the areas to be watered. This helps estimate tubing length and plan the best routes.
To check your water pressure and flow rate, time how long it takes to fill a 5-gallon bucket. A one-minute fill time equals about 5 gallons per minute (GPM), which determines how many emitters your system can support.
Designing the Layout
Now, create your irrigation blueprint. A simple sketch on paper is all you need.
Sketch your garden layout, marking the water source, irrigation areas, and any obstacles like walkways or trees. This sketch is your roadmap.
On your sketch, map out the mainline tubing paths. This larger tubing carries water from the spigot, so plan direct routes that avoid high-traffic areas.
From the mainline, plan branch lines (smaller tubing) to reach individual beds or plant groups. For drip systems, this includes micro-tubing for specific plants.
Mark emitter locations on your sketch. Place drip emitters near the base of each plant. For soaker hoses, trace their path along plant rows.
Consider future garden expansion. Design your system with extra connection points to easily add new zones later.
A few days before you dig, call 811. This free service marks underground utility lines, ensuring safety and preventing costly accidents.
Create a parts list from your design to avoid extra trips to the hardware store.
For gardeners looking to create landscapes that thrive with minimal water, pairing an efficient irrigation system with Drought Resistant Landscaping principles creates the ultimate water-wise garden.
Step-by-Step Guide to Installing a Drip Irrigation System
With a plan in hand, it’s time for installation. We’ll focus on a drip irrigation system for its superior efficiency, water-saving capabilities, and DIY-friendly nature. It’s a leading-edge product for elevating your yard living.
Gathering Your Components and Tools
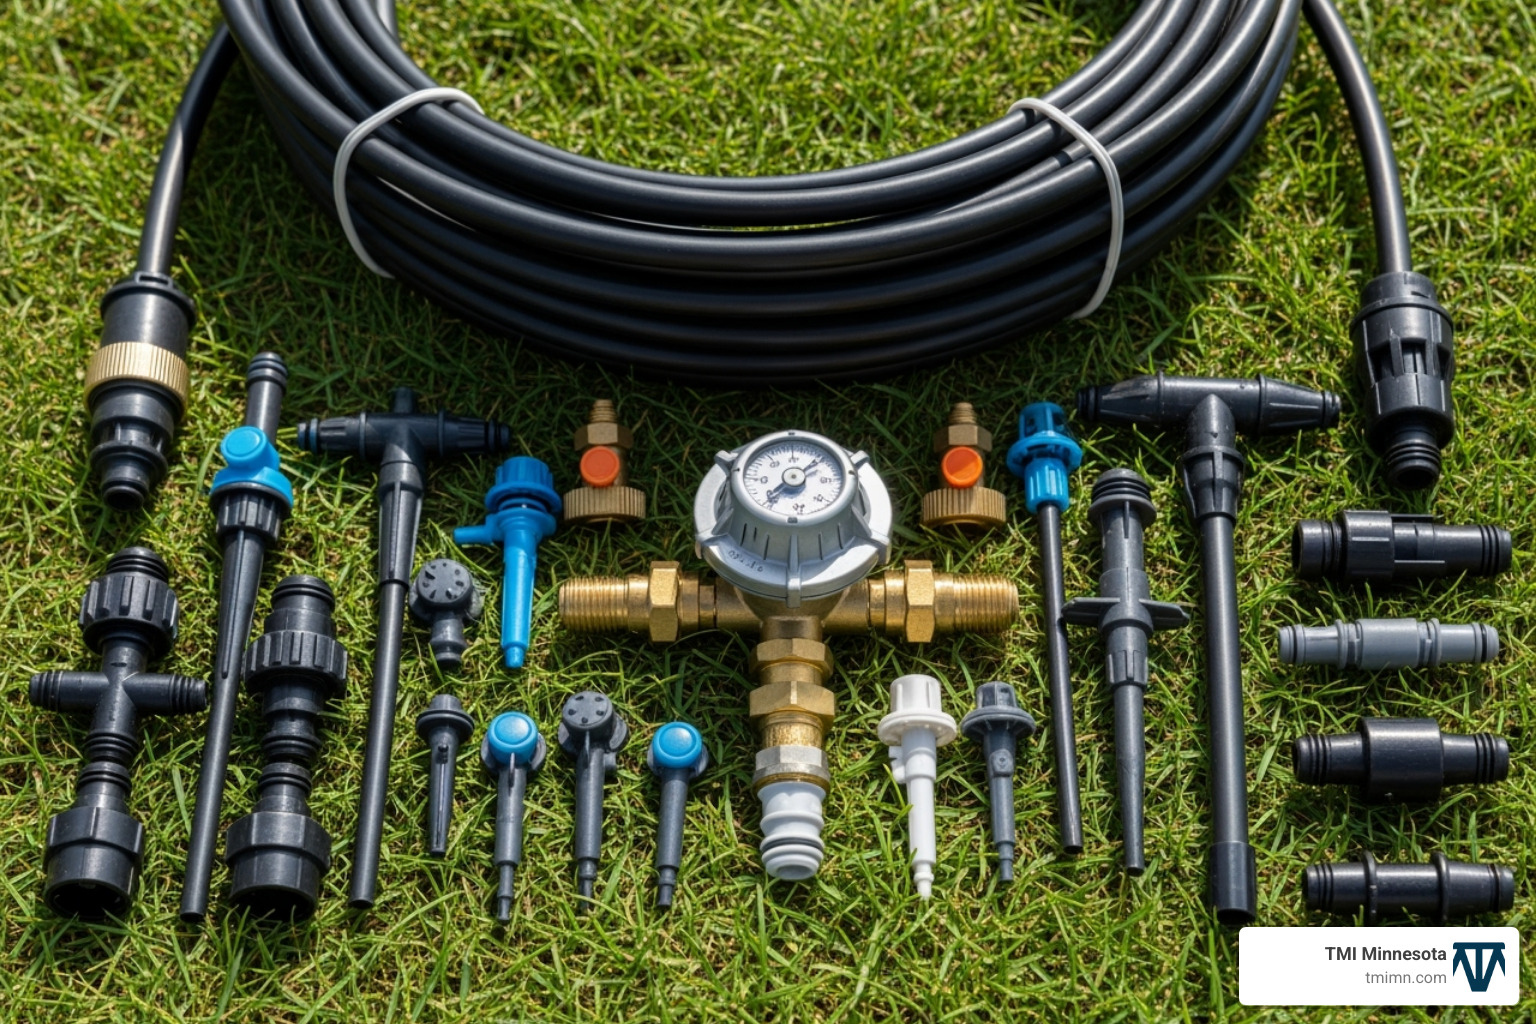
Gathering all your components and tools beforehand makes the process smooth. Here’s what you’ll need:
Essential Drip Irrigation Components:
- Backflow preventer: This crucial device stops irrigation water from flowing back into your home’s potable water supply. Safety first!
- Water filter: Prevents sediment and debris from clogging your emitters. Especially important if you’re using well water or rain barrels.
- Pressure regulator: Drip systems operate at low pressure (usually 10-30 PSI). This component reduces your household water pressure to the ideal range for your drip system, preventing blowouts and ensuring even watering.
- Hose timer: An absolute game-changer for automation. Connects to your spigot and allows you to set watering schedules (duration, frequency, start time). Some are even smart, allowing control from your phone!
- Mainline tubing: This is the main artery of your system, typically 1/2″ or 3/4″ in diameter.
- Micro-tubing: Smaller diameter tubing (1/4″) used to branch off the mainline to individual plants or containers.
- Emitters (or drippers): These are the small devices that release water at a controlled rate (e.g., 0.5 GPH, 1 GPH). Choose different types based on your plants’ needs and spacing.
- Barbed connectors: T-connectors, elbows, straight connectors to join sections of tubing and create your layout.
- Goof plugs: Handy little plugs to seal off holes you’ve accidentally punched or no longer need.
- Tubing stakes: To hold your mainline tubing and micro-tubing in place on the ground.
- Hole punch tool: Specifically designed to create clean holes in your mainline tubing for emitters or micro-tubing connections.
- Tubing cutter: A specialized tool for cleanly cutting drip tubing. Scissors or a utility knife can work in a pinch, but a proper cutter makes it much easier.
Assembling the Head Unit at the Spigot
The head unit connects your irrigation system to the water source. Assemble it in the following order:

- Connect backflow preventer to spigot: Screw the backflow preventer directly onto your outdoor spigot. Tighten it securely by hand.
- Attach filter: Screw the water filter onto the backflow preventer. Ensure the arrow on the filter points in the direction of water flow.
- Attach pressure regulator: Screw the pressure regulator onto the filter. Again, check for a directional arrow.
- Connect timer: If you’re using a timer, attach it after the pressure regulator.
- Attach tubing adapter: Finally, connect the appropriate adapter to the timer’s outlet. This adapter will connect to your mainline tubing.
Laying Out and Connecting Your Garden Irrigation System Tubing
Now it’s time to lay out the tubing according to your plan.
- Roll out mainline tubing in the sun to soften: Let the tubing sit in the sun for an hour before installation. The warmth makes it more flexible and easier to work with.
- Lay tubing according to your sketch: Carefully lay out the mainline tubing along the paths you designed. Use your tubing stakes to hold it in place.
- Cut tubing where needed: Use your tubing cutter to make clean cuts for branches or turns.
- Use T-connectors for branches: Where your design calls for a branch line, insert a T-connector.
- Use elbow connectors for corners: For neat 90-degree turns, use elbow connectors.
- Attach end caps or flush valves: At the very end of each mainline run, install an end cap or a flush valve to allow for periodic flushing of sediment.
Installing Emitters and Finalizing Your Drip Garden Irrigation System
- Use a hole punch for emitters: Once your mainline tubing is laid out, use your hole punch tool to create clean holes for emitters or micro-tubing connections.
- Insert emitters or drippers into tubing near plant bases: Gently push the barbed end of each emitter directly into the punched holes, positioning them in the root zone.
- Connect micro-tubing for containers or specific plants: For individual pots or distant plants, punch a hole in the mainline, insert a 1/4″ barbed connector, and run micro-tubing to the plant. Insert an emitter at the end.
- Flush the system to clear debris: Before capping the ends, turn on the water for a few minutes to flush out any debris from installation.
- Close end caps: Once the water runs clear, replace all end caps or close the flush valves.
- Test for leaks: Turn on the water and inspect all connections, emitters, and tubing for leaks, tightening or replacing components as needed.
Congratulations! You’ve just installed an efficient garden irrigation system! According to research, drip irrigation can reduce water use by up to 60%, so you’re already making a big difference for your plants and the planet.
Overcoming Common Watering Challenges with Efficient Garden Irrigation Systems
Efficient garden irrigation systems are designed to solve common watering challenges, turning frustration into flourishing.
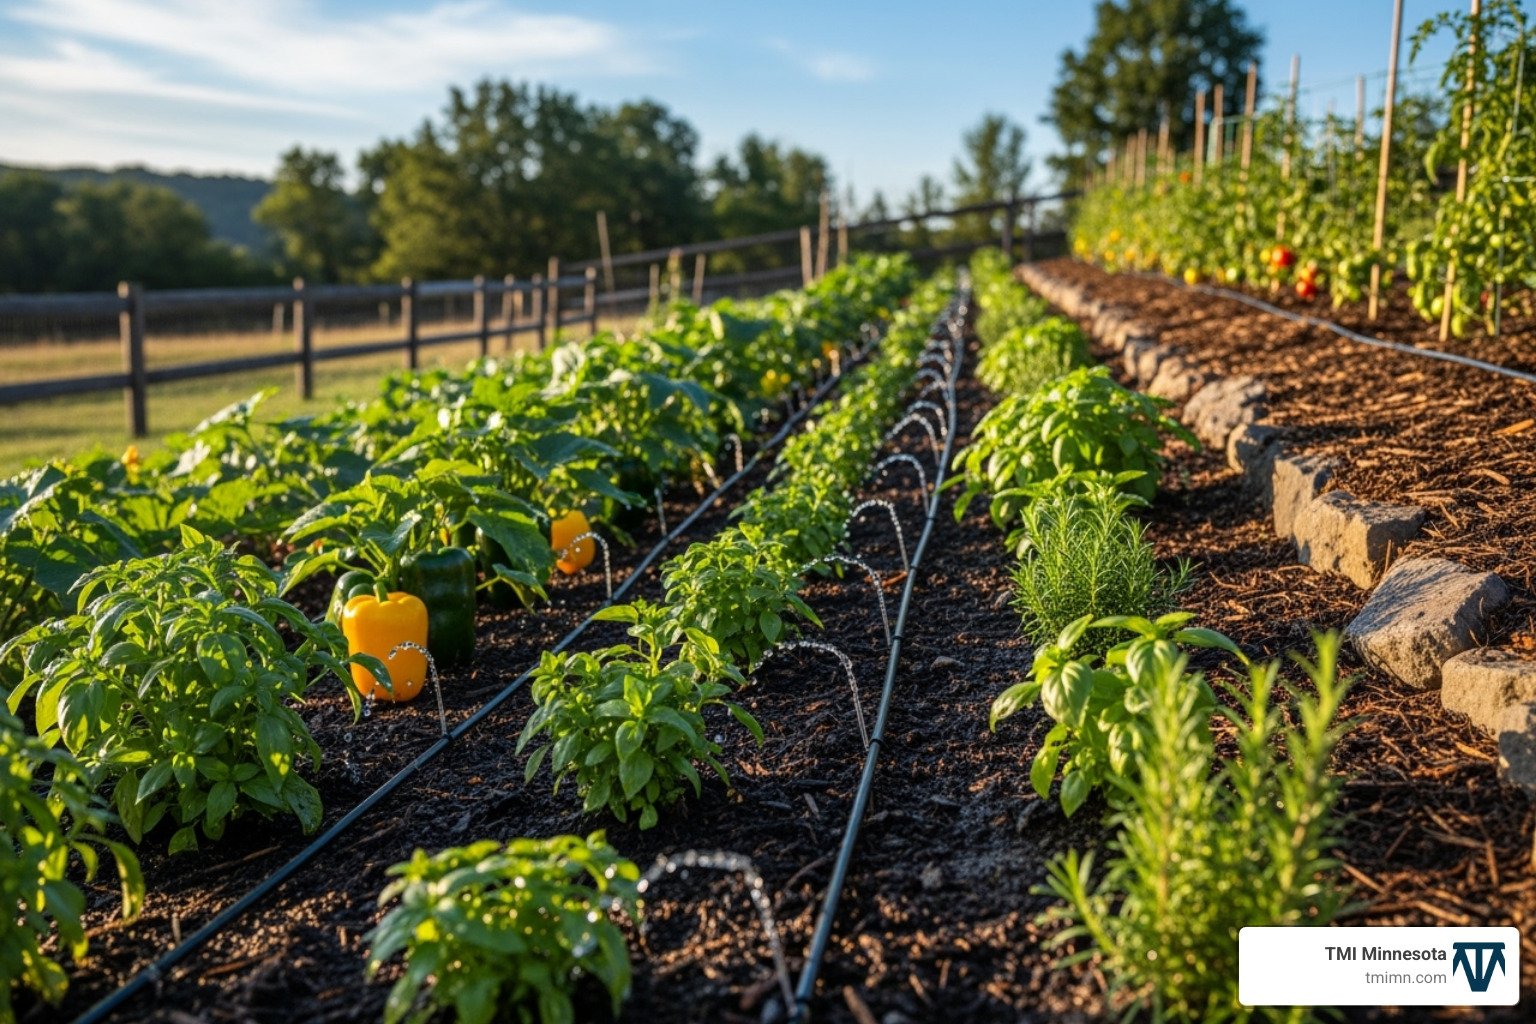
- Inconsistent watering: Manual watering is often uneven. An automated system delivers a consistent, measured amount of water to each plant, promoting stronger roots and healthier growth.
- Vacation watering: An automatic timer on your garden irrigation system waters your plants on schedule while you’re away. You’ll have peace of mind and return to a vibrant garden.
- Preventing fungal disease: Fungal diseases thrive on wet foliage. Drip irrigation delivers water to the soil, keeping leaves dry and significantly reducing disease risk.
- Reducing weed growth: Drip irrigation targets water only to your plants’ root zones, starving nearby weed seeds of moisture. This means less time weeding and more time enjoying your garden.
- Watering sloped areas and eliminating runoff: On slopes, drip irrigation’s slow delivery allows water to be absorbed gradually, eliminating wasteful runoff and conserving water.
By investing in an efficient garden irrigation system, you’re not just buying components; you’re investing in a solution to these persistent watering woes. You’re creating a more resilient, beautiful, and less labor-intensive outdoor space. For more ways to cultivate a thriving outdoor space, explore our guide to Environmentally Friendly Gardens.
Frequently Asked Questions about Garden Irrigation
Here are answers to the most common questions we hear at TMI Minnesota about garden irrigation.
How much water can I save with a drip garden irrigation system?
The savings with a drip garden irrigation system are impressive. You can expect up to 60% water savings compared to sprinklers or hand watering, a figure backed by MIT research. Drip systems deliver water directly to the plant’s root zone.
Unlike with sprinklers where water is lost to wind and evaporation, drip irrigation sends every drop straight into the soil for plant use. The elimination of runoff is another huge factor. Drip systems apply water slowly, allowing even clay soil to absorb it effectively without waste.
Beyond saving water, plants grow healthier and produce better yields. Consistent moisture can increase vegetable crop yields by up to 90%.
How often should I run my irrigation system?
The simple answer is to let your plants and soil tell you when they need water. The key is deep, infrequent watering, which encourages deeper, stronger roots and creates more drought-resistant plants than frequent, shallow watering.
Check your soil moisture 2-3 inches deep. If it feels dry at that depth, it’s time to water. If it’s moist, wait another day or two.
Your watering schedule depends on climate, soil type, and plant types. Sandy soils need more frequent watering than clay. New plants need more water than established ones. Adjust for hot, dry weather. A pro tip: adjust your timer based on the season and recent rainfall. Smart timers can even connect to weather forecasts and adjust automatically.
Do I need to winterize my irrigation system in a cold climate?
In a cold climate like Minnesota, the answer is absolutely yes. Winterizing your garden irrigation system is critical to avoid expensive damage from freezing. Freezing water expands with enough force to crack pipes, fittings, and emitters, leading to costly repairs.
Draining all water from your system is the main goal. For simple drip systems, disconnect the head unit from the spigot and open the ends of the mainline tubing to let it drain.
Your timer, filter, and pressure regulator must be brought indoors for the winter. Disconnect them, drain any remaining water, and store them in a warm, dry place.
For complex systems with buried lines, using an air compressor to blow out the pipes is the most thorough method. If you’re not comfortable doing this yourself, hiring a professional is a worthwhile investment to prevent damage.
Conclusion
We’ve explored how garden irrigation systems, from precise drip irrigation to broad-coverage sprinklers, can transform your outdoor space from a chore into a joy.
The benefits are clear: water efficiency, lower utility bills, and being a good steward of a precious resource. Consistent, targeted hydration leads to healthier gardens with stronger roots and better harvests.
Perhaps the most valuable benefit is the time saved. An automated system eliminates the daily watering chore, freeing you to simply enjoy your beautiful landscape.
A well-designed garden irrigation system is a smart investment for your landscape, paying dividends in plant health, water savings, and the freedom to enjoy your outdoor space.
At TMI Minnesota, we understand that every landscape is unique, just like every homeowner’s vision. We specialize in changing outdoor spaces with designs that seamlessly blend beauty with efficiency. Our experience with both hardscape and softscape installations means we can integrate your new irrigation system into a comprehensive landscape plan that truly lifts your yard living.
Ready to take the next step? Our Landscape Irrigation Solutions page offers deeper insights into how we approach watering solutions for Minnesota gardens. And when you’re ready to move from dreaming to doing, our team is here to help. For expert help designing and installing a system custom to your unique landscape, contact our landscape design experts – we’d love to help your garden flourish while giving you back your weekends!