
Illuminating Your Outdoor Spaces
How to install hardscape lighting is simpler than you might think. With the right approach, you can transform your outdoor living areas with beautiful, functional lighting in just a few steps:
- Plan your layout – Space fixtures about 6 feet apart for even illumination
- Gather supplies – Low-voltage transformer, lighting fixtures, cable, and basic tools
- Install the transformer – Mount near a GFCI outlet, following manufacturer instructions
- Run the wiring – Create channels in hardscape or bury cables in a 6-inch trench
- Mount fixtures – Either during construction or retrofit into existing structures
- Make waterproof connections – Use heat-shrink tubing for weather protection
- Test the system – Verify all fixtures work properly before finalizing installation
When the sun sets, your outdoor space doesn’t have to go dark. How to install hardscape lighting can seem intimidating at first, but with some basic planning and the right tools, you can create a stunning nighttime landscape that improves safety and extends your outdoor living hours.
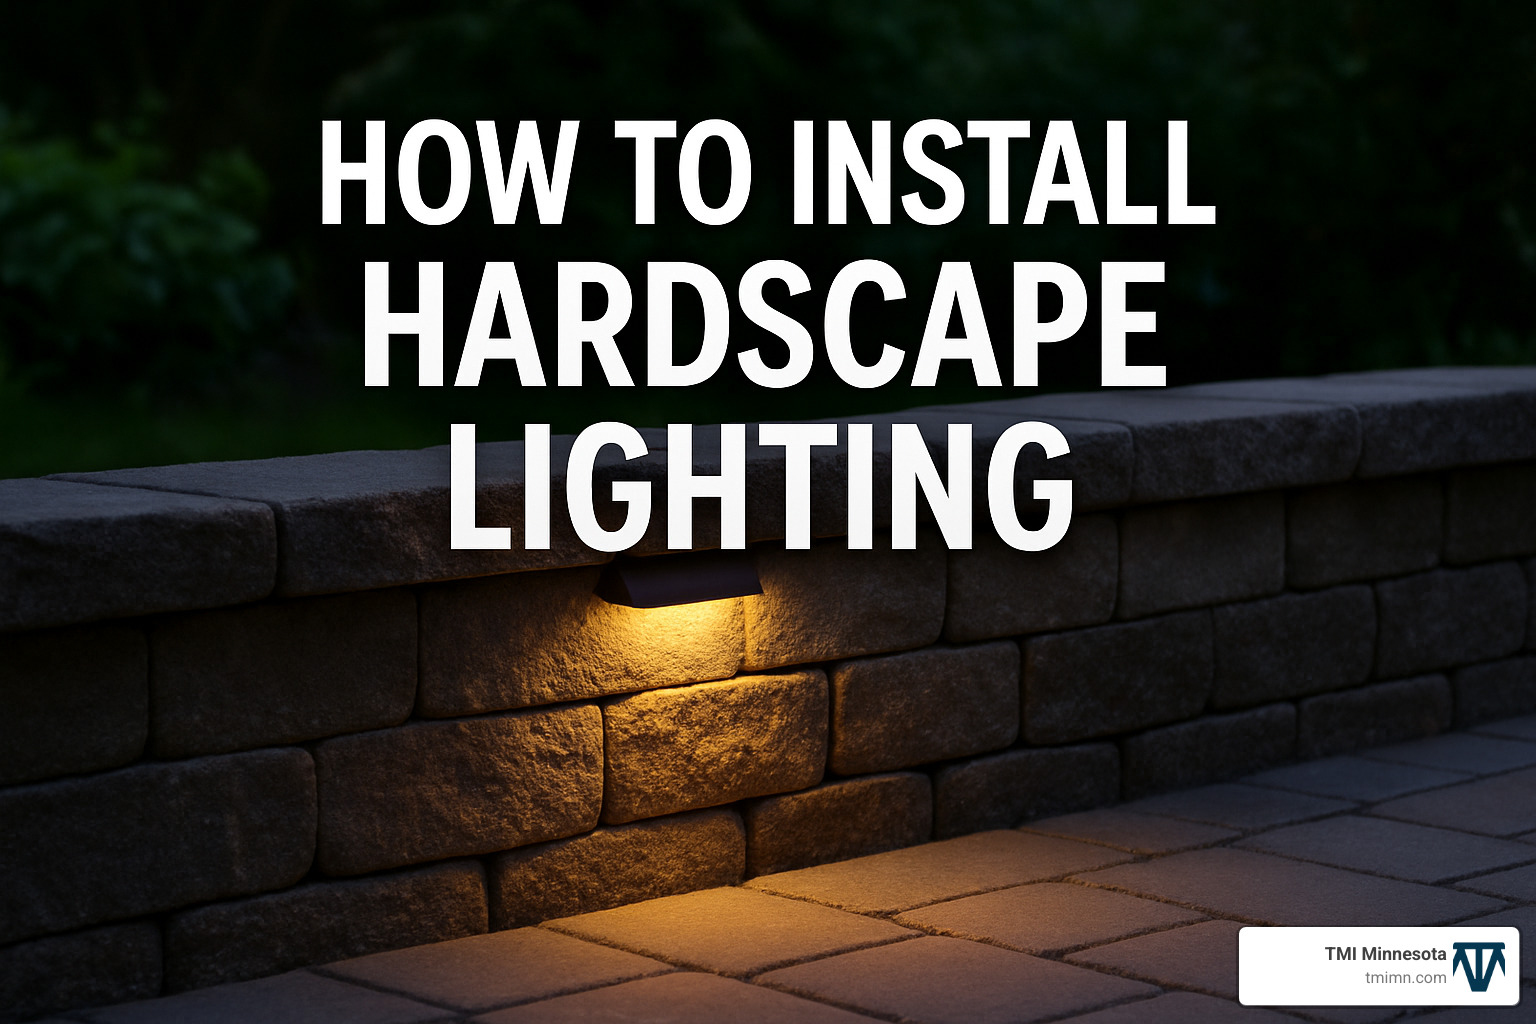
Hardscape lighting integrates seamlessly into stone walls, steps, patios, and other permanent structures, creating dramatic effects while providing essential illumination. Unlike traditional landscape lighting that sits in soil, hardscape fixtures become part of your built environment, offering a cleaner, more sophisticated look.
I’m Christopher Deanovic, Operations Leader at Task Masters Minnesota, where I’ve overseen countless how to install hardscape lighting projects that have transformed ordinary outdoor spaces into extraordinary nighttime retreats. My experience has taught me that proper installation techniques make all the difference between a system that looks professional and lasts for years versus one that fails prematurely.

Simple guide to how to install hardscape lighting:
What Is Hardscape Lighting & Why You Need It
Ever noticed how some homes seem to glow with warmth after sunset? That magical effect often comes from hardscape lighting – fixtures cleverly integrated into permanent outdoor structures rather than just stuck in the ground. Unlike traditional landscape lights that poke up from flowerbeds, hardscape lighting becomes one with your outdoor living spaces.
When we’re helping homeowners transform their yards at TMI Minnesota, we explain that hardscape lighting is designed specifically for your built environment – those retaining walls, neat steps, cozy seating walls, expansive patios, and decorative columns that give your landscape its backbone.
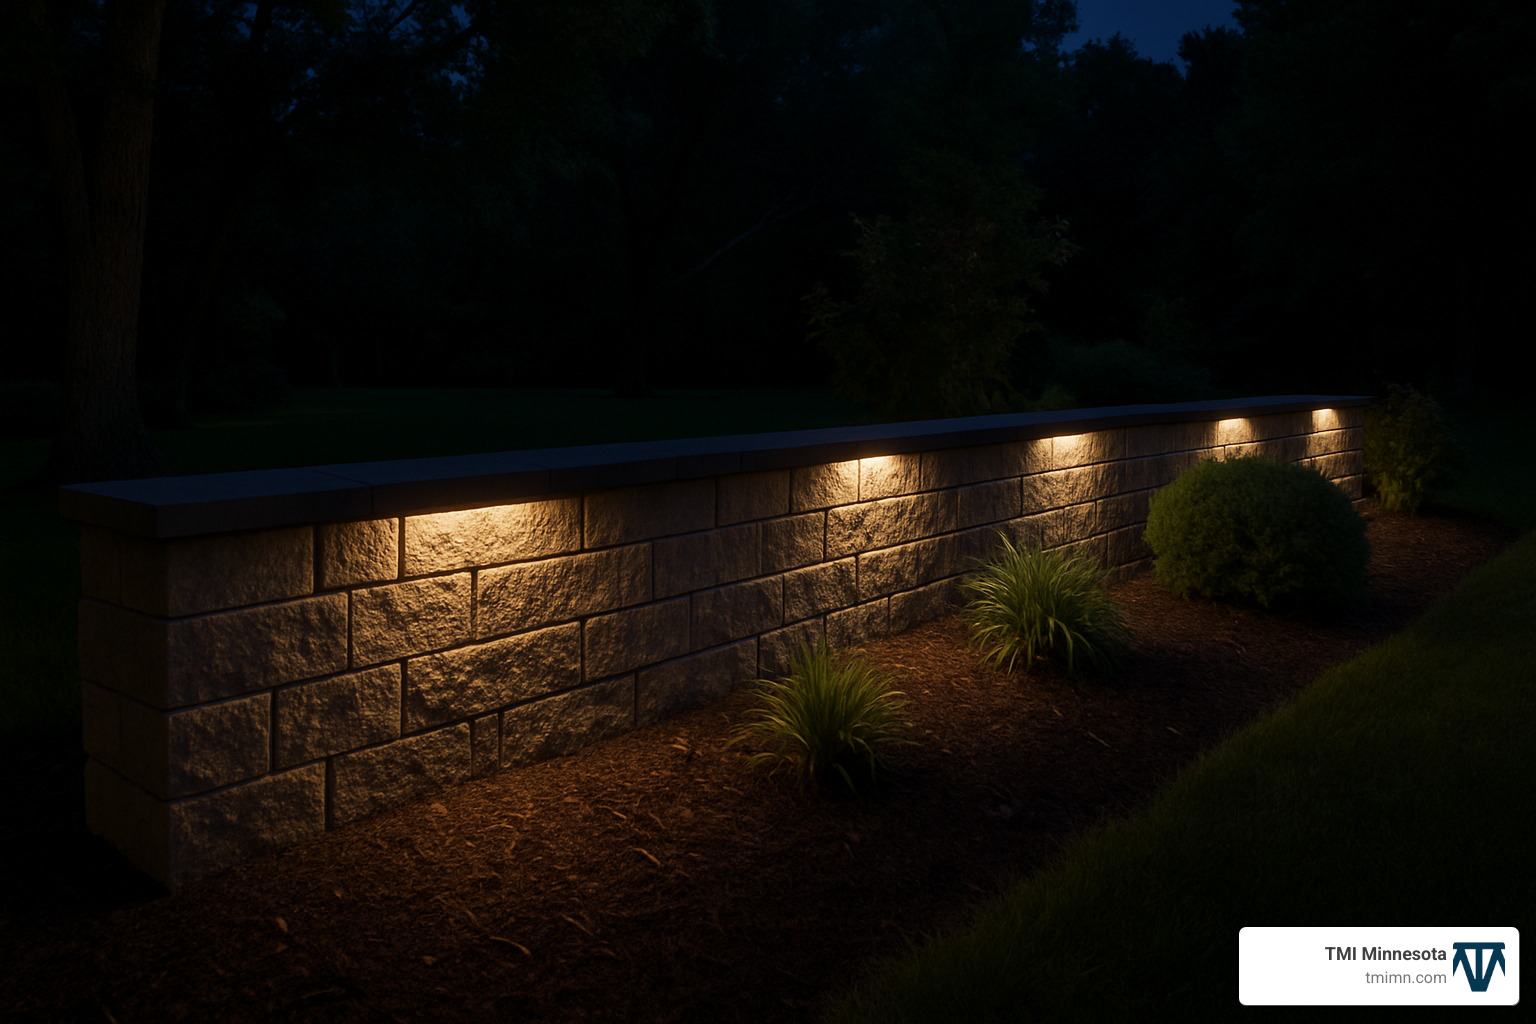
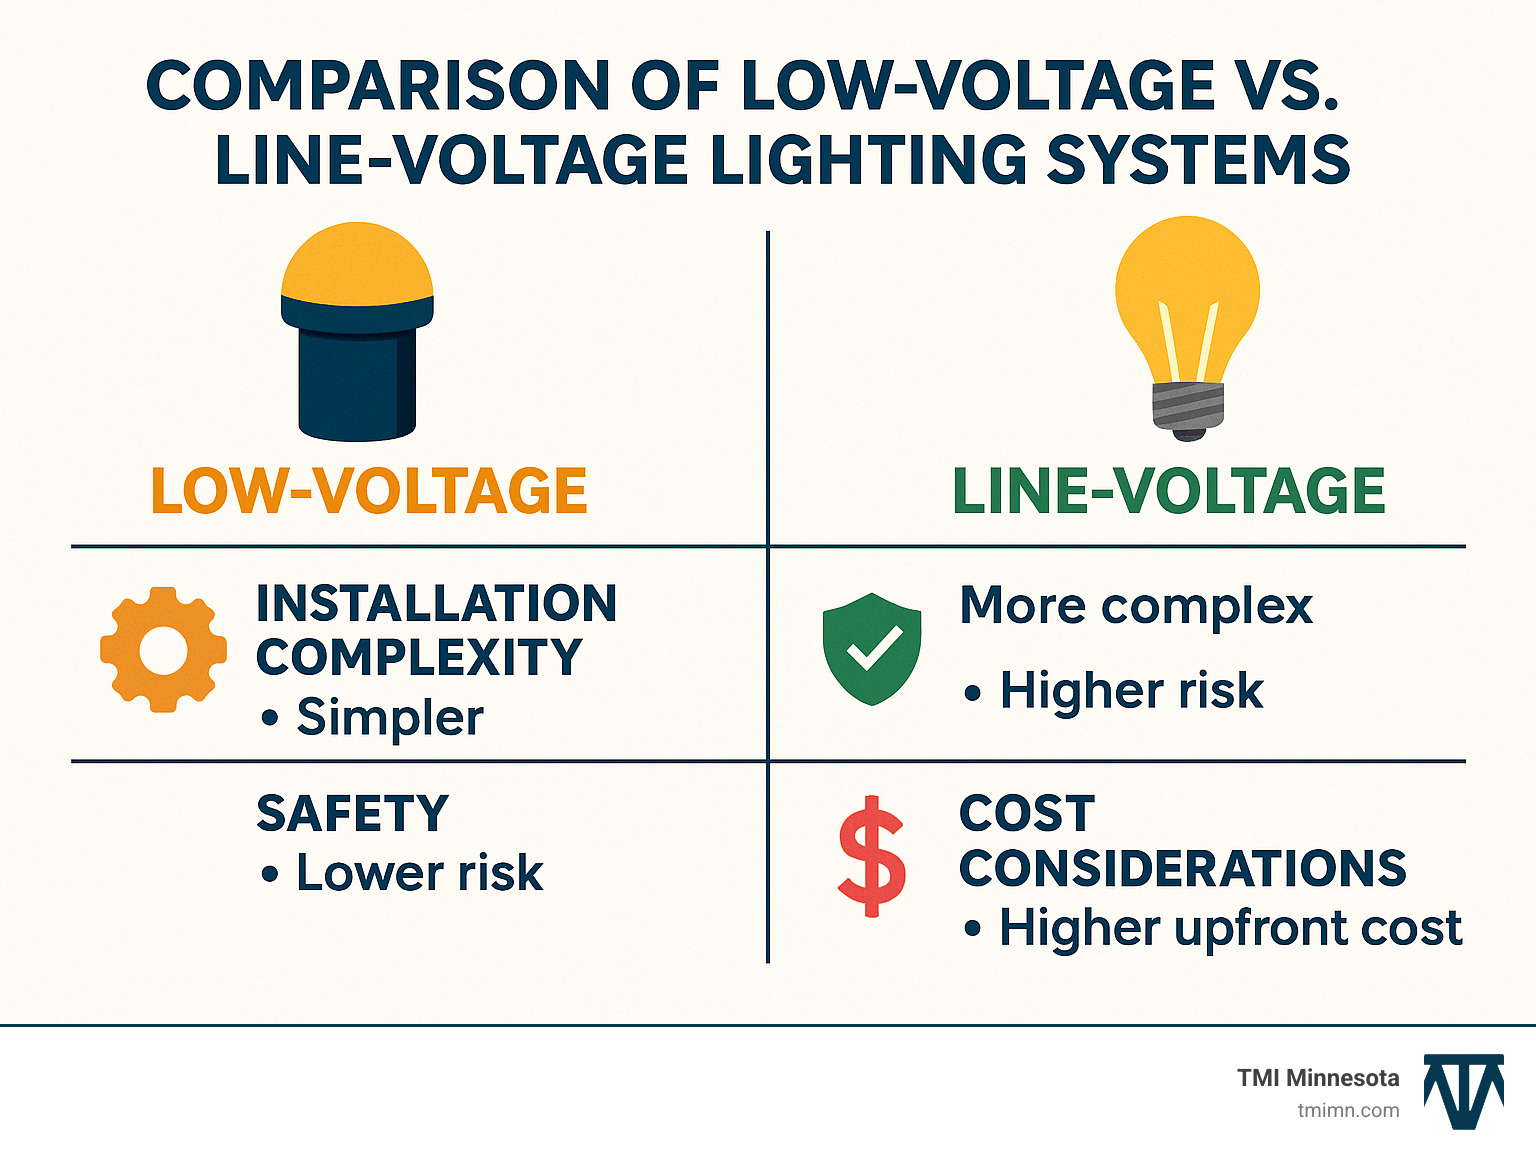
What makes these lighting systems special is their longevity and safety. They typically run on low-voltage power (12V instead of the standard 120V in your home), making them much safer to install and significantly more energy-efficient. With modern LED technology, these lights can brighten your outdoor space for 15-20 years with barely any maintenance – talk about set-it-and-forget-it convenience!
We’ve installed these subtle lighting solutions in all sorts of hardscape features:
Retaining walls transform from daytime functional elements to nighttime showpieces when light spills from under capstones or between blocks. Steps and staircases become both beautiful and much safer with riser lights guiding the way. Seating walls with under-cap lighting create the perfect ambiance for evening conversations, while columns and posts gain dramatic presence with recessed fixtures. Even patios and walkways take on new life with paver lights that define edges and transitions.
Beyond just looking pretty (though they certainly do that), hardscape lighting serves real practical purposes. I can’t tell you how many clients have thanked us for helping prevent twisted ankles and embarrassing stumbles by illuminating changes in elevation and potential trip hazards. This becomes especially important for families with older members or homes that frequently entertain guests.
Key Benefits at a Glance
The magic of how to install hardscape lighting reveals itself in so many ways. Beyond safety, these systems extend your outdoor living hours well past sunset – suddenly that patio investment pays dividends into the evening hours. Your property value gets a boost too, with quality landscape lighting potentially increasing home value by 15-20%.
These systems are incredibly energy-efficient, with LED fixtures typically using just 1-3 watts each. They highlight the beautiful textures and materials of your hardscape features while eliminating dark spots where intruders might hide. Perhaps most surprisingly, they give your landscape visual interest year-round – even in Minnesota winters when everything else looks dormant.
One of my favorite client reactions came from a couple in Edina who told me, “I never realized how much more we’d use our patio once we added lighting. Now we’re out there almost every evening, even in fall when it gets dark early.” That’s the real value – not just prettier property, but more enjoyable living.
More info about Outdoor Lighting Installations
Planning Like a Pro: Layout, Spacing & Materials
Let’s face it – the difference between a stunning hardscape lighting project and a disappointing one often comes down to planning. After hundreds of installations across the Twin Cities, we’ve learned that a little preparation goes a long way.
Measuring and Layout
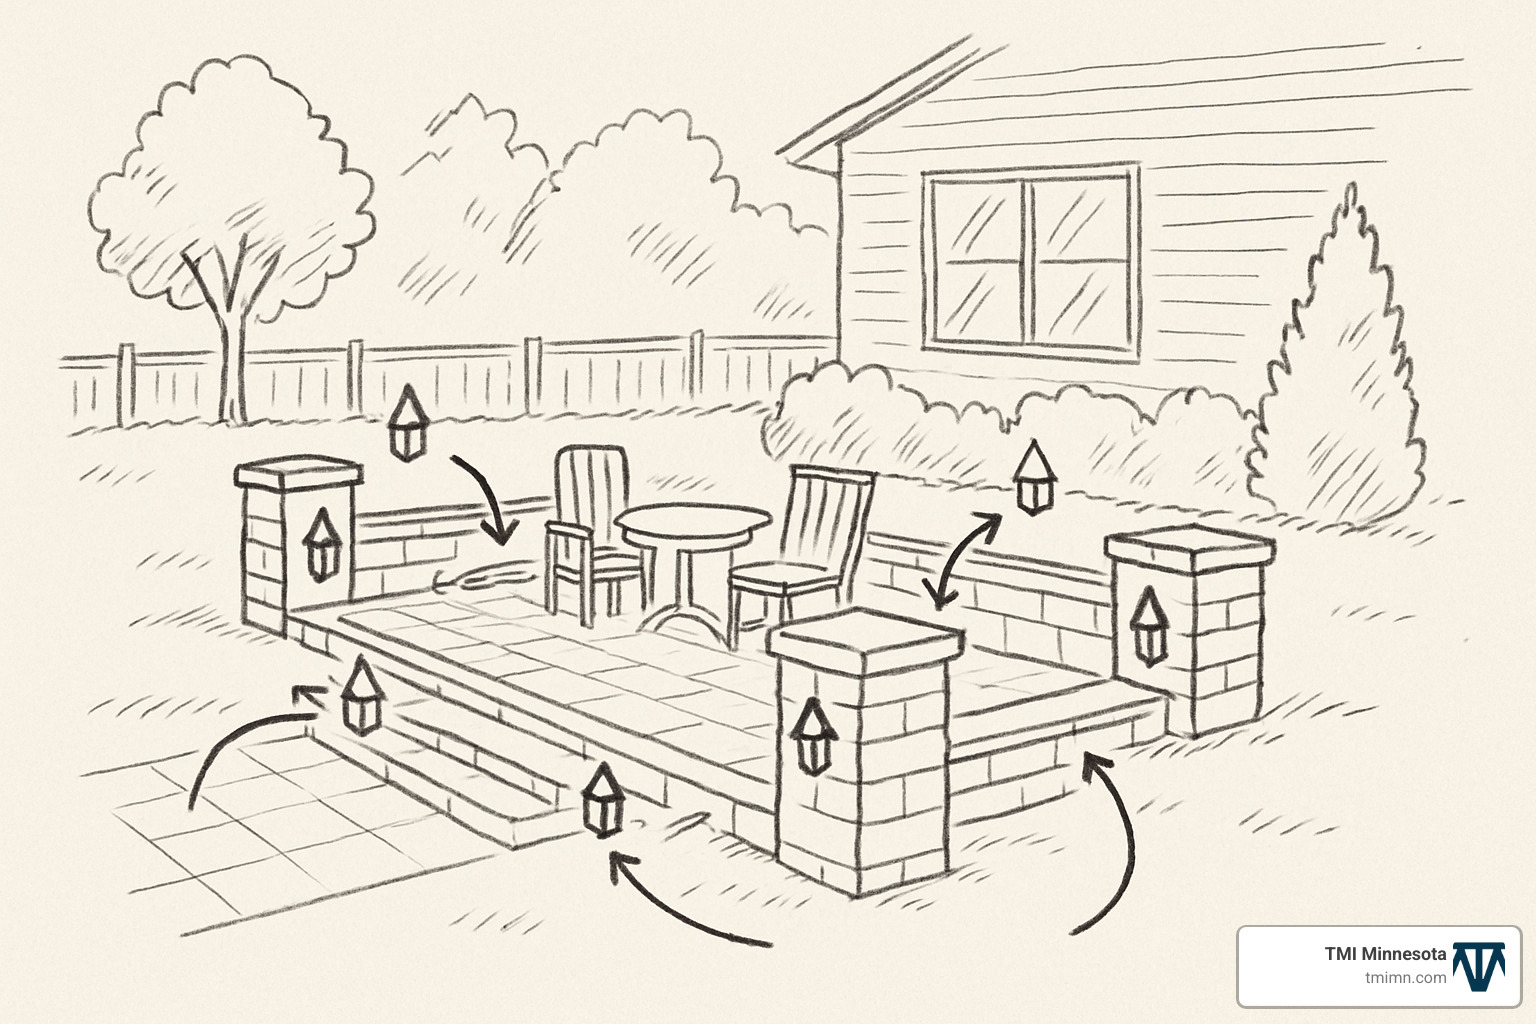
Start by walking your property with a measuring tape and notebook. For retaining walls and seating walls, we’ve found that spacing fixtures about 6 feet apart creates that perfect balance – not too bright, not too dim. Most hardscape lights cast a radius of about four feet, so this spacing ensures a beautiful, consistent glow without awkward dark patches.
For steps, you’ll want to decide whether to light every step or every other one. This really depends on how dark your property gets and how frequently the stairs are used. When it comes to columns, one or two fixtures usually does the trick, depending on the size.
Sketch out your space – nothing fancy, just a simple drawing marking where each fixture will go. This visual guide helps calculate not just how many fixtures you’ll need, but also how your wiring will run. Remember to measure the actual running length of cable needed, including those ups and downs that can add surprising length to your total.
Voltage Drop Considerations
Here’s something many weekend warriors miss: voltage drop. As electricity travels through wire, it gets a little tired – losing voltage over distance. This means those lights at the far end of your system might look noticeably dimmer than the ones near your transformer.
To keep your lights shining bright throughout your property:
- Use thicker 12-gauge wire for main runs instead of thinner options
- Try to keep wire runs under 100 feet when possible
- Don’t skimp on transformer size if you have a larger system
- Check voltage at your furthest fixture with a multimeter during testing
Transformer Sizing
Choosing the right transformer is like picking the right engine for your car – it needs to match what you’re powering. Most low-voltage landscape lighting transformers handle between 100-300 watts.
Figuring out your needs is simple math: count your fixtures, multiply by watts per fixture (usually 1-3 watts for modern LEDs), then add 20% for future expansion. So if you’re installing 15 fixtures at 2 watts each, you need at least 36 watts with that safety margin. A 100-watt transformer would give you plenty of room to grow.
Essential Tools and Materials
To install hardscape lighting properly, you’ll need a few key tools. Don’t worry – nothing too exotic here. Basic items include measuring tape, safety glasses, work gloves, wire strippers, and a caulking gun. For retrofitting into existing structures, you’ll also need a masonry chisel, hammer, and possibly an angle grinder with a diamond blade to create channels for wiring.
As for materials, besides the obvious fixtures and transformer, make sure you have quality 12-gauge low-voltage cable, waterproof wire connectors (or heat-shrink tubing), masonry adhesive, and some electrical tape. Always buy a bit more wire than you think you’ll need, and create service loops (extra wire) at fixture locations to make future maintenance easier.
Choosing the Right Hardscape Light Type
The fixtures you select can make or break your project. Here in Minnesota, we’ve learned which types work best for different applications:
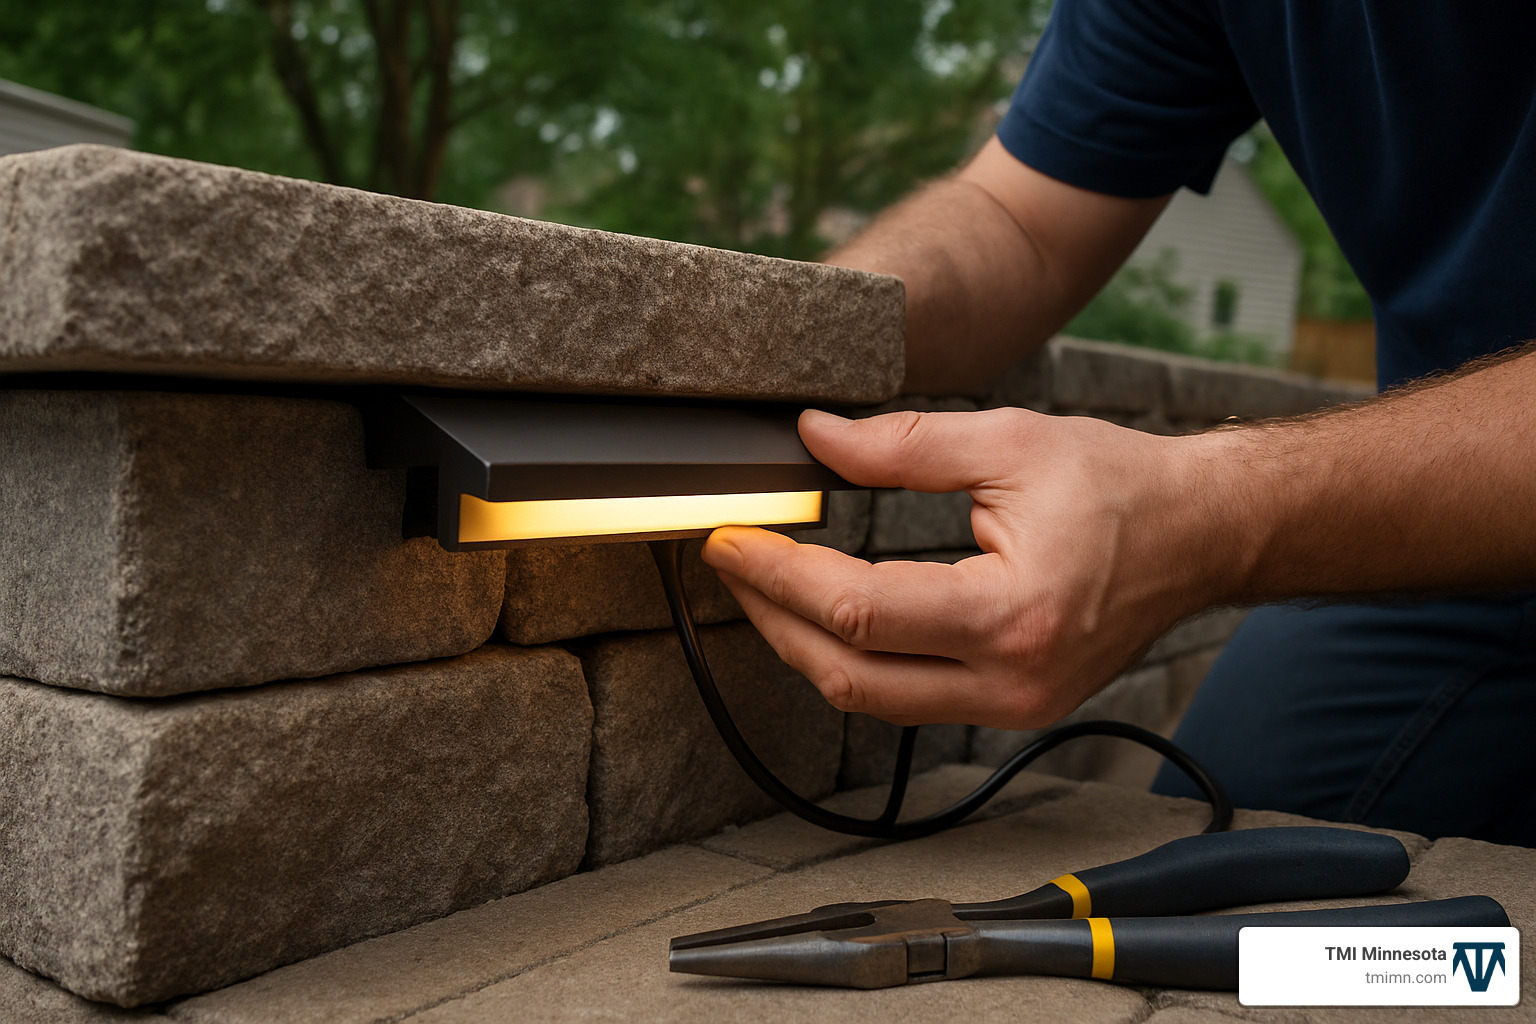
Under-cap lights are our most popular choice for retaining and seating walls. These slim fixtures tuck neatly underneath capstones, washing the wall face with gentle light. They’re practically invisible during the day but create magic at night.
Step lights (also called riser lights) are specifically designed for staircases. They can be installed in the vertical riser or tucked under the lip of the tread. Either way, they illuminate the walking surface where it matters most.
Rail and post lights attach to deck railings, fence posts, or columns. They’re perfect for defining boundaries while improving safety around liftd areas.
Paver lights integrate between pavers or replace standard pavers entirely. They’re fantastic for creating patterns of light in walkways and patios.
When browsing fixtures, pay attention to color temperature – we typically recommend warm white (2700K-3000K) for residential installations. It creates that cozy, inviting atmosphere that feels like home. Also check the beam spread (wider for general illumination, narrower for dramatic effects) and IP rating (at least IP65 for Minnesota weather, preferably IP68 for areas that might see standing water).
Material quality matters too. Cast aluminum, brass, and copper fixtures might cost more upfront, but they’ll outlast plastic alternatives, especially through our freeze-thaw cycles.
More info about Modern Outdoor Designs
How to Install Hardscape Lighting Step-by-Step
Now that you understand the basics, let’s roll up our sleeves and get into the nitty-gritty of how to install hardscape lighting. Whether you’re starting fresh with new construction or adding lights to your existing landscape, the process is manageable with some patience and the right approach.
How to Install Hardscape Lighting in a New Retaining Wall
There’s something deeply satisfying about planning lighting from the beginning of a wall project. It’s like baking the chocolate chips right into the cookie instead of trying to push them in later!
When we’re building a new wall at TMI Minnesota, we start by marking each light location, typically every 6 feet along the wall. As we stack the blocks, we create deliberate pathways for the wires, essentially “building in” the lighting system as we go.
At each fixture location, we insert a small piece of brass or PVC tubing. This might seem like an extra step, but trust me—it prevents wire damage from those unforgiving sharp edges. I’ve seen too many DIY projects fail because wires got nicked during installation.
Once the wall structure is nearly complete, we thread our low-voltage cable through those pre-planned pathways. I always recommend leaving what we call a “service loop”—about 12-18 inches of extra wire at each fixture location. This small detail makes future maintenance so much easier.
When mounting the fixtures, we connect each one to the main cable using waterproof connectors, then secure them with a dab of masonry adhesive. This prevents fixtures from shifting over time, especially during our notorious Minnesota freeze-thaw cycles.
The final step is carefully placing the capstones over the fixtures. Take your time here—you don’t want to pinch any wires! Then run your main cable back to the transformer, keeping it concealed whenever possible.
One homeowner in Edina told me, “Having the lighting planned from the beginning made such a difference. The wires are completely hidden, and the lights look like they’re just part of the wall design.” That’s exactly the reaction we aim for!
How to Install Hardscape Lighting on an Existing Structure
Don’t worry if your beautiful retaining wall is already built—you can still add lighting with a retrofit approach. It requires a bit more elbow grease, but the results are worth it.
First, you’ll need to carefully remove the capstones. This is where patience pays off! Use a masonry chisel and hammer to gently break the existing adhesive. Work slowly and methodically to avoid damaging your stonework.
Once the capstones are lifted, you’ll need to create channels for your wiring. This is where things get dusty! Using an angle grinder with a diamond blade, cut channels approximately ½” × ½” in the top of the wall blocks. (Please wear safety glasses and a dust mask—your lungs and eyes will thank you!)
After creating your wire pathways, use a masonry drill bit to create recesses for your fixtures if needed. Then feed your low-voltage cable through these channels, leaving those all-important service loops at each fixture location.
Connecting the fixtures requires stripping wire ends and using waterproof connectors or adhesive-lined heat-shrink tubing. This waterproofing step is non-negotiable in Minnesota, where moisture can wreak havoc on electrical connections.
Secure each fixture with masonry adhesive, then apply fresh adhesive and carefully reset your capstones. Take care to ensure they sit level and don’t pinch any wires.
For free-standing walls, you might need to get creative. Sometimes we cut the existing cable, create a halfway-through slot for the wire, and splice connections inside using heat-shrink tubing before reapplying adhesive and resetting the capstone.
Running & Concealing Wiring the Right Way
The magic of beautiful hardscape lighting lies in seeing the light, not the wires that create it. Proper wire management makes your installation both visually appealing and long-lasting.
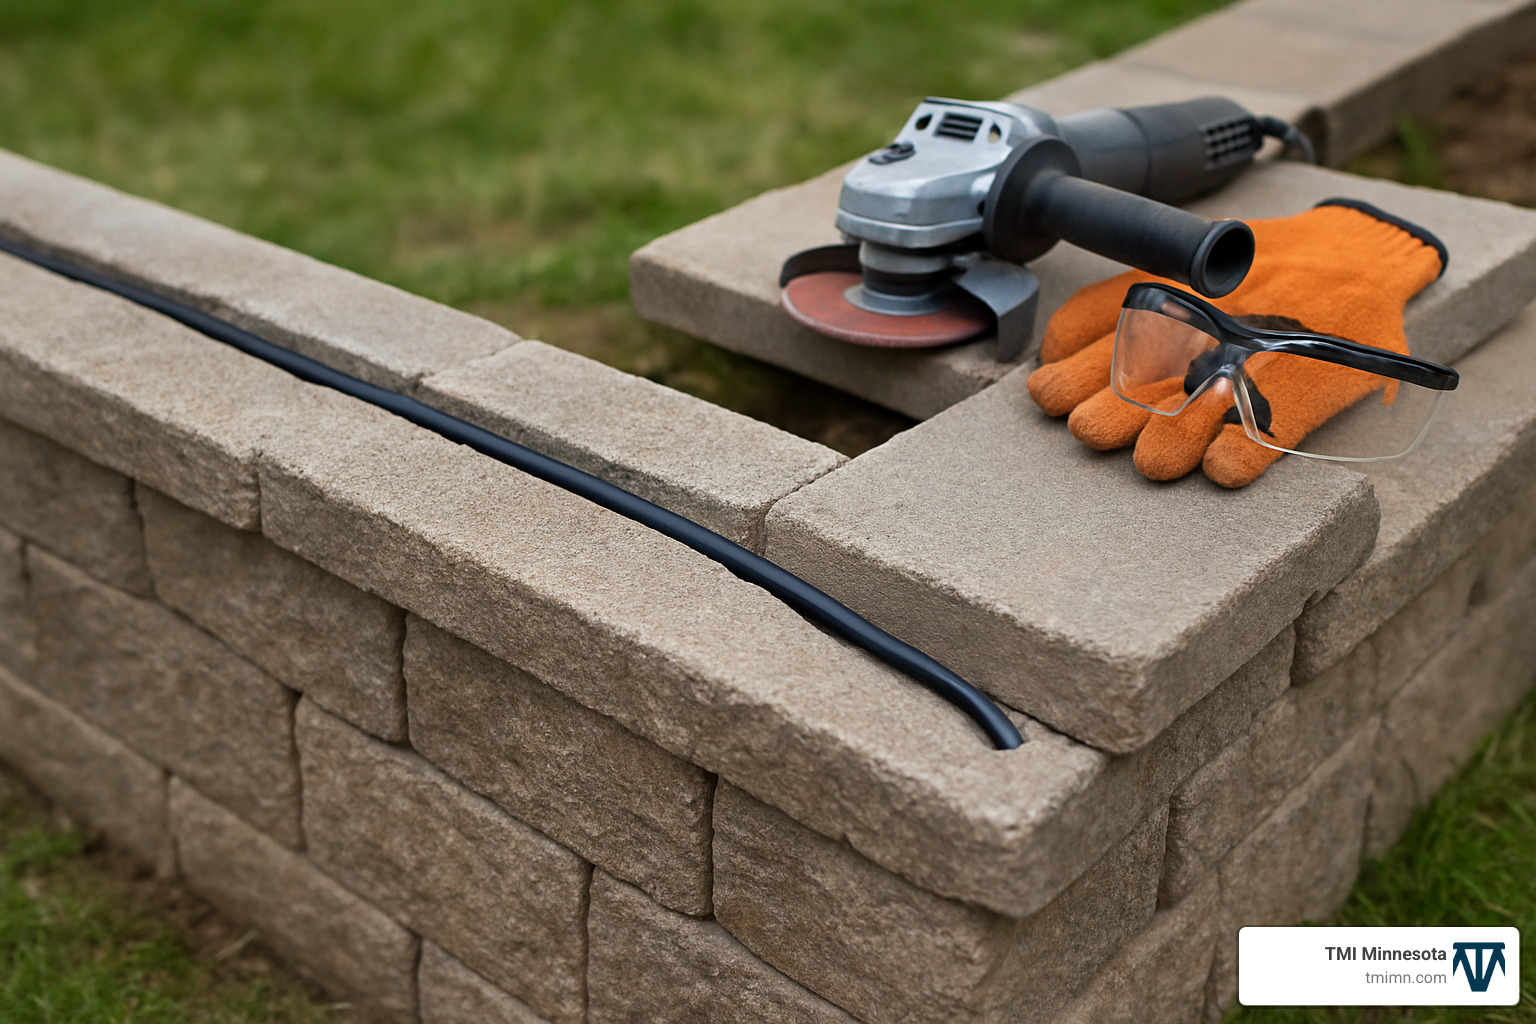
For wires running through soil or lawn areas, dig a 6-inch deep trench. This depth hits the sweet spot—deep enough to protect the cable from accidental damage but shallow enough that you can find it later if needed. In areas with curious critters or where extra protection is warranted, consider running cables through PVC conduit.
When facing existing structures like columns, a neat trick we use at TMI is using a short iron rebar (about ½” diameter) to bore a path underneath for wiring. It’s like creating a mini-tunnel for your electrical highway!
Always leave those 12-18 inches of extra wire at each fixture location. I can’t stress enough how valuable these service loops are when you need to replace a fixture years down the road.
Keep your wires neat and organized, especially at junction points. A messy installation is usually the first to develop problems. Use zip ties or electrical tape to bundle wires where appropriate, and always use protective tubing wherever wires might contact rough or sharp surfaces.
Here’s a pro tip I’ve learned from years in the field: When running wire through an existing wall, feed a string with a small weight attached through first, then use the string to pull the actual wire back through. This makes the process much easier than trying to push wire through tight spaces. It’s like threading a needle—much easier to pull than push!
Step-by-step retaining wall light guide
Powering Up: Connections, Transformers & Safety
Let’s talk about the heart of your lighting system – the electrical components. Getting this part right ensures your beautiful hardscape lights will shine safely for years to come.
Transformer Installation
Finding the perfect home for your transformer makes all the difference. I always tell homeowners to think of the transformer as the command center of your lighting system. Mount it somewhere that’s:
- Within arm’s reach (1-2 feet) of a GFCI-protected outdoor outlet
- At least a foot above ground level to keep it high and dry
- Sheltered from sprinklers (water and electricity aren’t friendly neighbors!)
- Easy to access when you need to adjust settings
- As central as possible to minimize voltage drop
Once you’ve found that ideal spot, secure your transformer firmly to a wall, fence post, or dedicated pole. The mounting hardware usually comes with your transformer, making this step straightforward.
When it’s time to connect the wiring, precision matters. Strip about a half-inch of insulation from your main cable ends, connect them to the proper terminals (paying attention to polarity if your system requires it), and tighten those terminal screws like you mean it. Finally, seal up the connection box according to the manufacturer’s instructions to keep moisture out.
The last step is setting up your controls. Whether you’re using a basic timer, photocell, or fancy smart controls, take a few minutes to configure them properly. Your future self will thank you when the lights turn on automatically at dusk!
Making Waterproof Connections
Here in Minnesota, we know a thing or two about harsh weather. Those freeze-thaw cycles can wreak havoc on electrical connections, so waterproofing is non-negotiable when you install hardscape lighting.
Heat-shrink tubing is my personal favorite method. Strip about half an inch of insulation from each wire end, slide the tubing over one wire (don’t forget this step!), twist the wire ends together firmly, then slide the tubing over your connection. A quick blast with a heat gun or mini torch shrinks it down, creating a watertight seal that can handle our Minnesota winters.
Gel-filled connectors are another excellent option. These handy devices contain a special waterproof gel that surrounds your connection. Just strip the wire ends according to the connector instructions, insert them, twist or crimp as directed, and let the gel work its magic.
Whatever method you choose, remember these golden rules: make connections accessible when possible, always use direct burial-rated connectors if they’ll be underground, and never rely on electrical tape as your only waterproofing. That’s a recipe for disappointment!
Voltage Testing
Before you call your project complete, grab a multimeter and check the voltage at key points in your system. This simple step can save you headaches down the road.
Start at the transformer – you should see a reading close to 12V (or whatever your system’s rated voltage is). Then check the nearest fixture, which should show nearly the same reading. Finally, test the furthest fixture – this is where you might see voltage drop, but readings shouldn’t fall below 10.5V for proper operation.
If your distant fixtures are showing significant voltage drop, you’ve got options: use thicker gauge wire, shorten your cable runs, add a second transformer, or reconfigure your circuit layout. A little adjustment now means beautiful, consistent lighting for years to come.
Transformer Sizing Chart
| Number of LED Fixtures (2W each) | Recommended Transformer Size |
|---|---|
| 1-25 | 100W |
| 26-50 | 150W |
| 51-100 | 300W |
I always recommend adding about 20% extra capacity to your calculations. This gives you room to expand your system later and helps compensate for voltage drop on longer runs. Better to have a little extra power than not enough!
More info about Garden Lighting Installation
Testing & Troubleshooting Your Hardscape Lights
The final step in how to install hardscape lighting is thorough testing. Think of this as your quality control phase.
Start with a daylight test – yes, during the day! This lets you verify that all fixtures are working properly while you can still easily make adjustments. Walk your property and check each light. Then, come back after dark for the real show. This nighttime evaluation helps you assess the actual lighting effect and make any final tweaks to positioning.
If you run into issues, don’t panic. When a fixture doesn’t light, check the connections first, then verify voltage at the fixture. For dim lights at the end of a run, you’re likely experiencing voltage drop – consider using thicker wire or shortening the run. Flickering usually points to loose connections or water infiltration, while a humming transformer is normal at low levels (though excessive noise might mean it’s overloaded).
Here’s a pro tip I share with all our TMI Minnesota clients: take photos of your installation before covering or completing the work. These photos become invaluable if you need to troubleshoot or make additions later. I can’t tell you how many times these “before” photos have saved me hours of guesswork!
Speaking of troubleshooting, a multimeter with continuity testing capability is worth its weight in gold. If sections of your lighting aren’t working, this tool can help you check for breaks in the circuit, narrowing down exactly where the problem lies.
A well-installed hardscape lighting system should provide years of trouble-free enjoyment with minimal maintenance. Taking your time during installation pays dividends in reliability and performance.
Design, Maintenance & Common Mistakes to Avoid
Creating truly stunning hardscape lighting isn’t just about technical know-how—it’s also about having an eye for design. After years of changing Minnesota properties, we’ve finded that the most beautiful installations balance both art and science.
When planning your lighting, think about creating layers of light rather than just placing fixtures randomly. This approach adds depth and visual interest to your outdoor spaces. For example, combine downlighting from under wall caps with step lights and perhaps some path lighting to create a multi-dimensional effect. The result feels intentional and professionally designed, not flat or one-dimensional.
One of the biggest rookie mistakes we see is ignoring glare control. Nobody wants to be blinded while enjoying their evening on the patio! Position your fixtures to illuminate surfaces rather than shining directly into viewing areas. This subtle adjustment makes the difference between a harsh, uncomfortable space and one that feels welcoming.
How to install hardscape lighting that creates the right mood starts with color temperature. We almost always recommend warm white (2700K-3000K) for residential settings. This golden glow creates a cozy, inviting atmosphere that complements Minnesota’s natural landscape. Save cooler whites for commercial projects or ultra-modern homes where that aesthetic makes sense.
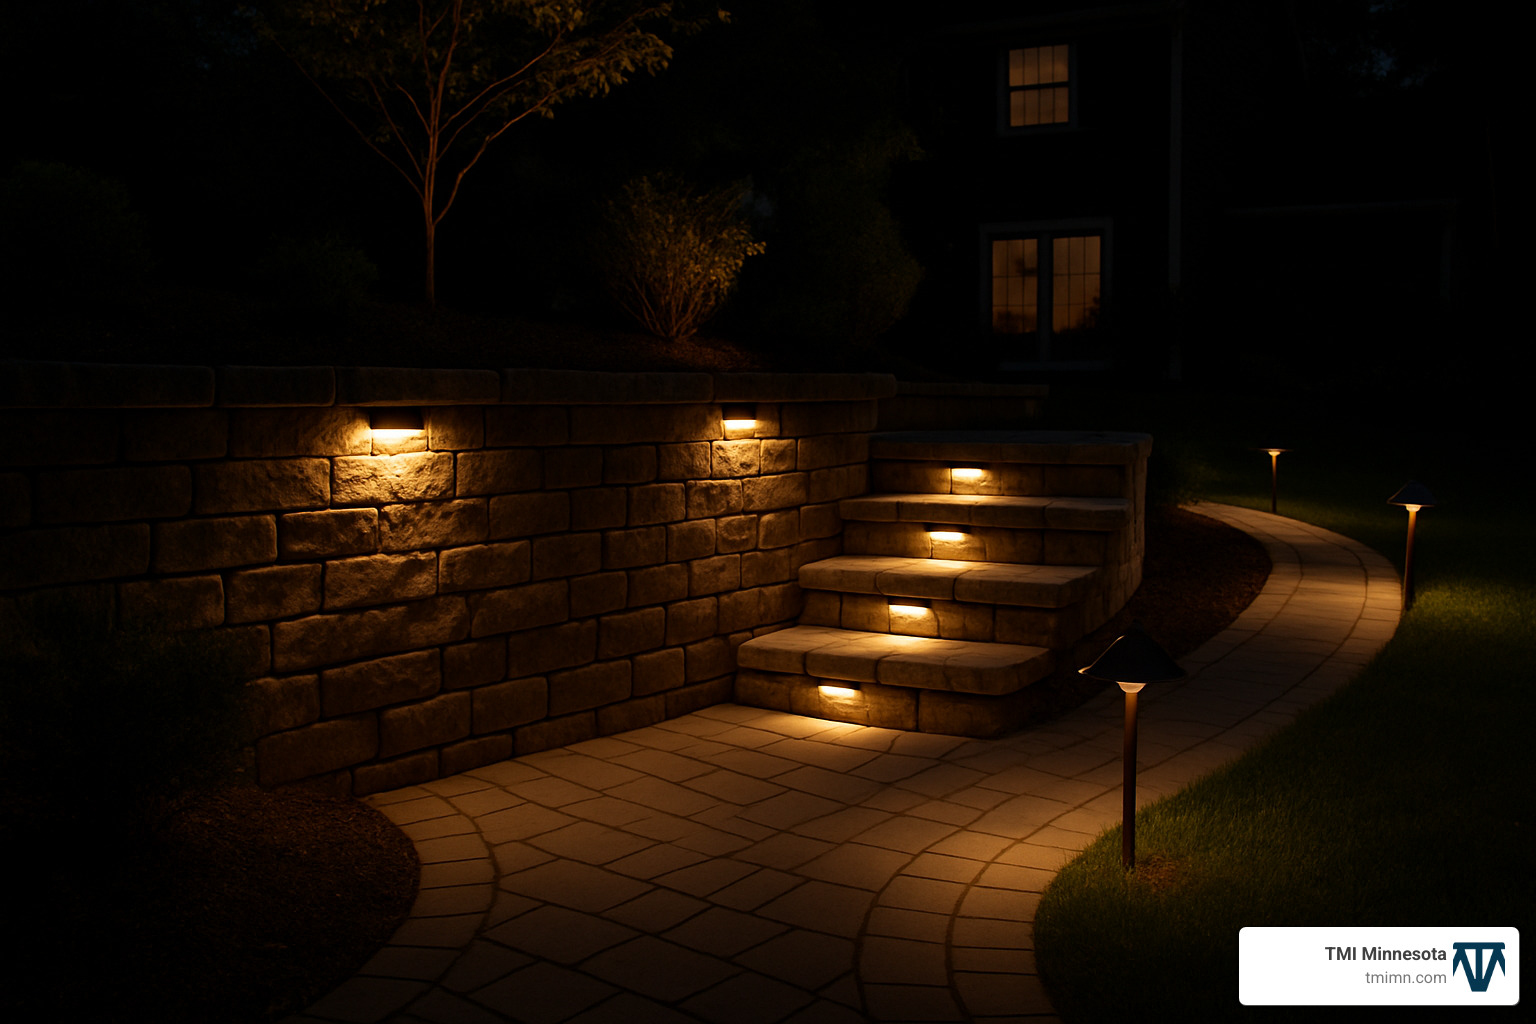
“My backyard went from a space we rarely used after dark to our favorite evening retreat,” shares one of our Edina clients. “The warm lighting makes even simple gatherings feel special.”
Minnesota experiences dramatic seasonal changes. Your lighting plan should account for how your landscape transforms throughout the year. Those fixtures perfectly positioned in summer might be buried under snow in winter, or hidden by lush foliage by August. Plan for year-round enjoyment with adjustable fixtures and strategic placement.
Maintenance Best Practices
Even the best lighting systems need a little TLC. Establishing a simple maintenance routine keeps your investment looking beautiful for years to come.
We recommend quarterly walk-throughs of your property to check for any obvious issues—damaged fixtures, exposed wires, or connection problems. This takes just a few minutes but can prevent bigger headaches down the road. Spring is especially important for inspections since frost heave and winter damage might have affected your system.
At least once a year, clean your fixture lenses with a mild soap solution. It’s amazing how much dirt, pollen, and mineral deposits can accumulate, dramatically reducing light output. This simple cleaning can make your system look brand new again.
Don’t forget about your transformer! Listen for unusual noises (excessive humming could indicate problems), check connections, and ensure it’s still protected from the elements. If you have a timer or photocell, verify it’s still functioning correctly with the changing seasons.
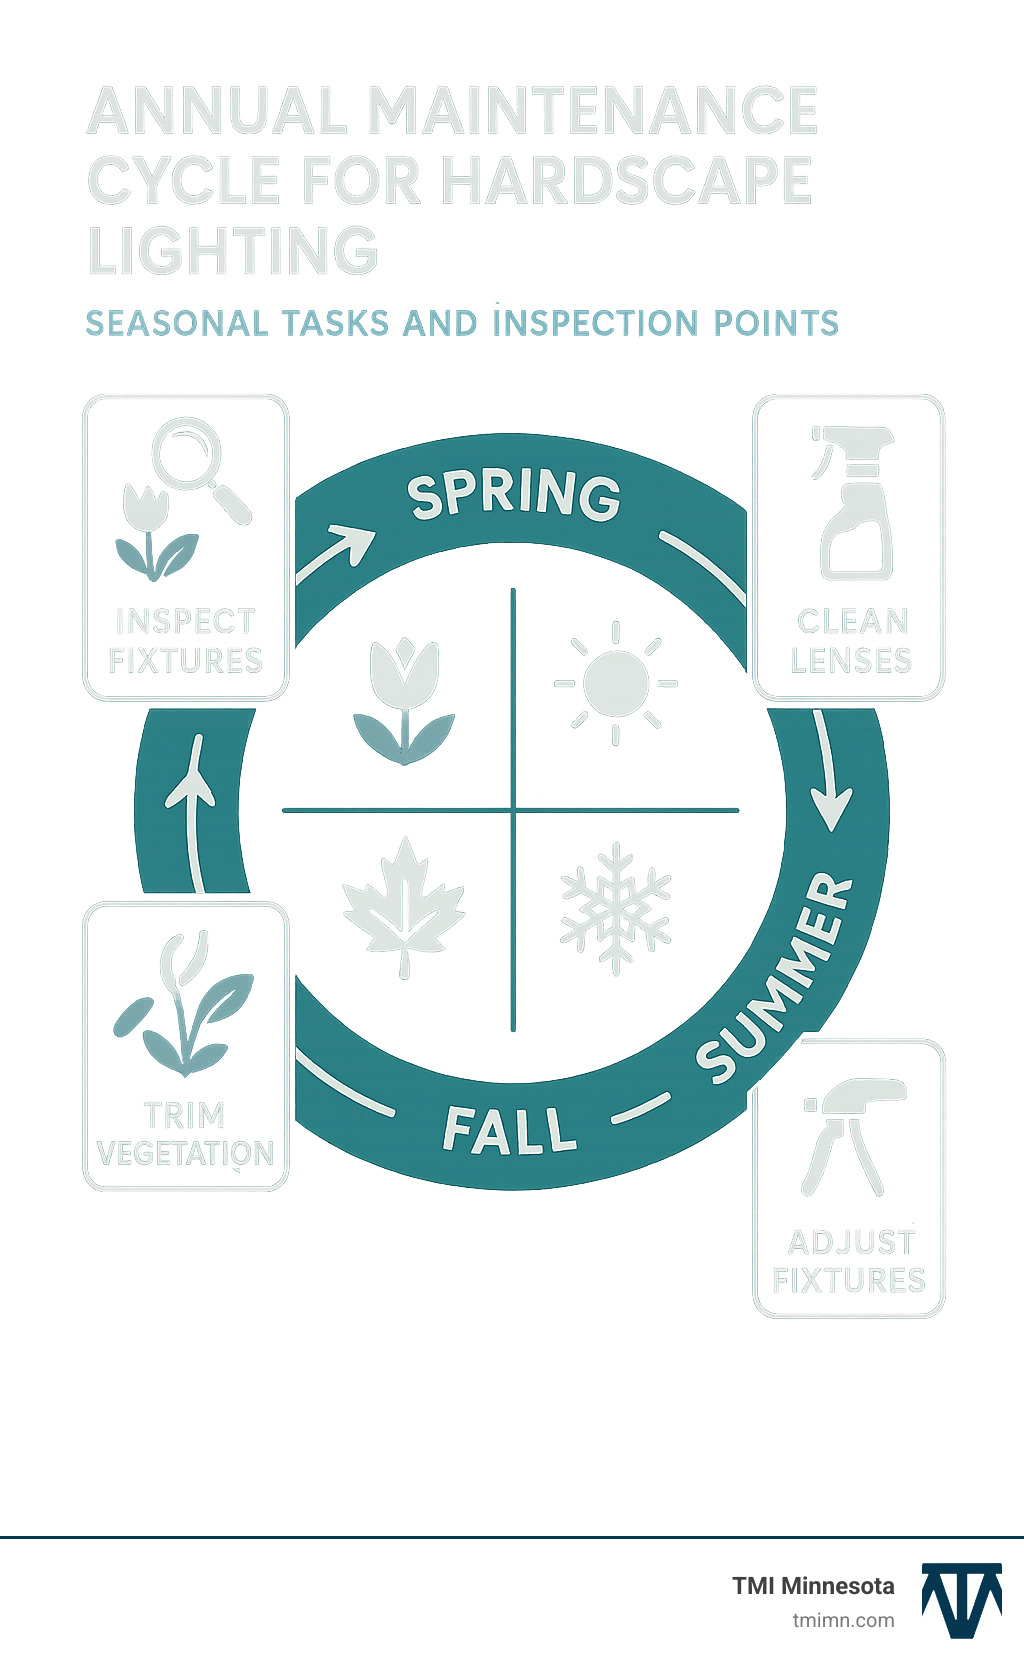
One maintenance tip we share with all our clients: keep a few spare fixtures and connectors on hand. Even the best systems eventually need replacements, and having matching parts ready means you won’t have a dark spot in your landscape while waiting for orders.
Common Mistakes to Avoid
After installing hundreds of hardscape lighting systems across the Twin Cities, we’ve seen plenty of DIY attempts that didn’t quite hit the mark. Learning from these common mistakes can save you time, money, and frustration.
Inadequate planning tops our list of mistakes. Jumping in without a comprehensive lighting plan often leads to disappointing results and wasted materials. Sketch your layout, mark fixture locations, and calculate wire runs before purchasing anything.
Many homeowners choose transformers that are too small for their needs. This might save money initially but limits future expansion and can lead to dimming issues. We generally recommend sizing up—a 300-watt transformer might seem excessive for your current needs, but you’ll appreciate the flexibility later.
Improper waterproofing is perhaps the most costly mistake. Minnesota’s freeze-thaw cycles are brutal on outdoor electrical connections. Those quick-connect wire nuts from the hardware store simply won’t cut it long-term. Invest in proper heat-shrink tubing or gel-filled connectors designed for direct burial applications.
“I tried installing lights myself and made the mistake of using regular electrical tape for connections,” one client told us. “After one winter, half the system failed due to water damage. Having TMI Minnesota reinstall it properly was worth every penny.”
How to install hardscape lighting that lasts includes thinking about maintenance access. We’ve seen DIY installations where fixtures or connections were completely inaccessible for future servicing. Always create access points or maintenance loops that allow for repairs without demolishing your hardscape.
Lastly, don’t overlook the importance of testing thoroughly before finalizing your installation. Check each fixture, verify voltage at multiple points, and view the system at night to ensure the lighting effect matches your vision. Making adjustments is much easier before everything is permanently sealed.
More info about Landscape Lighting Ideas
Frequently Asked Questions about Hardscape Lighting
How deep should I bury low-voltage cable?
When it comes to burying low-voltage landscape lighting cable, the magic number is about 6 inches deep. This sweet spot gives you enough protection from lawn mowers, weed whackers, and people walking across your yard, while still keeping the wire accessible if you need to make changes down the road.
In my years at TMI Minnesota, I’ve seen plenty of creative solutions for cable placement. If you’re running cable through flower beds or mulched areas, you can often just tuck it under the mulch – Mother Nature’s own cable concealer! Just make sure it’s secure so it doesn’t work its way to the surface over time.
For high-traffic areas or pathway crossings, I always recommend slipping the cable into some protective conduit. It’s a small extra step that can save you big headaches later. Think of it as a protective jacket for your wiring investment.
One important note: if you’re dealing with standard household voltage (120V) systems, that’s a different ballgame altogether. Those cables need to be at least 18 inches deep and installed by a licensed electrician according to local building codes. At TMI Minnesota, we typically recommend sticking with low-voltage systems for most homeowners – they’re safer, more energy-efficient, and much more DIY-friendly.
How many hardscape lights can one transformer handle?
This is one of the most common questions we get at TMI Minnesota, and the answer depends on three key factors:
First, check your transformer’s wattage capacity. Most residential transformers range from 100W to 300W. Second, know your fixture wattage. Today’s LED hardscape lights are incredibly efficient, typically using just 1-3 watts each. Third, consider voltage drop over distance, which can limit your actual capacity.
To figure out your transformer needs, simply multiply the number of fixtures by the wattage per fixture. For example, if you have 20 fixtures at 2 watts each, that’s 40 watts total. But here’s a pro tip: only use about 80% of your transformer’s rated capacity. This gives you some breathing room and accounts for the brief power surge that happens when lights first turn on.
As a quick reference, a 100-watt transformer can typically handle 30-40 LED fixtures (at 2W each), a 150-watt transformer can manage 50-60 fixtures, and a 300-watt transformer can power a whopping 100-120 fixtures.
Remember though, even if your total wattage seems fine on paper, voltage drop over long distances might mean you need a larger transformer anyway. When in doubt, go bigger – it’s better to have extra capacity than not enough.
Can I mix hardscape lights with path or spot lights on the same circuit?
Absolutely! In fact, mixing different types of landscape lighting on the same circuit often creates the most beautiful, professional-looking results. How to install hardscape lighting becomes even more rewarding when you combine those wall lights with path lights, spotlights, and other fixture types to create layers of light throughout your landscape.
At TMI Minnesota, we design integrated systems all the time that include multiple fixture types controlled by a single transformer. It’s like conducting an orchestra where each light plays its part in the overall composition.
When combining different fixture types, I recommend grouping similar fixtures on the same cable runs when possible. This makes troubleshooting easier and allows for more efficient wiring. For areas with several high-wattage fixtures (like spotlights), consider using separate cables to prevent overloading.
Multi-tap transformers are fantastic for mixed systems because they allow different voltage outputs, which helps compensate for voltage drop on longer runs. And if you really want to get fancy, smart control systems let you program separate zones independently – imagine having your path lights come on at dusk, while your hardscape lights wait until later in the evening.
One of our clients in Edina created a stunning effect by combining hardscape lighting on their retaining walls with path lights along their curved walkway and spotlights highlighting their mature oak trees – all working together harmoniously on the same system but with separate control zones for maximum flexibility.
Conclusion
How to install hardscape lighting might seem intimidating at first, but as we’ve seen throughout this guide, it’s a project that offers tremendous rewards for your effort. There’s something truly magical about stepping into your backyard after sunset and seeing your landscape transformed by the warm glow of well-placed lights. Your outdoor space suddenly becomes usable for hours longer, while also becoming safer and more inviting.
We’ve journeyed together through every aspect of hardscape lighting installation—from careful planning and thoughtful design to the nuts-and-bolts of wiring and connections. Whether you’re working with a brand-new retaining wall or retrofitting lighting into your existing patio and steps, the techniques we’ve shared will help you create a system that’s both beautiful and reliable.
As you tackle your own installation, keep these essential points in mind:
Take time to plan thoroughly before purchasing a single fixture or cutting any wire. A well-conceived lighting plan will save you headaches and ensure beautiful results.
Quality matters enormously in outdoor lighting. The fixtures, wires, and connections you choose will face years of weather extremes, especially here in Minnesota. Investing in good components pays dividends in longevity and performance.
Proper waterproofing is non-negotiable. More hardscape lighting systems fail due to water infiltration than any other cause. Those extra minutes spent creating proper heat-shrink connections will save hours of troubleshooting later.
While many homeowners successfully install their own hardscape lighting, there’s no shame in calling for professional help if you encounter challenges. At TMI Minnesota, we’ve seen how even experienced DIYers sometimes benefit from expert guidance on more complex installations.
Lighting design is both technical and artistic. The best systems balance practical illumination with aesthetic beauty. Don’t be afraid to experiment with placement and angles before making final installations.
Finally, plan for easy maintenance. Regular cleaning of fixtures, seasonal adjustments, and occasional system checks will keep your lighting looking its best for many years.
We hope this guide has illuminated the path forward for your hardscape lighting project. With patience and attention to detail, you’ll create an outdoor lighting system that improves your home’s beauty, safety, and value for years to come.
Ready for more inspiration? Visit our Hardscape Gallery to see examples of stunning lighting installations we’ve created throughout the Twin Cities area. Your perfect outdoor space is waiting to shine!