
What You Need to Know Before You Begin
Learning how to install hardscape is about changing your outdoor space into something functional and beautiful. Whether it’s a new patio or a retaining wall, the installation follows a clear process that a determined homeowner can master.
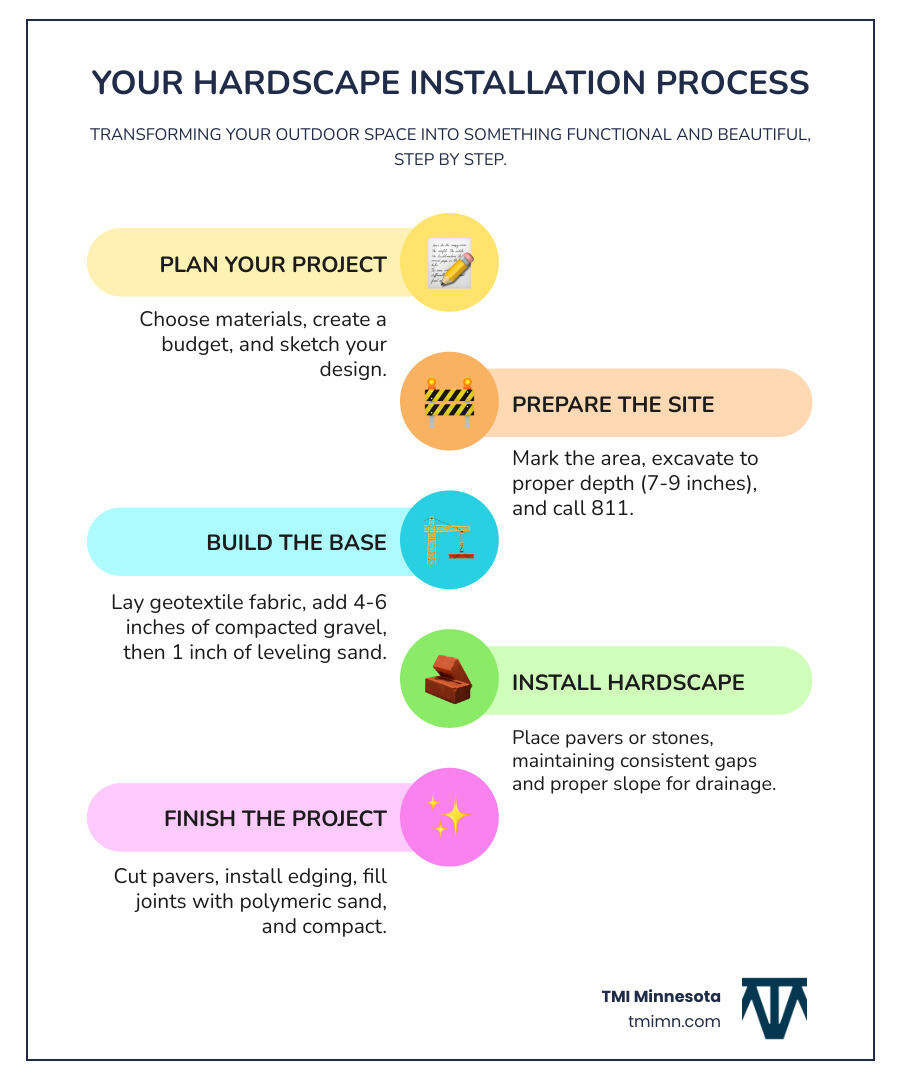
The basic steps to install hardscape are:
- Plan your project: Choose materials, create a budget, and sketch your design.
- Prepare the site: Mark the area, excavate to the proper depth (typically 7-9 inches), and call 811 to locate utilities.
- Build the base: Lay geotextile fabric, add 4-6 inches of compacted gravel, then 1 inch of leveling sand.
- Install your hardscape: Place pavers or stones with consistent gaps and a proper slope for drainage (1-inch drop per 8 feet).
- Finish the project: Cut pavers, install edging, fill joints with polymeric sand, and compact the surface.
The key to a long-lasting project is proper base preparation and drainage. Skipping these steps will lead to failure and costly rework.
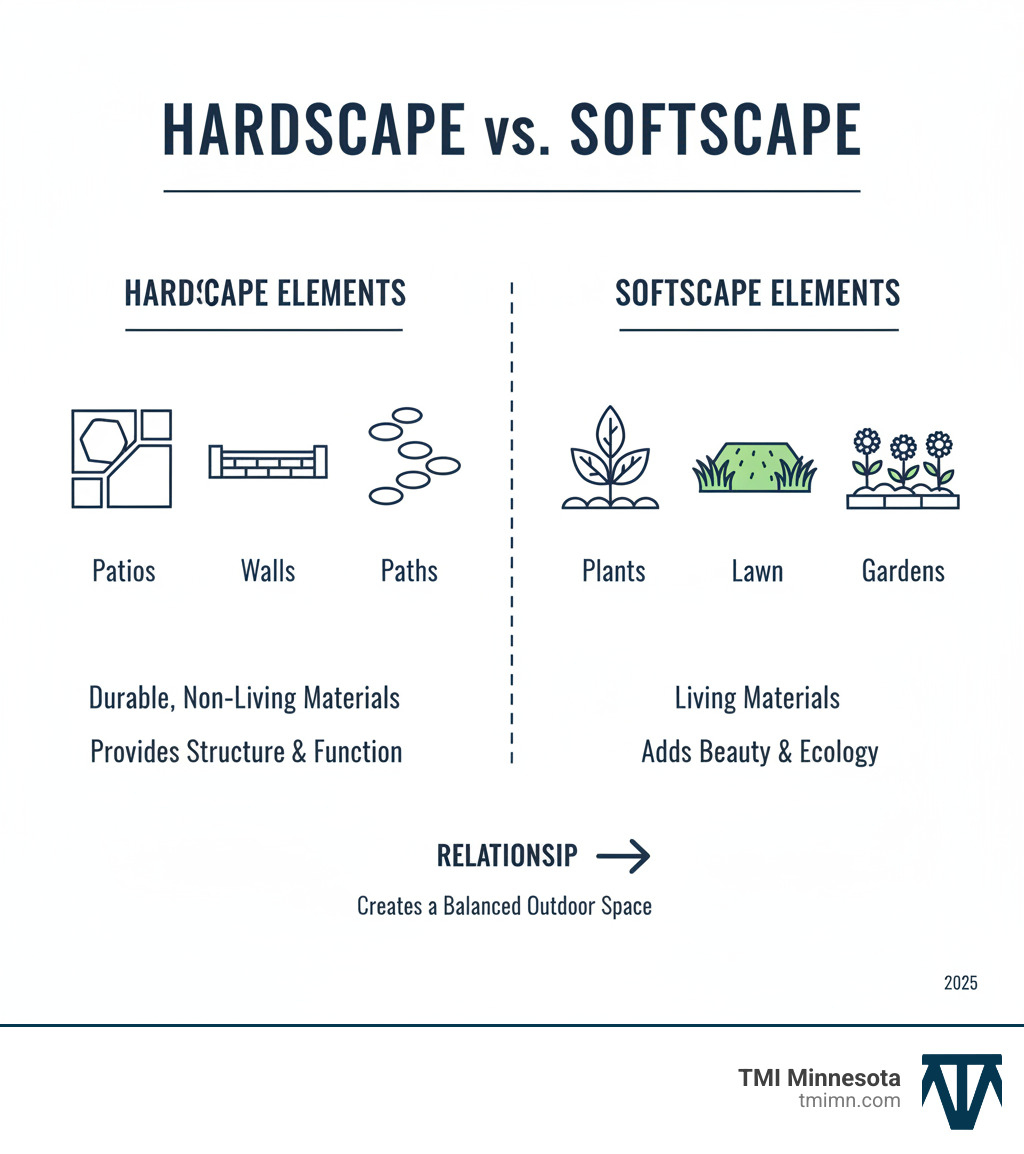
Hardscaping uses durable materials like stone and pavers to provide structure and function, unlike softscaping (plants and lawns). A good hardscape project adds property value and creates usable outdoor living areas.
I’m Christopher Deanovic, Operations Leader of Task Masters in Minnesota. I’ve guided many homeowners through successful hardscape installations. Understanding how to install hardscape correctly from the start saves time, money, and frustration.
Terms related to how to install hardscape:
What is Hardscaping and Why Should You DIY?
Hardscaping refers to the non-living, structural elements in your yard, like patios, walkways, and retaining walls made from stone, pavers, or concrete. It provides the “bones” of your landscape. Softscaping is the living part—plants, grass, and gardens. The best landscapes create a beautiful partnership between the two, which you can explore in our guide on Hardscape and Softscape.
Why tackle a DIY hardscape project? The benefits are significant:
- Boost Property Value: A well-built patio or walkway adds tangible value to your home. See our breakdown of Hardscape Installation Cost to understand the investment.
- Create Usable Space: Transform an unused slope or muddy patch into a functional area for entertaining or relaxing.
- Add Timeless Beauty: The right materials and design add lasting visual appeal that complements your home’s architecture.
- Save Money: Doing it yourself saves on labor costs, allowing you to invest more in quality materials.
- Gain Satisfaction: There’s immense pride in building something with your own hands that you’ll enjoy for years.
While DIY is rewarding, complex projects may benefit from professional Hardscape Design Services. For many homeowners, however, learning how to install hardscape is an achievable and fulfilling goal.
Phase 1: Planning Your Perfect Hardscape Project
A solid plan is the foundation of any successful hardscape project. Careful thinking at this stage saves you from costly mistakes later and ensures your project meets your long-term vision.

Project Scope and Budget
Before you begin, consider how your project fits into your entire outdoor space. Will today’s patio block the path for a future fire pit? Think about future plans, lawn mower access, and how the hardscape will balance with gardens. Next, create a realistic budget. While DIY saves on labor, materials are a significant investment. Our guide on Hardscape Installation Cost can help you budget effectively.
Finally, check with your Homeowners Association (HOA) for plan approval before starting work. If you need help creating a cohesive plan, our Hardscape Design Services can assist. For technical guidance, resources like Paver Installation Tips from Unilock are also valuable.
Choosing the Right Materials and Style
Your material choice defines the look, durability, and maintenance of your project. Here are the main options:
- Pavers: Popular for DIY, they come in concrete, stone, or porcelain. They offer a wide range of styles and are easy to replace if one gets damaged.
- Natural Stone: Flagstone, granite, or bluestone offer timeless, unique beauty and exceptional durability at a premium price.
- Concrete: A versatile and budget-friendly option that can be stamped or stained to mimic other materials.
- Brick: Delivers classic charm and warmth that complements most home styles.
To keep your design looking professional, stick to two or three complementary materials maximum. Your choices should also match your home’s style and be rated for Minnesota’s freeze-thaw cycles. Consider permeable pavers to help manage stormwater runoff.
| Material Type | Cost (per sq ft) | Durability | Maintenance |
|---|---|---|---|
| Pavers | Moderate | High | Low-Medium |
| Natural Stone | High | Very High | Low |
| Concrete | Low-Moderate | High | Low-Medium |
| Brick | Moderate | High | Low-Medium |
Essential Tools and Materials Checklist
Having the right equipment makes the job manageable. Most tools can be used for multiple projects.
- Safety Gear: Work gloves, safety glasses, knee pads, earplugs, and a dust mask.
- Layout & Measurement: Tape measure, marking paint, levels (torpedo and 48″), string line, stakes, and a rubber mallet.
- Excavation & Base Prep: Shovels (round and flat-nosed), pickaxe, landscape rake, wheelbarrow, hand tamper, and a plate compactor (renting is a good option).
- Installation & Cutting: 1″ conduit for screed rails, a straight 2×4, push broom, and a masonry saw or paver splitter.
- Base & Project Materials: Your chosen pavers/stone, geotextile fabric, gravel (ASTM #57), leveling sand (ASTM #9), paver edging, and polymeric sand for joints.
Phase 2: Site Preparation and Base Construction
The work you do below ground is more important than what people see on top. This phase is where most DIY projects succeed or fail, as proper base preparation is crucial for a durable, long-lasting hardscape.
Site Clearing and Marking
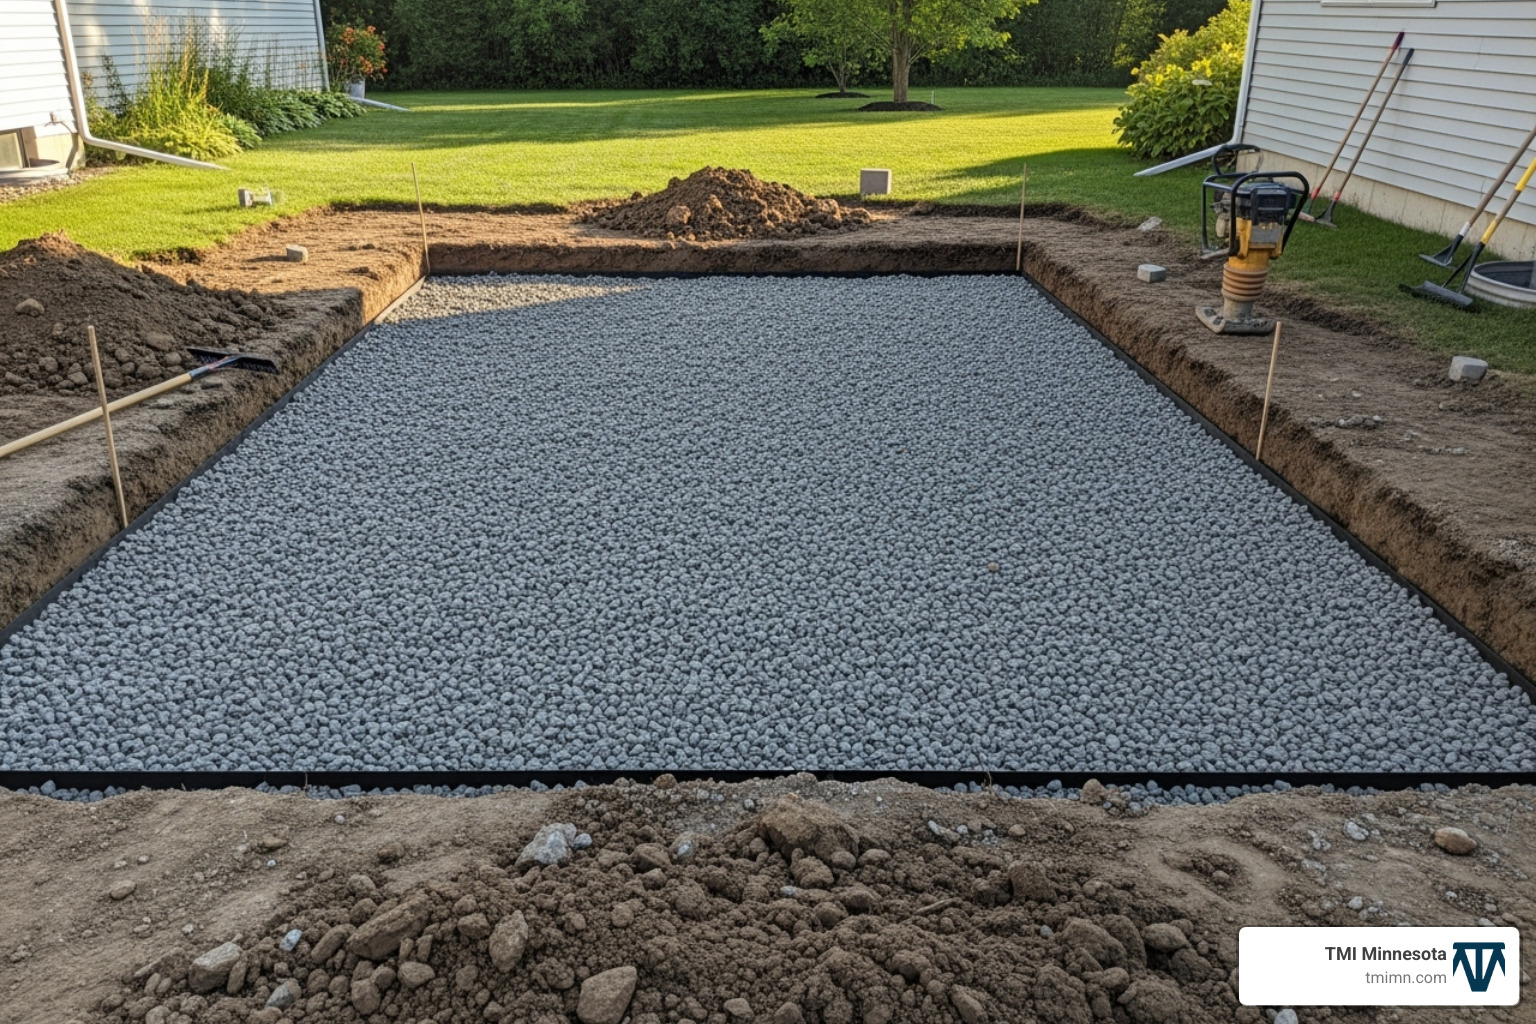
First, clear the project area of all grass, weeds, and debris. Mark the perimeter with stakes and string or marking paint to visualize the final layout. Before you dig, call 811. This free national service marks underground utility lines to prevent dangerous and expensive accidents.
Excavation and Base Layers
For most paver patios in Minnesota, you’ll need to excavate 7-9 inches deep. This allows for your paver’s thickness (~2 inches), 1 inch of leveling sand, and a 4-6 inch compacted gravel base. After digging, compact the exposed soil.
Next, lay geotextile fabric over the entire area to separate the soil from your base materials and improve stability. Then, add 4-6 inches of ASTM #57 gravel in 2-3 inch layers. Lightly wet and thoroughly compact each layer with a plate compactor before adding the next. This step is critical to prevent your hardscape from shifting or settling.
Ensuring Proper Drainage
Water can destroy a poorly planned hardscape. To ensure proper drainage, you must create a slope away from your house or any structures. The standard is a 1-inch drop for every 8 feet of distance (a 1-2% grade). Use a string line and level to set this slope as you build your base.
For areas with heavy clay soil or existing water issues, consider using permeable pavers or installing a French drain. A French drain is a gravel-filled trench with a perforated pipe that collects and diverts excess water away from your project area. Planning for rain is a key part of learning how to install hardscape correctly.
Phase 3: How to Install Hardscape Features
With a solid base prepared, it’s time to install hardscape features and bring your vision to life. Following a few key principles ensures success:
- Start from a corner and work outward to avoid disturbing prepared areas.
- Use string lines to keep your rows straight.
- Check for level and proper slope constantly.
For more project-specific tips, see our article on How to Install Hardscape Pavers.
How to Install Hardscape Pavers for Patios and Walkways
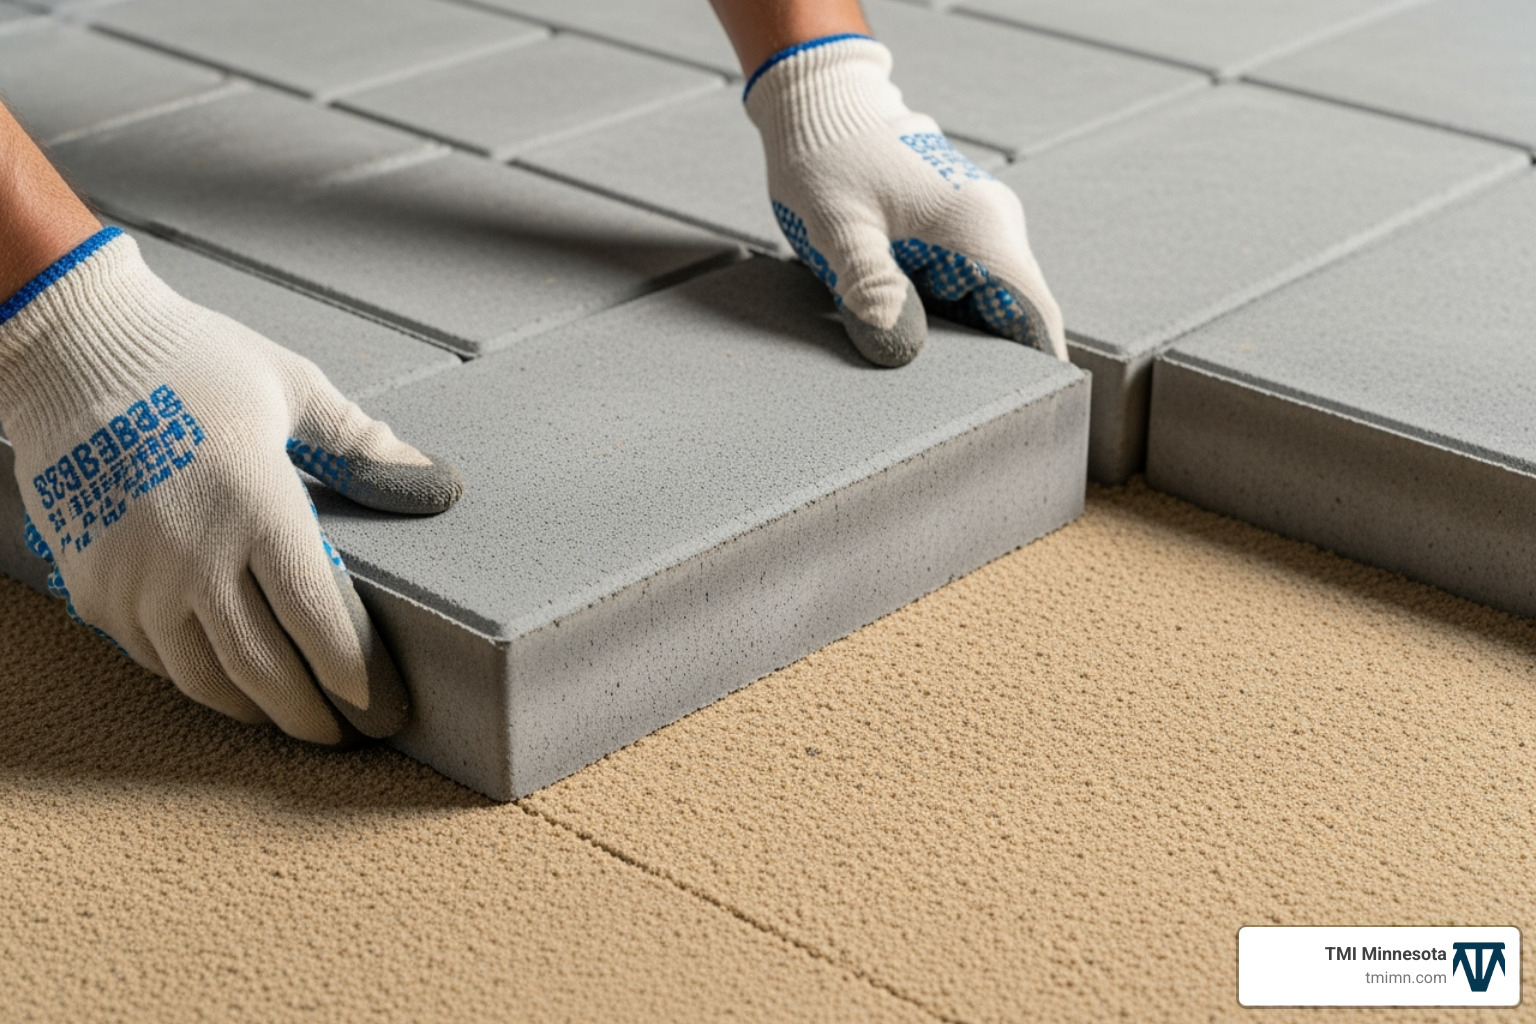
First, spread a 1-inch layer of leveling sand over the compacted gravel. For a perfectly flat surface, use two 1-inch pipes (screed rails) as guides and pull a straight 2×4 across them to level the sand. Remove the pipes and fill in the gaps.
Begin placing pavers at a corner, setting them gently on the sand. Maintain consistent 1/8″ to 1/4″ gaps. Use a rubber mallet to tap each paver into place, checking for level and slope as you go. Avoid walking on the screeded sand. For visual guides, see the Step-by-Step Paver Installation Guide by Belgard.
How to Install Hardscape Retaining Walls
Proper installation is critical for the safety and integrity of a retaining wall. Start by digging a level trench deep enough to bury at least half of your first block. Fill it with 6-8 inches of compacted gravel.
Set the base course of blocks on the gravel, ensuring each block is perfectly level side-to-side and front-to-back. This first row dictates the accuracy of the entire wall. As you stack subsequent courses, stagger the joints like a brick pattern for strength and use construction adhesive between layers.
Crucially, backfill behind the wall with at least 12 inches of gravel as you build. This provides drainage and relieves water pressure. For walls over 3-4 feet tall, use geogrid reinforcement laid horizontally in the backfill to anchor the wall to the earth. For more details, consult Allan Block’s guide on How to Build a Retaining Wall.
Cutting and Finishing Your Project
Finishing touches give your project a professional look. You will need to cut some pavers to fit edges and curves; a masonry wet saw provides the cleanest cuts. Always wear safety glasses, gloves, and a dust mask when cutting.
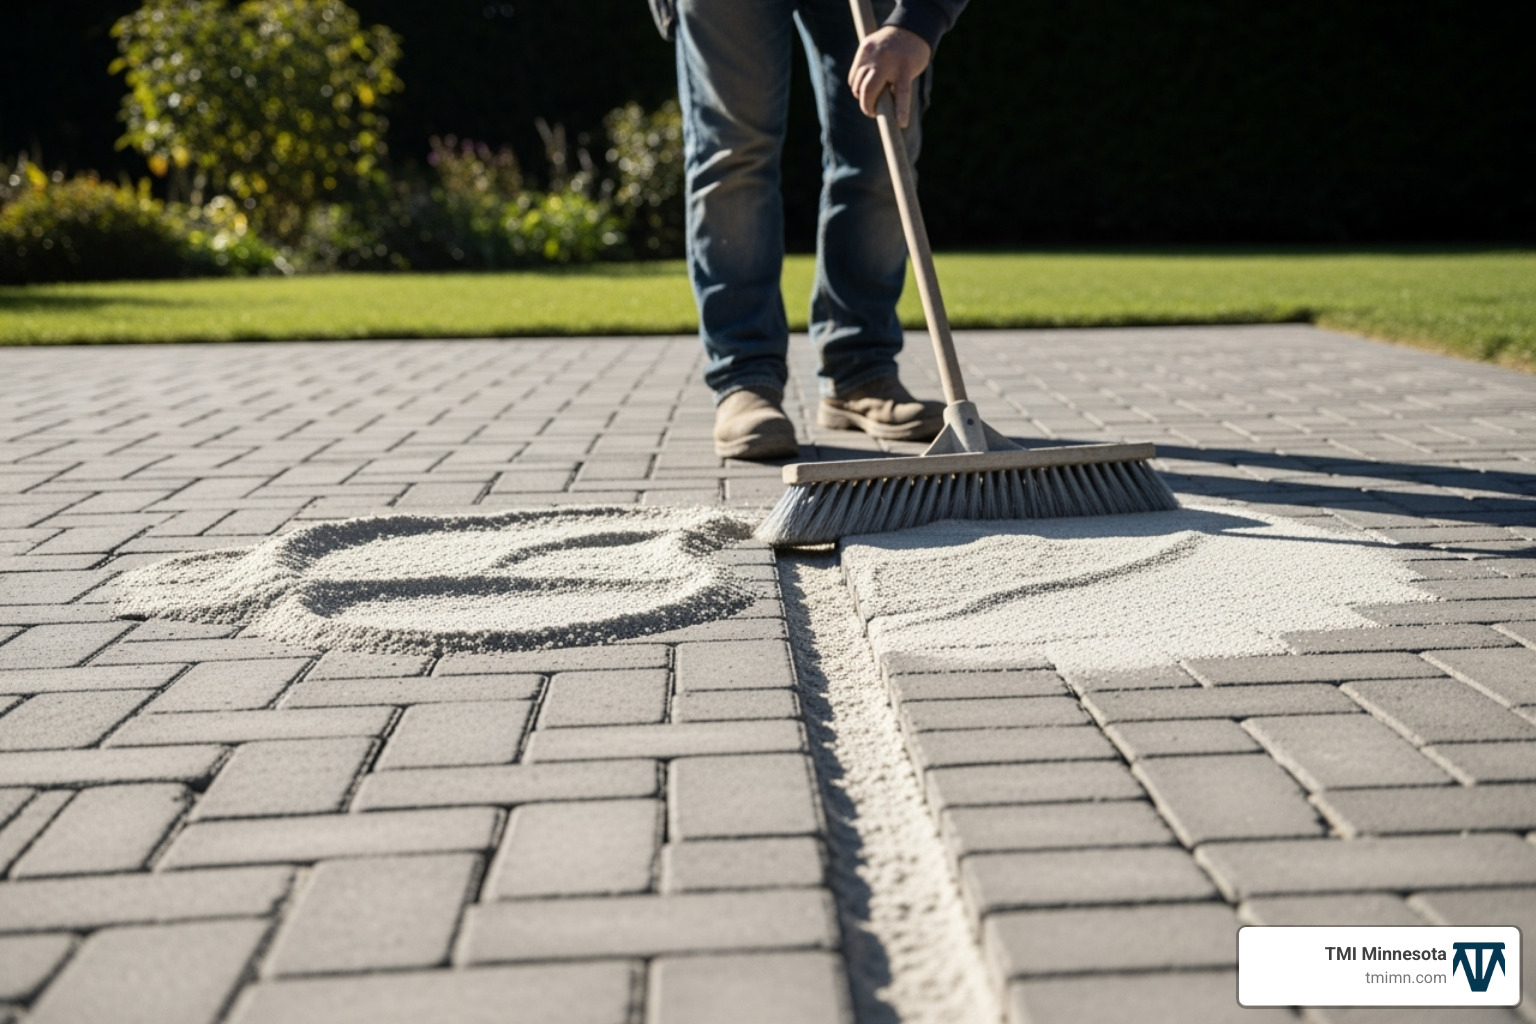
Install paver edging along all open sides to prevent pavers from shifting. Then, sweep polymeric sand into the joints. This type of sand hardens when wet, which helps lock pavers in place, inhibit weeds, and resist erosion. Activate it with a light mist of water according to the manufacturer’s instructions.
Finally, run a plate compactor over the entire surface one last time to settle the pavers and lock the joints. To improve your new space, consider adding landscape lighting. Our guide on How to Install Hardscape Lighting can help.
Phase 4: Common Pitfalls and Long-Term Maintenance
Knowing how to avoid common mistakes and properly maintain your investment will ensure your hardscape lasts for decades. This is a key part of learning how to install hardscape successfully.
Common Mistakes to Avoid
- Improper Base Preparation: This is the #1 mistake. A poorly compacted or unlevel base leads to shifting, sinking, and an uneven surface.
- Ignoring Drainage: Without a proper slope (1-inch drop per 8 feet), water will pool, causing erosion and potential foundation damage.
- Poor Compaction: Failing to compact the soil and gravel layers thoroughly will cause the project to settle over time.
- Inconsistent Joints: Uneven gaps between pavers look unprofessional and can compromise the stability of the entire surface.
- Using Cheap Materials: Low-quality materials won’t withstand Minnesota’s freeze-thaw cycles and will fail prematurely.
When to Hire a Professional
DIY is rewarding, but hiring a professional is the smart choice for highly complex projects, such as those with intricate patterns, significant elevation changes, or structural retaining walls. If you have tight time constraints or simply want the peace of mind that comes with a warranty and flawless finish, TMI Minnesota offers expert Hardscape Installations.
Hardscape Maintenance and Upkeep
A little routine care will keep your hardscape looking great:
- Clean Regularly: Sweep away leaves and debris to prevent staining.
- Prevent Weeds: Use polymeric sand in joints and pull any weeds that appear promptly.
- Seal Pavers: Apply a quality sealer every 2-3 years to protect against stains and improve color.
- Address Stains Quickly: Treat oil, rust, or other stains as soon as they appear.
- Repair as Needed: One benefit of pavers is that individual units can be lifted to repair the base or be replaced if broken.
- Winter Care: Avoid using rock salt (sodium chloride) for de-icing, as it can damage pavers. Opt for safer alternatives like calcium chloride.
Frequently Asked Questions about Hardscape Installation
Here are answers to common questions about how to install hardscape.
How deep do I need to dig for a paver patio?
For a standard paver patio in Minnesota, plan to excavate 7-9 inches deep. This depth accommodates 4-6 inches for the compacted gravel base, 1 inch for leveling sand, and the thickness of your paver (typically ~2 inches). This ensures stability through our freeze-thaw cycles. Always check local building codes for specific frost line requirements.
What is the most common mistake in a DIY hardscape project?
By far, the most common and critical mistake is inadequate base preparation. An unlevel or poorly compacted base will cause pavers to shift, sink, and become uneven over time, creating trip hazards and ruining the appearance of your project. Taking the time to build a proper base is the most important step.
How much extra material should I order?
It’s a best practice to order 10-15% extra material. This surplus covers mistakes, mis-cuts, and cracked pavers during installation. More importantly, it provides you with matching materials for any future repairs or small additions, as product lines and colors can be discontinued over time.
Your Hardscape Journey and Next Steps
You now have the knowledge for how to install hardscape and transform your outdoor space. The journey from dirt to a beautiful patio or retaining wall is incredibly rewarding.
Remember the keys to success: meticulous planning, proper base preparation, and patience during installation. These pillars are the difference between a project that lasts for decades and one that fails prematurely.
While DIY is a great option, it’s not always the right fit. For complex designs, challenging slopes, or if you’re short on time, a professional can deliver expert results. TMI Minnesota offers expert Hardscape Installations, using leading-edge products to create beautiful, durable outdoor spaces built for the Minnesota climate.
Whether you do it yourself or hire our team, the most important step is getting started. Ready for inspiration? Browse our hardscape project gallery to see what’s possible for your yard.
Your dream outdoor living area is waiting. Let’s make it happen.