
Your Journey to a Homegrown Harvest Begins Here
Vegetable garden starter kits are the fastest way to start growing your own food at home. Here’s what you need to know:
Best Vegetable Garden Starter Kits at a Glance:
- Indoor/Balcony: Herb garden kits with LED grow lights, self-watering planters, microgreen systems
- Patio/Small Yard: Container garden kits, compact raised bed systems with seeds and soil
- Complete Beginner: All-in-one kits with seeds, growing medium, containers, labels, and instructions
- Typical Cost: $20-$70 for basic kits, $50-$200 for raised bed systems
- What’s Included: Seeds (typically 5-11 varieties), growing medium or soil, containers/pots, plant markers, instructions
The home gardening market is booming, driven by a desire for sustainable living and the satisfaction of growing your own food. There’s something deeply satisfying about watching seedlings sprout and flourish. One customer described it perfectly: “Few things in life feel so satisfying as watching the fruits of your labor quite literally blossom and fruit.”
Why are starter kits so popular? They eliminate the guesswork. Instead of researching soil types, seed varieties, and germination techniques, you get everything in one package. This convenience is especially valuable for beginners.
I’m Christopher Deanovic, Operations Leader at Task Masters in Minnesota. My team and I have helped countless beginners start their gardening journeys, and I’ve seen how vegetable garden starter kits turn intimidation into excitement and success.
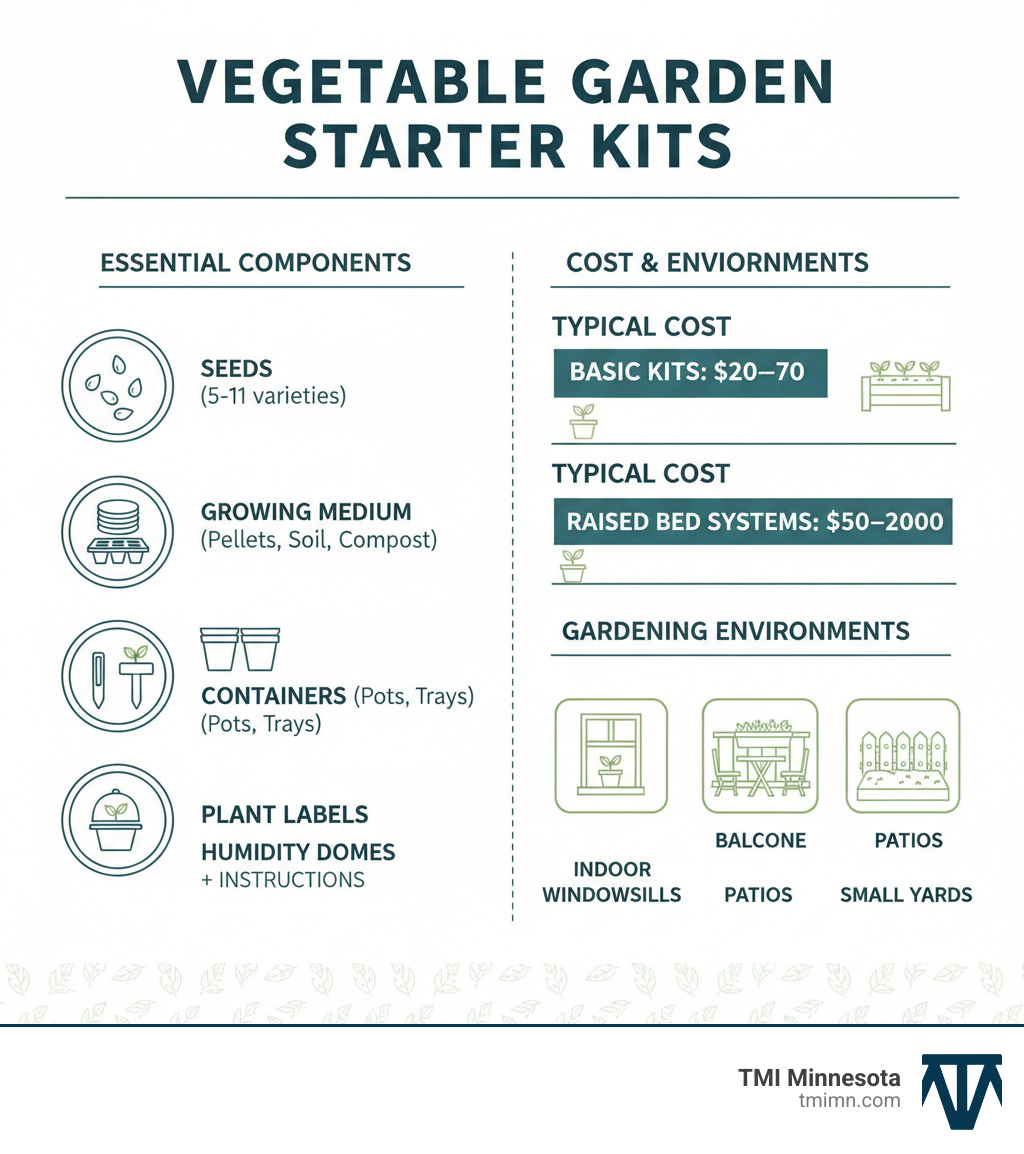
Explore more about vegetable garden starter kits:
What’s in the Box? Unpacking the Essentials of a Starter Kit
Opening your first vegetable garden starter kit reveals everything you need to give your plants the best possible start. Here’s a walkthrough of the typical components.
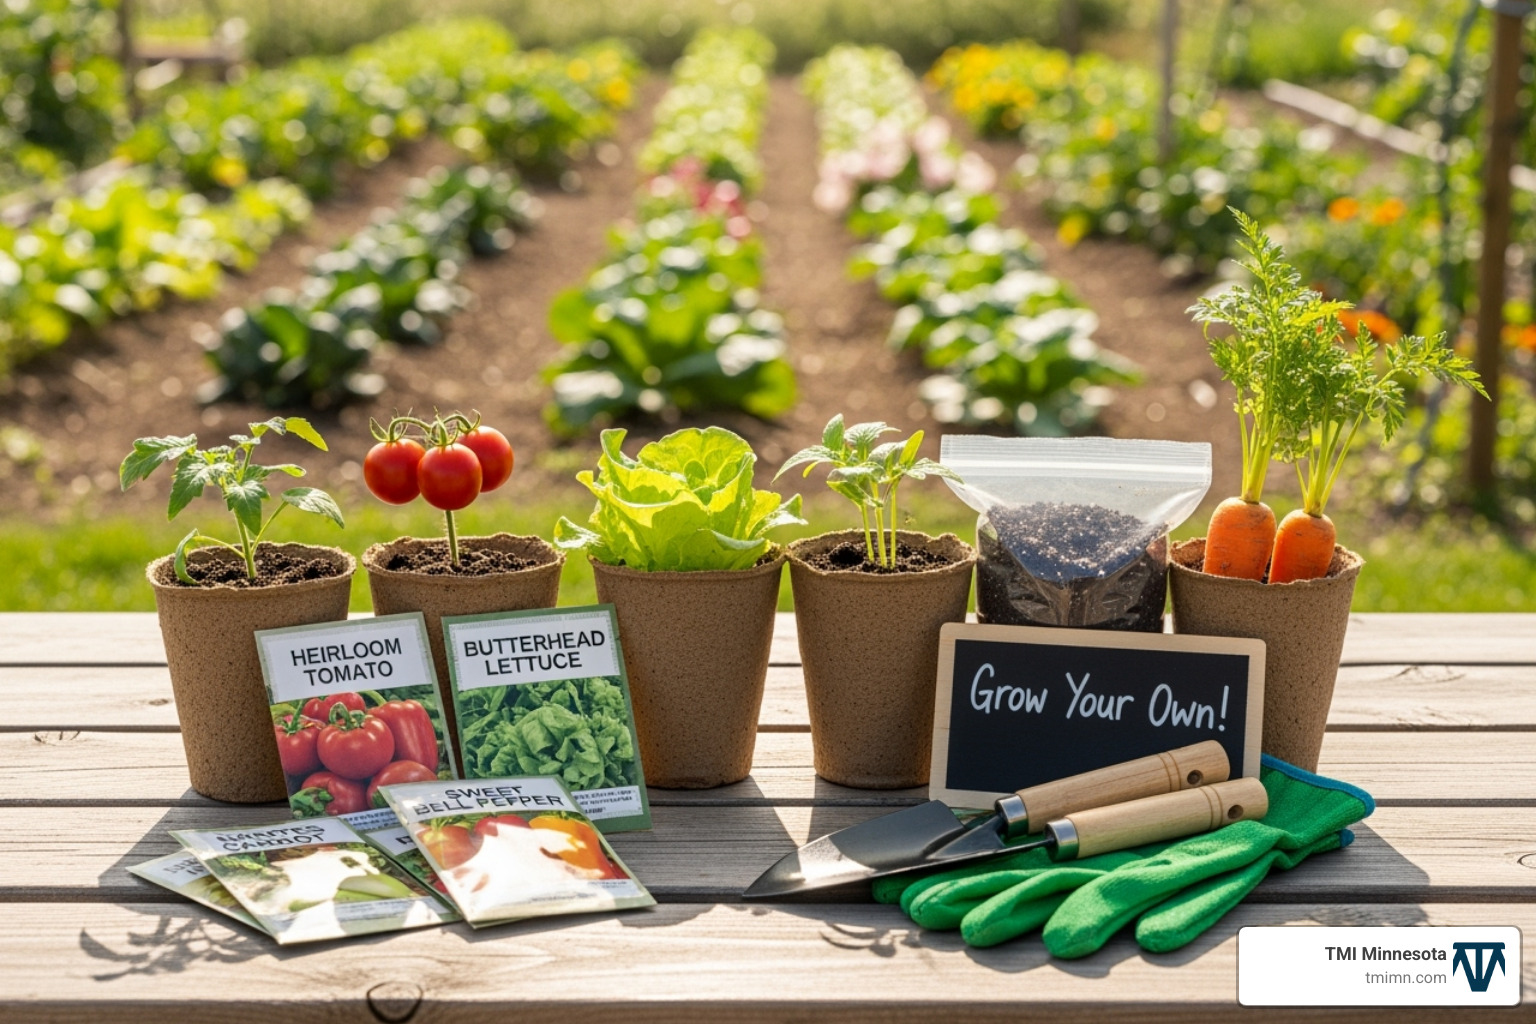
Seeds: Most kits include a variety of easy-to-grow vegetables and herbs like basil, tomatoes, lettuce, and carrots. Many feature high-quality USDA Organic, non-GMO, and heirloom seeds.
Growing Medium: This is your seeds’ first home. It often comes as compressed peat pellets or soil disks that expand with water. Larger kits may include bags of nutrient-rich compost or potting mix.
Containers: These vary by kit. You might find seed trays with multiple cells, biodegradable pots that can be planted directly in the ground, or larger planters for patios.
Plant Labels: Simple wood or plastic markers are essential for keeping track of your different seedlings, which can look very similar at first.
Humidity Dome: A clear plastic cover acts like a mini-greenhouse, trapping moisture and warmth to create the ideal conditions for seeds to sprout.
Instructions: Every kit includes detailed directions for setup, planting, and care, providing a roadmap for success.
Optional Extras: Some kits include small hand tools, shears, or even LED grow lights for indoor setups.
The best part is that everything works together as a system. The components are pre-selected to be compatible, so you can focus on the fun part—watching things grow.
Why Start with a Kit? The Benefits for Beginner Gardeners
From my experience helping people create their dream outdoor spaces, the hardest part of gardening is often just getting started. This is where vegetable garden starter kits truly shine.
Convenience: A single box arrives with everything you need. This all-in-one solution eliminates confusing shopping trips and guesswork about soil, seeds, or other components. You spend less time shopping and more time gardening.
Cost-Effectiveness: While buying components separately might seem cheaper, a starter kit provides better value for beginners. You get the right quantities of what you need without investing in bulk supplies you may not use.
Higher Success Rate: At TMI Minnesota, we’ve seen countless first-timers succeed with kits. They are designed with easy-to-grow varieties and optimal conditions in mind. This early success builds the confidence to continue gardening.
No Guesswork: Questions like “What soil do I need?” or “When should I plant?” are answered for you. The kit provides pre-selected seeds, the right growing medium, and clear guidelines, so you can focus on the joy of growing.
We often recommend starter kits as a first step for clients interested in edible garden landscape ideas. A successful experience with a kit can be the foundation for bigger dreams, like a full edible landscape.
Great as a Gift: A vegetable garden starter kit is a thoughtful and unique gift for any occasion. You’re giving a new hobby, fresh food, and the satisfaction of creating something with one’s own hands.
Choosing Your Perfect Match: A Guide to the Best Vegetable Garden Starter Kits
Finding the right vegetable garden starter kit means matching it to your lifestyle and space. The good news is there’s a kit for every aspiring gardener.
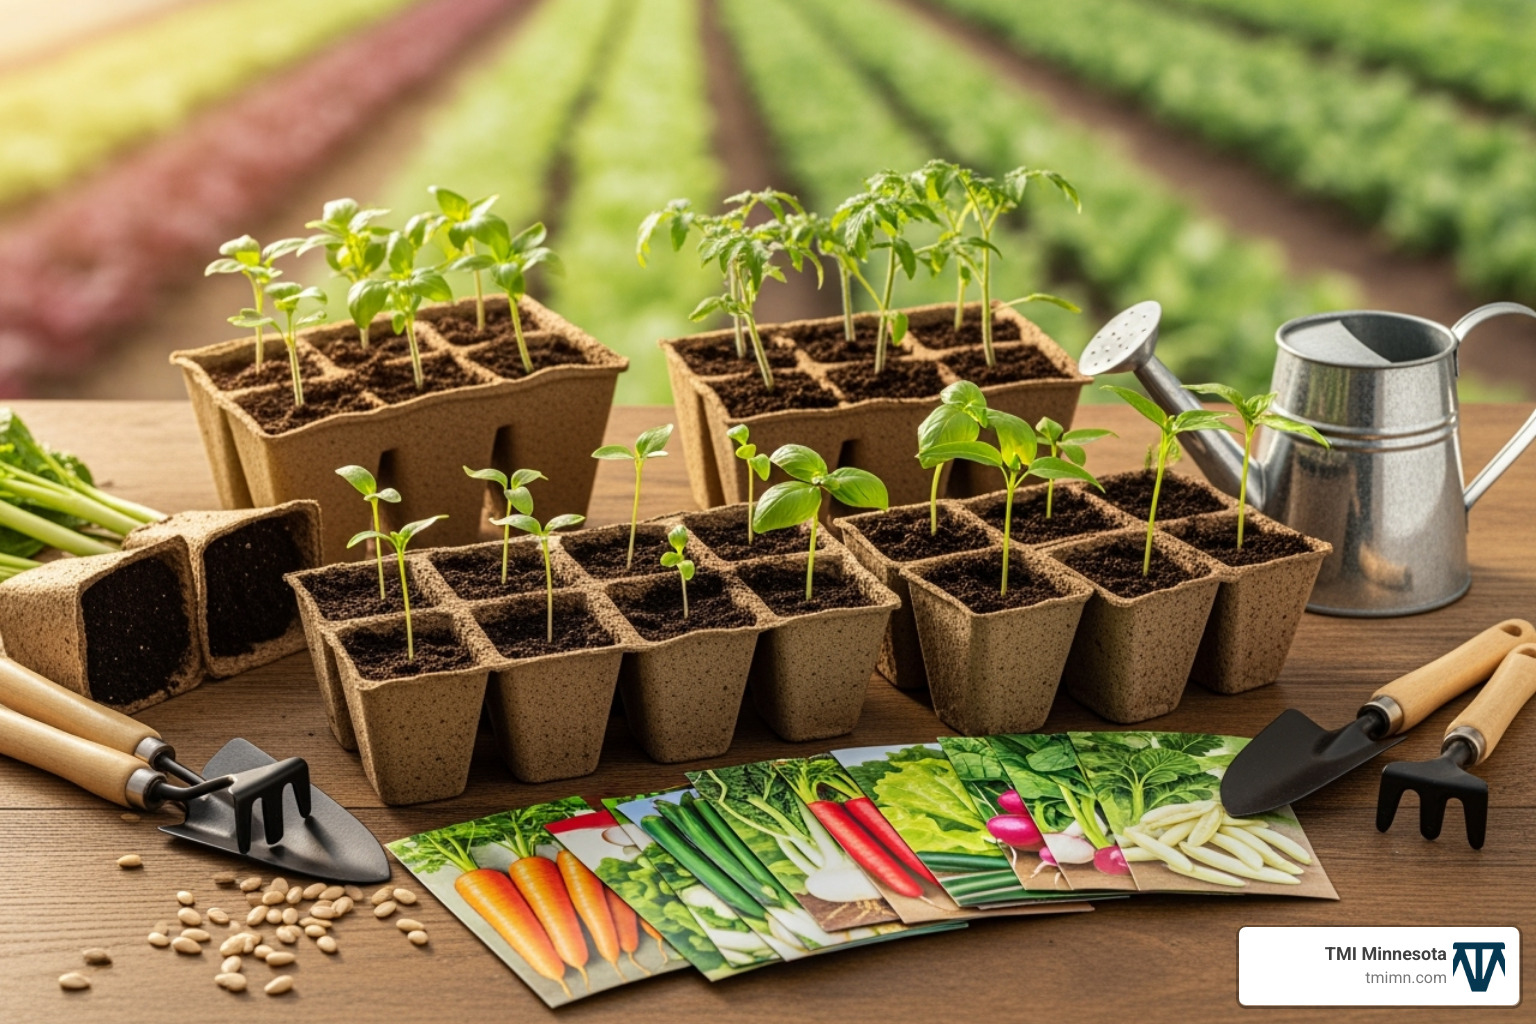
Before choosing, assess your space, sunlight, and budget. Basic kits cost $20-$30, while comprehensive systems can be $50-$200+. Also, consider what you’re excited to eat—fresh basil for pizza or crunchy carrots? Starting with plants you love makes the experience more rewarding.
For Indoor & Balcony Gardens: Compact & Convenient Kits
If space is tight, indoor and balcony kits are lifesavers. These compact solutions bring fresh herbs and greens right into your home.
- Indoor herb garden kits are popular, often including seeds for basil, thyme, and parsley. Many come with self-watering planters or LED grow lights to ensure year-round growth.
- Microgreen kits offer super-fast results. These kits provide nutrient-packed greens that are ready to harvest in just a few weeks.
- Self-watering planters are fantastic for busy people, as they have a reservoir that supplies water gradually, preventing both over- and under-watering.
These compact solutions are ideal for small garden transformations and allow for year-round growing.
For Patios & Small Yards: Container and Raised Bed Kits
With more outdoor space, container and raised bed kits open up a world of possibilities.
- Container garden kits include larger pots or fabric grow bags for bigger vegetables like tomatoes and peppers, along with specialized potting mix.
- Raised bed kits are perfect for small yards. They often include everything for construction, plus soil and seeds. Raised beds offer better drainage, improved soil, and are easier on your back. We at TMI Minnesota often recommend them for clients exploring edible garden landscape ideas.
- Vertical garden planters maximize limited space by allowing you to grow upwards, creating a lush wall of edibles.
Key Factors in Your Decision for the Right Vegetable Garden Starter Kits
When choosing a kit, pay close attention to the seed selection. Look for kits featuring heirloom seeds, organic, and non-GMO varieties. For beginners, prioritize easy-to-grow plants like:
- Herbs: Basil, mint, thyme, parsley
- Leafy Greens: Lettuce, spinach
- Root Vegetables: Radishes, carrots
- Other Favorites: Snap peas, bush beans, cherry tomatoes, peppers
Also, consider your climate zone and season length. Check the “days to maturity” on seed packets to ensure your plants have enough time to grow. Finally, be realistic about sunlight. Most vegetables need at least 6-8 hours of direct sun daily. If you have less, choose shade-tolerant crops like leafy greens or opt for an indoor kit with a grow light.
From Box to Bounty: A 5-Step Guide to Using Your Kit
You’ve chosen your perfect vegetable garden starter kit, and now the fun begins! Turning that box of potential into a thriving garden is a straightforward and rewarding process. Let’s walk through it step-by-step.
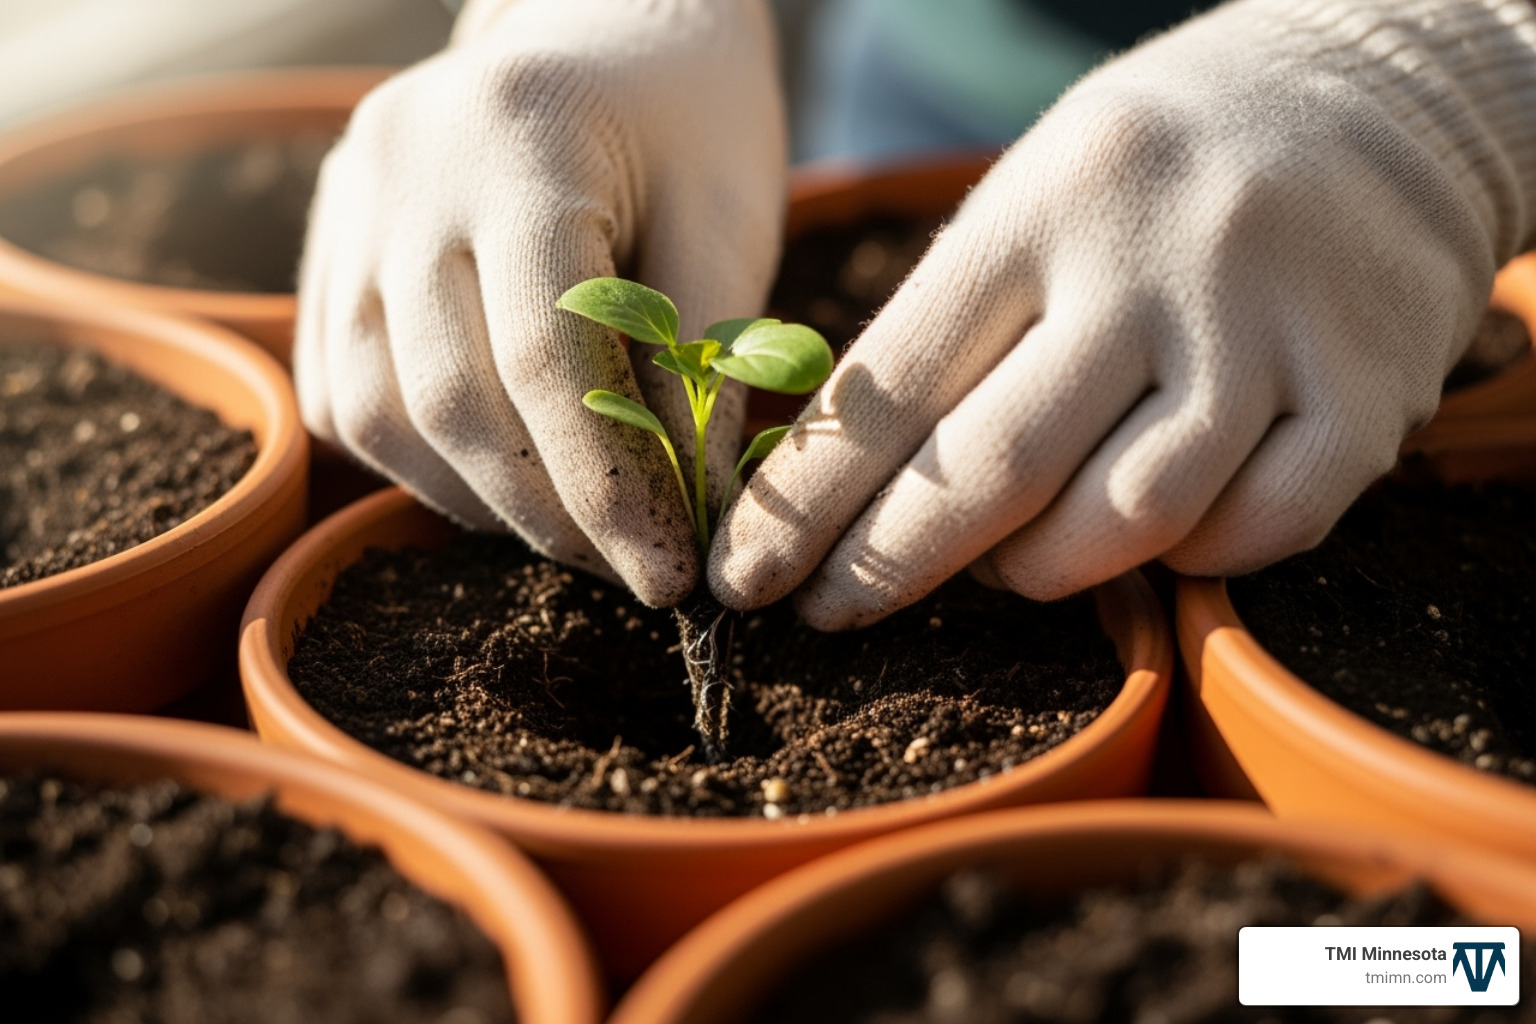
Step 1: Setup – Prepare Your Growing Space
Unpack your kit and read the instructions. Choose a location with 6-8 hours of daily sun for outdoor kits or a bright windowsill for indoor ones. Assemble trays or beds and hydrate your growing medium (peat pellets, soil discs) or fill containers with the provided potting mix, leaving a little space at the top.
Step 2: Planting Seeds – The Beginning of Life
Follow the seed packet instructions for planting depth; a good rule of thumb is to plant a seed twice as deep as its diameter. Place one or two seeds per spot as insurance. Water gently with a mister to avoid dislodging the seeds. The goal is moist, not waterlogged, soil. Finally, label everything immediately with the included markers.
Step 3: Germination Care – Nurturing the Sprout
If your kit has a humidity dome, place it over the tray to trap warmth and moisture. Check daily to ensure the medium stays consistently moist. Most seeds germinate best in warm conditions (65-75°F). Be patient—some seeds sprout in days, while others take a few weeks.
Step 4: Daily Maintenance – Growing Strong
Once sprouts appear, light becomes critical. Remove the humidity dome and place seedlings in your brightest window or under a grow light. If they look tall and spindly (“leggy”), they need more light. Continue to keep the soil moist but not soggy. Good air circulation from a small fan prevents mold and strengthens stems. If two seeds sprouted in one spot, thin them by snipping the weaker one at the soil line to give the stronger one room to grow.
Step 5: Hardening Off & Transplanting – Moving Day!
If moving seedlings outdoors, you must acclimate them gradually. This is called hardening off. Over 7-10 days, increase their time outside, starting with an hour in a sheltered spot and slowly exposing them to more sun and wind. Once hardened off, transplant them to their final home in a garden bed or larger container. Dig a hole slightly larger than the root ball, place the seedling in, backfill with soil, and water thoroughly. Consistent watering for the next few days will help them settle in and thrive.
Common Beginner Problems and How to Clear Them
Even with vegetable garden starter kits, challenges can arise. That’s okay! Most beginner problems are easy to fix once you know what to look for.
Leggy Seedlings: Tall, thin, floppy stems mean your plants need more light. Move them to a brighter window or place a grow light just a few inches above them. A gentle fan can also help strengthen stems.
Seeds Not Germinating: This is often due to incorrect temperature or moisture. Ensure the growing medium stays consistently moist but not soggy. A heat mat can help if your home is cool. Some seeds are also naturally slower to sprout.
Over/Underwatering: Yellowing leaves and moldy soil suggest overwatering. Wilting plants and dry, cracked soil indicate underwatering. Check by sticking a finger an inch into the soil; if it’s dry, water. Ensure your containers have drainage holes.
Mold or Fungus: A fuzzy layer on the soil is usually caused by high humidity and poor air circulation. Remove the humidity dome after sprouting and use a small fan. You can also scrape off the mold and sprinkle a thin layer of cinnamon (a natural fungicide) on the soil.
Pests: Tiny indoor pests like fungus gnats or aphids can be managed. Let soil dry out more between waterings to deter gnats. A gentle spray of insecticidal soap or neem oil can handle aphids. For outdoor gardens, attracting beneficial insects is a great strategy, which we incorporate into our organic landscaping services in the Twin Cities area.
Transplant Shock: Seedlings may wilt after being moved. To prevent this, always harden off your plants gradually before moving them outdoors. Handle roots gently during transplanting and water immediately afterward.
Every problem you solve is a valuable learning experience on your gardening journey.
Conclusion: Cultivating Your Garden and Your Well-being
Vegetable garden starter kits make growing your own food accessible to everyone. We’ve covered choosing a kit, planting your seeds, and troubleshooting common issues. But gardening is more than just the harvest; it’s about the satisfaction of nurturing life and connecting with nature. It’s a peaceful escape that reduces stress and boosts well-being.
That first successful harvest often inspires bigger dreams, like adding more containers, exploring raised beds, or even designing a full edible landscape. At TMI Minnesota, we’re passionate about helping you create outdoor spaces that improve your life. Whether you’re starting small or ready for a complete garden oasis, our expertise in hardscape and softscape installation can bring your vision to life.
The home gardening movement is a return to the simple joy of growing things. So take that first step. Open that kit and plant those seeds. Don’t worry about mistakes—every gardener learns by doing. Celebrate your successes and enjoy the incredible satisfaction of watching your garden grow.
Ready to take your outdoor space to the next level? Explore more about our leading-edge products and find how TMI Minnesota can help you create the garden of your dreams.